Organize & Prep
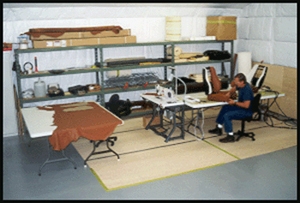
Welcome to our upholstery shop! We are ready to build your original and custom seat desires.
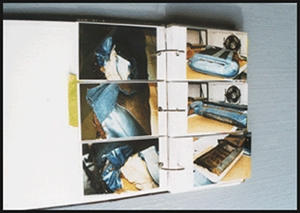
If we are restoring an original vehicle we start by disassembling the existing seats and photographing them extensively. This helps make decisions on foam thickness, wire supports and shape/style. During a StreetRod or Custom project we often purchase new original and custom seat frames from American and Foreign vehicles, if the customer likes a particular style or look. We then recover them to match the vehicle/customer taste.
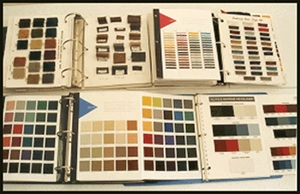
A few samples of the many materials we offer. After matching your original materials or selecting the shade range of your choice on a custom project, we can send you appropriate selections for your viewing decisions. Mohair to Leather/Vinlys etc any color fabric you can imagine, welt cords, headliners, vinyl and convertible tops etc. We can design anything your heart desires!
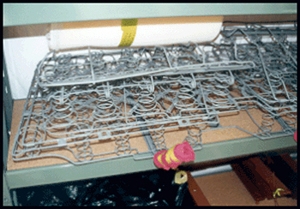
As seen these springs were blasted white metal clean after wire repairs and/or modifications were done. We then painted them to match the materials to be used!
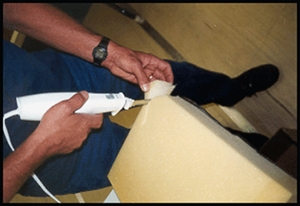
Simple tools such as this turkey cutter are easy to use and the results are evident.
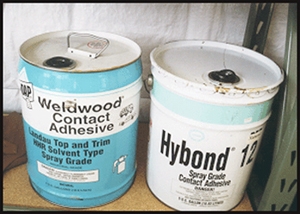
Depending on the type of foams needed different glues are used to adhere them together. We use pressure pot sprayers and aerosol cans with different adhesives to get the job done.
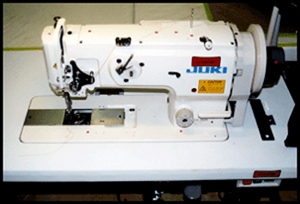
The JUKI assist us in accomplishing our goal. Quality beyond boundaries.
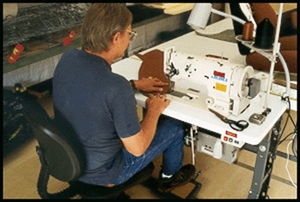
The JUKI assist us in accomplishing our goal. Quality beyond boundaries.
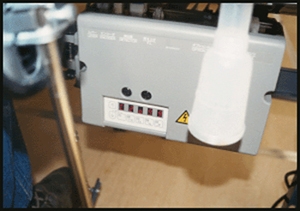
The JUKI Motor is the brain of the outfit . It can be electronically programmed to how many stitches per inch you want and the time it takes for those stitch numbers to take place. This allows us to sew at a comfortable pace which enables excellent French seams!
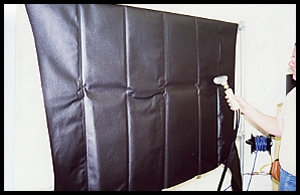
We can Mfg our own tops or install pre-made covers. This pre made has been stored in a box from the supplier and has numerous wrinkles down the center. Monte is steaming out all the wrinkles with our Jiffy commercial steamer using distilled water to avoid any residue during the procedure.
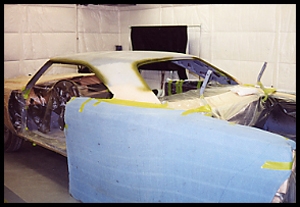
We have masked off the body with plastic, prepped the top and covered the qters with thick protective blankets. This will keep us from marking the paint and or body work when tugging, pulling and wrestling the cover in to place.
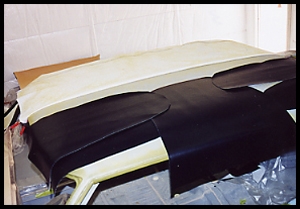
As seen Monte installs some disposable pull sheets of vinyl as he will leave them in place to keep the top from sticking down during the initial fit and adhesion of the center section.
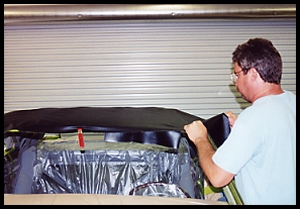
He sprayed glue on the roof and cover and let them set for about 15 minutes. Once he is satisfied with the fit of the center section and it is straight and true with no wrinkles he starts to pull down the sides and removes the "pull sheets" installed earlier one by one as he pulls and tugs the cover in to skin tight shape
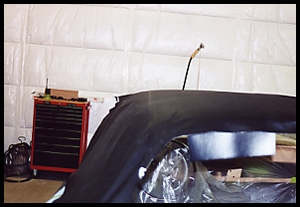
As seen the outer top to sides is starting to take shape. The correct procedure for stretching properly is critical. Monte makes it look easy as he will get it tighter then a leopards skin.
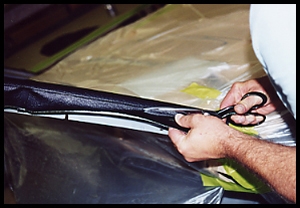
As he continues pulling the cover and allowing the adhesive to set up and permanently adhere, a bit of trimming takes place around the drip rail area.
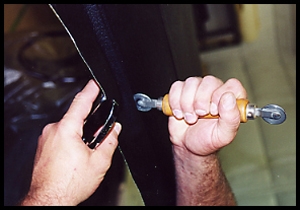
After he finishes up the final adhesion pulls he rolls the drain gutters tight also. This not only looks good but is mandatory if a drip molding is to be attached.
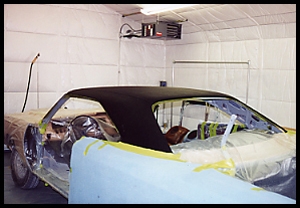
Just like fine wine is exquisite to the most demanding taste, a vinyl top installed with no bubbles or wrinkles and straight as any critical eye could imagine the project is finished. Once again Monte gets it done.

