

Upholstery Shop
Tour Our Shops for our Classic Car Restoration - Classic Car, Muscle Car and Hot Rod Restoration
Dash Board Covers
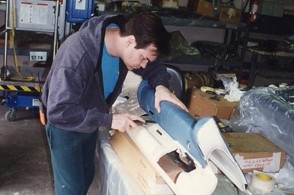
Often we can purchase NOS vinyl covers and adhere them to their perspective dash board. As seen Jeff is working the cover around and over all the shapes and contours on this 57 T-Bird dash. After final fit it will be vinyl dyed white as is the chosen interior color.
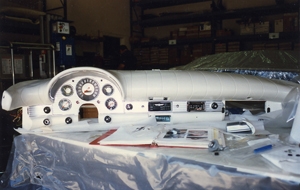
Looking good and dyed to match the upholstery color the new dash is ready to mount to the car.
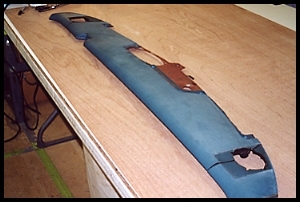
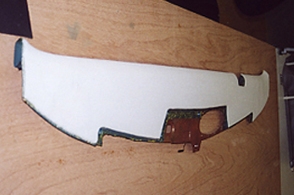
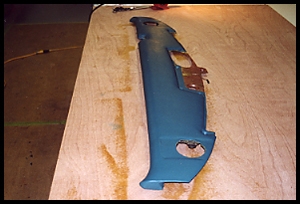
More often then not there are no dash covers available and we have to repair/restore the existing Dash pad. We have to pull out our bag of goodies to accomplish this on the many styles of dash pads. As seen this 66 Caddy pad has huge cracks and needs a lot of attention.
We start with lacquer thinner clean up of all vinyl for adhesion to remove all dirt and any unwanted deposits. We then fill the cracks with vinyl epoxy to level them out and hold down the old vinyl on the edges.
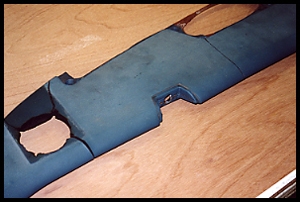
We then cut out a section of our expanded dura foam which is very taunt, yet it gives a bit for the new vinyl to pull/stretch around it. We are using 1/4 thick material on this application. Foams and sealant/adhesives to hold them adequately are the KEY to doing world class trim work as they do all the supporting of the covers etc. This is where longevity comes to play and with 46 years of knowledge we save time and that saves a customer big $$$
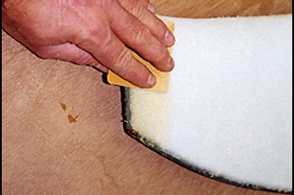
Monte sands the Dura foam "special mix of our own" to contour the edges down to the original vinyl.

As seen the foam is sanded smooth on all edges and the cut outs are trimmed including the speaker holes to allow room for the speaker grille covers.
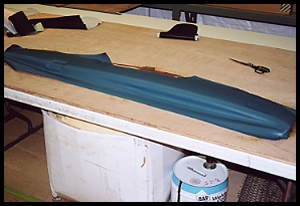
We have chosen the correct shade vinyl for the project. The vinyl thickness and backing is the key to allow proper stretching around all contours. Monte lays out the vinyl and pulls the ends first. Once he is satisfied he removes the cover trims it a bit more and then sprays a special thin adhesive to the back side and foam. This thin adhesive adheres to the Max while not showing and or raising any bumps in the texture of the cover.
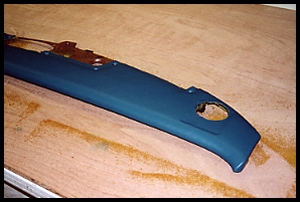
Pulled tight and stretched properly it is beautiful and ready to assemble to Car.
Another view shows a skin tight cover finished to perfection in very little time.