

Upholstery Shop
Tour Our Shops for our Classic Car Restoration - Classic Car, Muscle Car and Hot Rod Restoration
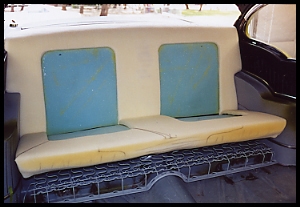
Bench Seat Foam
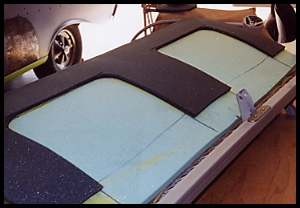
To achieve the ultimate results in upholstery there are several steps that must be followed in order to get the prize. The springs are the first step with replacing any broken and or weak springs and then clamping main wires to keep them straight. The bench seat lean backs must match each other from side to side. We have laid down the blue foundation foam. The grey foam is the first layer of foam for our desired deep set seat style that you will see unfold in the next pictures.

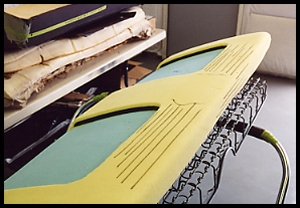
We now glue down our own custom cut "yellow shape foam" that defines our deep set style. Keep in mind that this is a custom project so it is imperative that you know how thick each section is to end up with your desired look and support of the cover, be it cloth or leather.

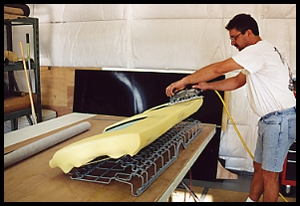
Covered up, glued down and ready to radius cut the corners she is starting to take shape.
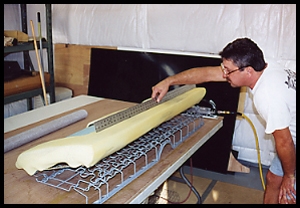
Monte checks out the foam base with a straight edge to see where it may need adjusted.
We marked out some low and high spots we were concerned with and we are now ready to shape it to the next level.
Using a board file with 80 grit sandpaper he levels out the "special" foam much like you would a body before paint !
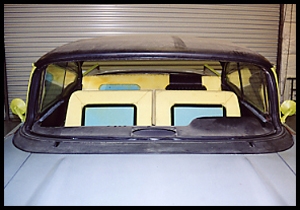
Next comes a seat fit to check the foam clearances in relation to the arm rests and rear package tray. It has been decided that we need to round the outside upper corners to allow for a smoother transition in these areas.

As a note! When doing deep set style seats we attach hook and loop material to ensure the inner seat panels will not move once lined up stitch to stitch with the upper and lower halves of the seats.
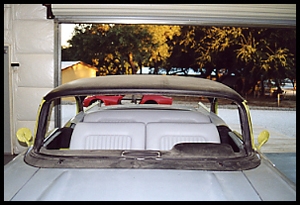
With the front and rear seats installed we get a good look with out the glass installed for the ultimate critiquing. While starting to slice and cut down the foam to achieve the look we want our Customer gives us the thumbs up to continue on with this style for his custom interior.

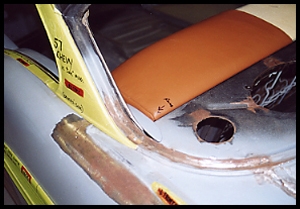
We mocked up the corners with leather to get the pattern and sewing stitch spacing dead on before cutting into the $600 per hide grey leather.
Another view shows the subtle yet stylish transition from the top of the seat to the package tray and qter window side panel.
All the concerns were adjusted and the final covers were cut out, sewn up and stretched out to give the ultimate look for this 57 !

We will now remove the seats and plastic wrap protect them until the body is painted and final assembly takes place.