
Body Shop
Tour Our Shops for our Classic Car Restoration - Classic Car, Muscle Car and Hot Rod Restoration
Body Lead Work
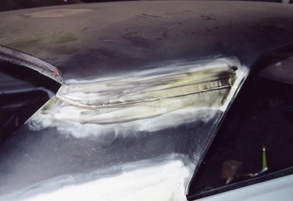
We have installed a new set of qter panels as per the factory up in the roof joint. We will now apply body lead.
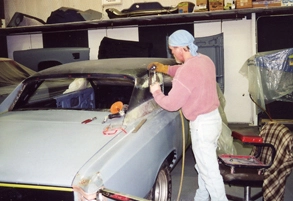
Rodney heats up the seams and applies tinning solder. This product adheres to the steel and then the lead adheres to it for complete results.
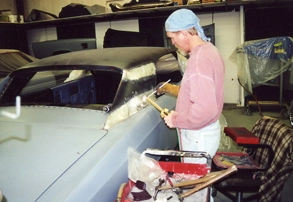
He then heats up and applies lead in a thickness that will allow shaving down and smoothing out to his desired shape.
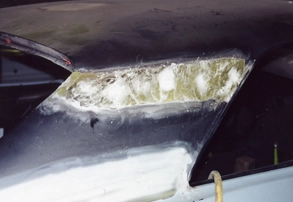
He shaves the lead using a lead file and then uses a board file with 80 grit sandpaper being sure to not cut through the lead and past the tinning solder to the bare steel.

The lead has been smoothed down and is ready for primer. Another old school technique used for proven longevity is finished. Repairing things right since 1957 is what we do!