Wiring
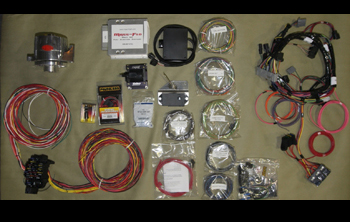
We started with a basic kit from "Painless" including the fuse block and some wiring. As with most of our projects additional wiring had to be added for the other components we chose.
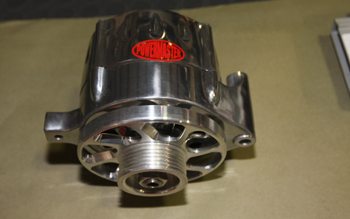
Depending on the qty of items your Super Rod will be equipped with and the amount of amperage draws of each item will determine the correct sized Alternator to be installed. This polished Power Master unit puts out 190 amps which will cover a Hi powered stereo including A/C - Fuel Injection and many other components.
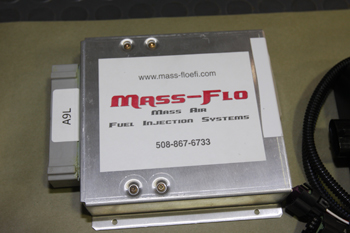
Each chosen component will require its own amount of electrical current to be fused accordingly for protection. Proper placement in a hidden location is vital while maintaining serviceability. Keeping items away from heat sources like this Fuel injection brain box is mandatory.
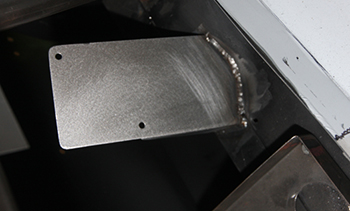
To start our installations we always choose the fuse block location first. As seen we located the main fuse panel in the trunk behind the side panels we built. This will allow easy access yet unseen. We fabbed a fuse panel support bracket on an angle for easy access.
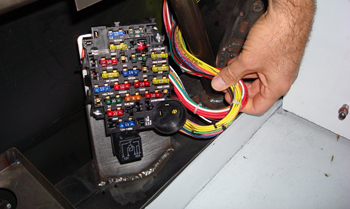
Luie attached the fuse block in place using 10/24 stainless screws, and ran the wires behind the unit up over the inner wheel house. Our project has trunk side panels so we will not see any of this wiring.
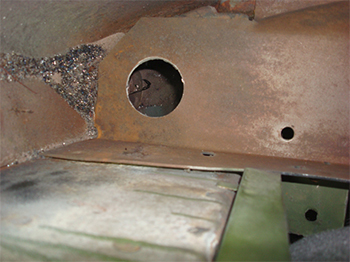
We chose to run the main harness through the rocker panel at the bottom of the qter panel window opening. Using a 2 inch hole saw he cut a clearance hole to get it done.
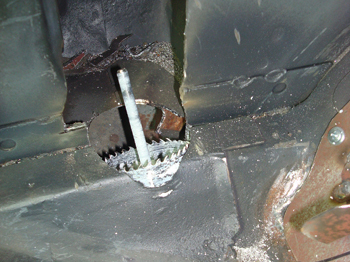
At the original front kick panel location we came up on an angle from the very end of the front inside rocker panel which makes a nice entry location back up in to the car for the under dash wiring.
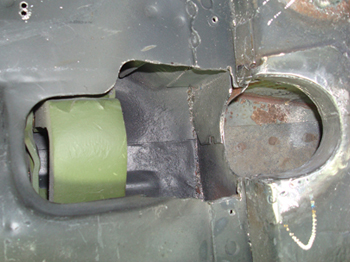
As seen just below the bottom door hinge "red arrow" Luie built a saddle for protection and to eliminate metal burrs that could rub the wiring during installation.
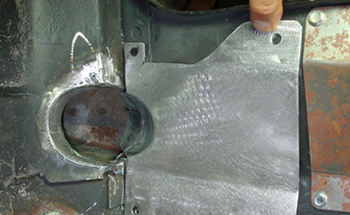
He finished it off with a trim panel that covers the door hinge opening and incorporates a nice oval transition flange on the upper section for the wiring to slip through and also be protected.
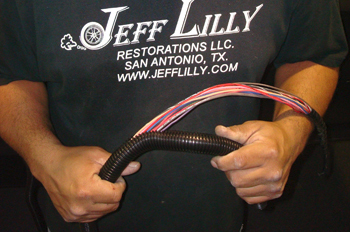
e like to use this black corrugated conduit for protection on the wires while pulling them through the panels. Luie simply folds back the edge and feeds the conduit on to the wire, note the electrical tape on the end of the wires as this keeps them from hanging up on an edge and is also used for a pull wire or rope to attach to when working the wires through the openings. This conduit is available from Waytek.
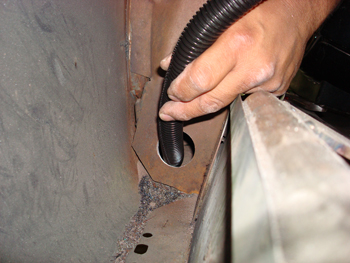
Once the conduit was installed we ran the wires through the hole we drilled earlier. We then used a pull string to feed it through the length of the rocker and in to the interior of the car.
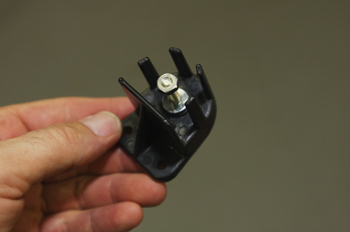
A main Junction block was installed under the dash to feed different components.
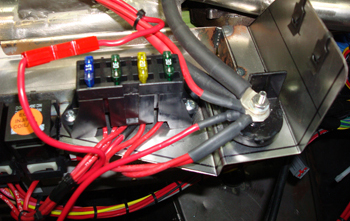
Once installed you can see the feeds coming off to their perspective areas. Shrink wrap all soldered connections.
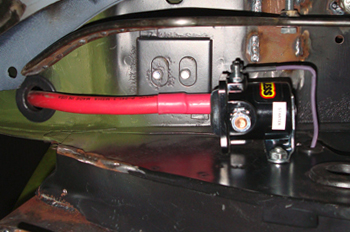
Often it will be necessary to hide parts such as this starter solenoid in hidden areas like this one behind the door jamb at the back of the passenger front fender. We installed this behind a fender splash apron for easy access then ran the wiring through the pass side rocker to the trunk mounted battery. We then ran the starter feed through the frame over to the hi torque starter.
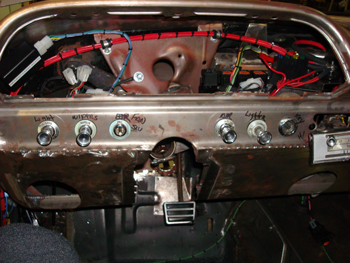
Back up to the dash we have ran some preliminary wires, as seen on the different knob controls we marked the sheet metal to their perspective locations to keep track of everything.
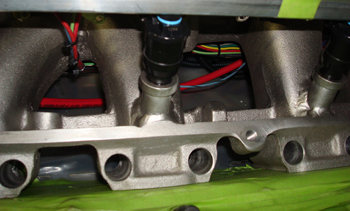
Our project is fuel injected with a medium rise tunnel ram intake. This allowed us some room to run hidden wires for 8 injectors and other wires for the front of the motor. On Fords with the distributor in the front this is even harder to do. Once completed we will wrap the wires with black shrink tubing to hide them even more so they go undetected.
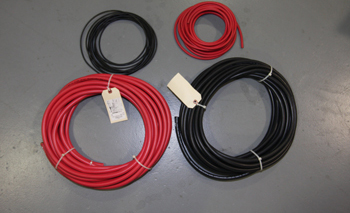
Large 1 gauge wire for battery cables can be purchased in bulk. Be sure and measure the cable as Copper has gotten expensive and many MFGs are putting a thicker plastic coating on the out side but the copper cable is reduced to smaller then the recommended 1 gauge.
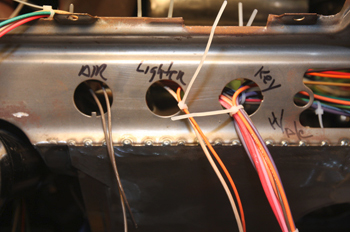
The selected knob controls are roughed out with extra wire to trim back to the correct length once the component has been wired.
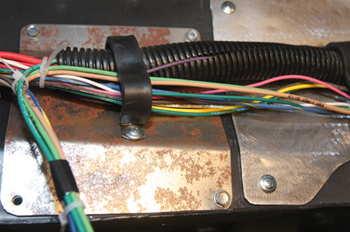
Wire ties and clamps hold it all together to keep it aligned and tight but all will be hidden behind panels to the human eye.
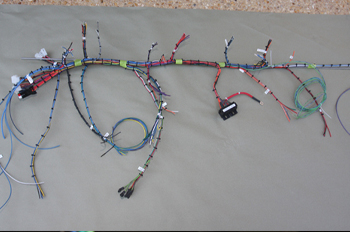
The dash knob harness is shown here and as seen the tiny black wire ties hold it all in place. Once all the selected components are wired and all is tested you can wrap the harness with electrical tape. Some builders believe it to be beneficial to leave the harness unwrapped so that if you ever need to add a component or service the harness it is easier to snip the vinyl ties in that area and run a new section instead of razor blading away all the sticky black tape and its residue.
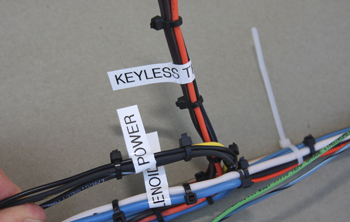
The use of a label maker for marking each wire to its component is important. Some kits come with the component name stamped on the wires but only the main components are accounted for on the kits and the tiny lettering is hard to read. This is best for quick reference in and under a dark dash or sub assembly.
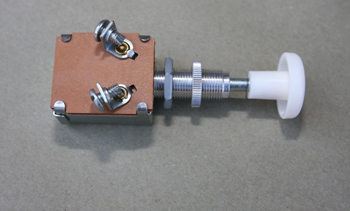
Many times as in this case a new switch is needed but the old style knob or custom knob is desired to match the interior. Therefore a change over is needed.
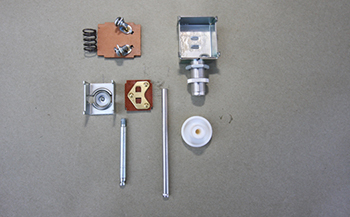
As seen Luie disassembled the new contact switch and it is ready to reassemble to the original style knob. The red arrow shows the old short shaft and black shows the longer custom made shaft to accommodate our original Ford knob system
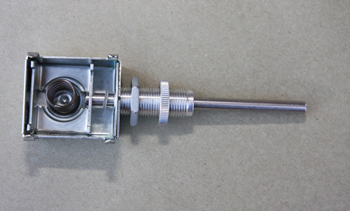
Coming back together she is taking shape.
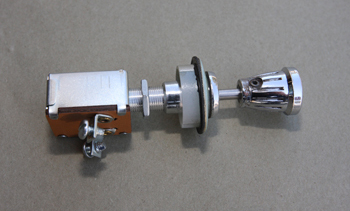
As seen the bezel and orig knob fit and she is ready to install with her new contact assembly.
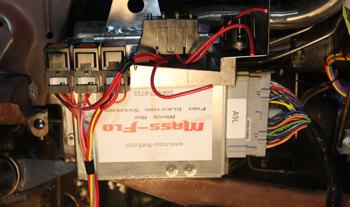
The brain of the fuel injection unit is mounted in a special made holding bracket up under the dash away from any heat source for easy access allowing service any time needed.
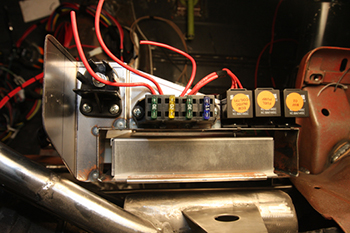
The top view shows separate fuses as the fuel injection unit is a stand alone electrical system and comes with its own fuses and relays.
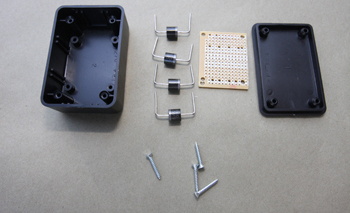
When you have chosen to use an original or older style steering column they are not equipped with emergency flasher systems. Therefore we had to fabricate an isolator with diodes to incorporate the painless brand emergency flasher system. These parts are available from Radio Shack.
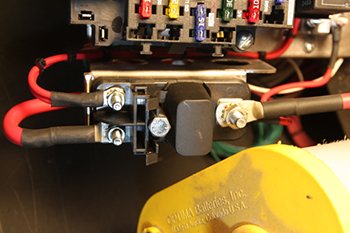
The Painless system main fuse only allowed one lead and is rather large. So we chose a Waytek 2-1 fuse holder to allow extra items and fabricated a side bracket attached to the main panel.
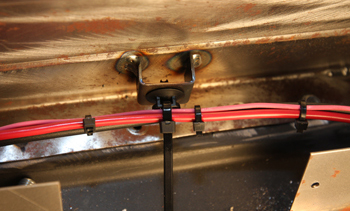
Little brackets such as this u-channel are a nice item when holding up wiring away from other components. We simply used a push in clip that has a slot built in it for a wire tie to slip in and around it. Once installed and tightened simply snip the vinyl tie end off short.
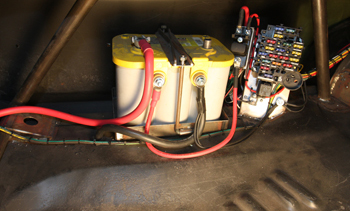
Two batteries were used to power up the car and the stereo separately, located in the same position left and right side for weight balance.
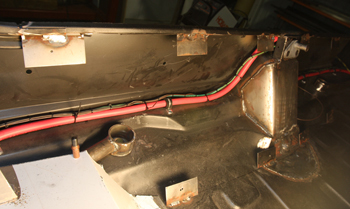
The 1 gauge battery cable runs up and around the trunk perimeter to the right side second battery and is covered with the rear trunk panel. As seen the taillight wires were also ran the same way.
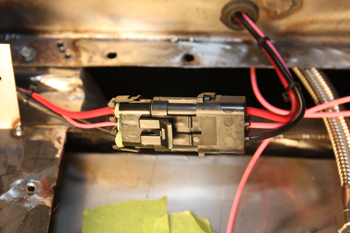
Another nice item to use are these European snap plugs which are water proof for any thing that may be subject to moisture and or humidity.
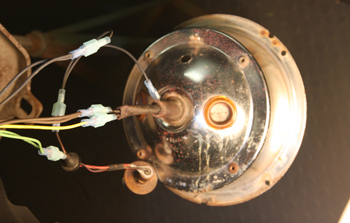
Tail light pig-tails are a pressed in item on many older cars. They need to be carefully cut away and removed as the corrosion they encounter make these original plugs not worth using.
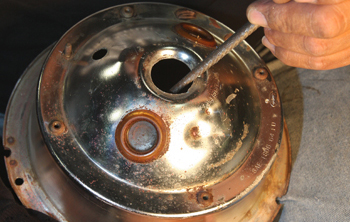
There are many replacement lamps and as seen you may have to file the tail light housings to fit a new socket.
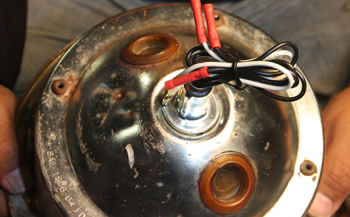
We tested then bent the prongs over in place on this original housing which is now ready for install.
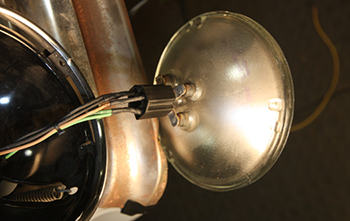
The same goes for the head lights, always replace and rewire for new connectors. Shrink wrap all terminals as these can be subjected to rain and or moisture regularly.
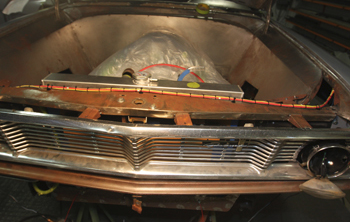
Crossing the head light harness from side to side works best under the radiator support cross section. We installed it on top for fit purposes and to show you location.
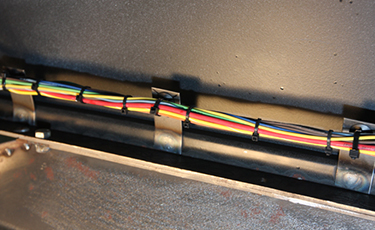
As seen the head light and other front end wires were ran under the drivers front fender lip above the tire. We built a cover for these to hide and protect them from tire debris.
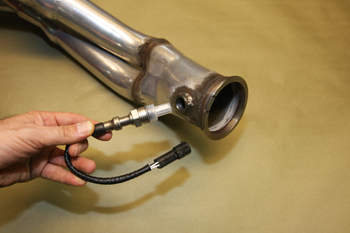
On fuel injection projects do not forget to run the wires for the O2 sensors in the headers. You will have to weld the bungs on the end of the header on the angle that is best to hide your wiring.
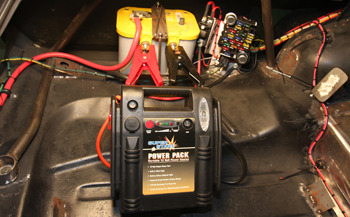
Time to try out the wiring by powering it up to see if all is OK. Never wait to test the wiring once the car is all done. Pre-testing is cheap insurance and a starter pack works great for this. All is well and we are ready to go.

