

Build Tips
Trunk Panels
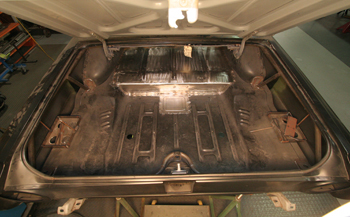
Taking that unsightly look away from a trunk area is pretty much a given for Hot-Rods and in the following story we will show you how to do this step by step.
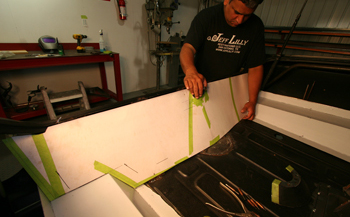
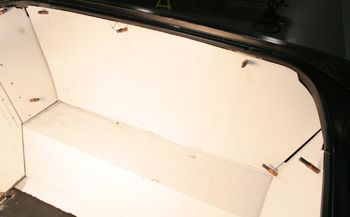
We start off by fitting poster board in and around the side drop-offs. We want to stay within a 1/4 inch gap between each panel and the trunk floor or sides at any given point. Most trunk panels will be covered with carpet, vinyl or leather and the covering materials will make up the difference in spacing to give you a 1/16th to1/8th gap when finished. If you end up too tight the materials will tend to rub on each other and can start fraying an edge, especially if you take them on and off regularly.
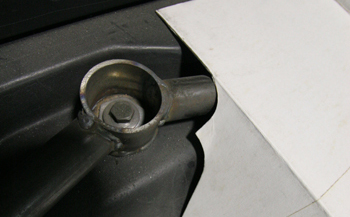
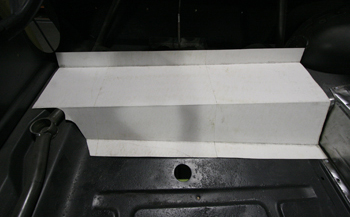
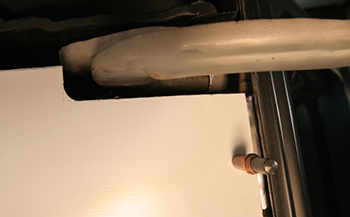
On this particular trunk we have a support bar running across the back. As seen we have cut a gradual radius around the tube. The idea is to make everything fit well with subtle corners.
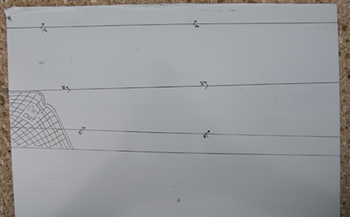
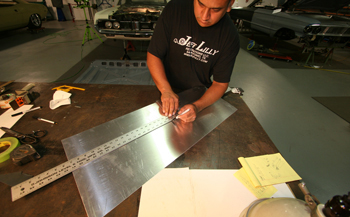
It has been said that a man is only as good as his tools. But I say a Fabricator is only as good as his templates. Here Louie has laid out the template and then marked the "50 thousands thick" aluminum we will use on these trunk panels. Notice the angles to compensate for the trunks shapes and drops. He has also marked off the areas to be cut away once it is bent.
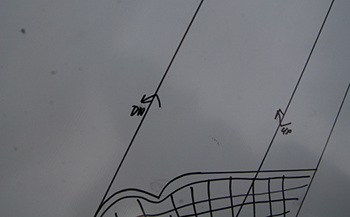
As seen he has drawn little arrows to remind him of which way the panel is to be bent on the brake. Down and Up. On the Up bends he will have the white plastic protection covering side facing up. On the down bends he will have the plastic covering side facing down. Now he has to take the template markings he made for the down bends and transfer them to the bare side.
He simply marks the locations from the up bend side on the outer edges of the down bend side and then runs a straight edge to mark the location of the bend.
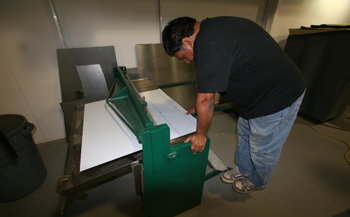
Lou cuts off the unwanted materials first while the panel is still flat.
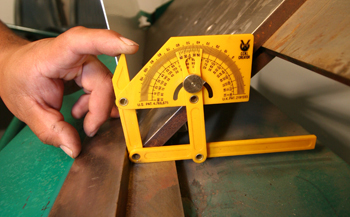
Using an angle finder will allow him to bend each angle to get an exact fit.
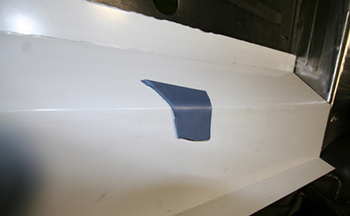
He lays the panel in and checks for fit. Once covered the panel will take on a subtle look as seen by the sample of 3/16th thick blue foam attached. It removes the sharp crease line formed by the brake tool.
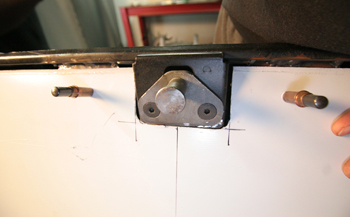
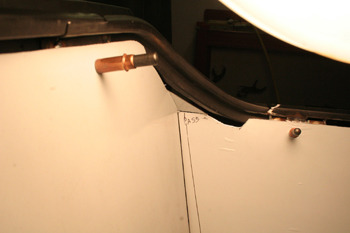
We also removed the gas tank filler support to allow the trunk panel to fit closer to the outer tail light panel of the body.
Small steel brackets are tack welded with the correct angle to support the panels at the trunk floor. We will simply use industrial Velcro to keep the panels in place once all is built. But for now we will hold the panels in place with clecos.
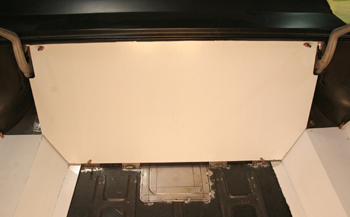
He mocked up then built the other side and she is looking good. As seen the brackets at the top edge of the trunk opening are on an angle to hold the panel in the proper place.
The large tail light panel requires an extensive mock up board. Even though he has removed the gas tank filler tube metal there will be a slight bow in the panel.
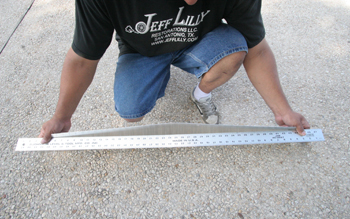
Lou cut the panel after laying out the template and as mentioned you can see the slight bow in comparison to the straight edge. When installed you barely notice it has a slight bow but the straight edge tells the story.
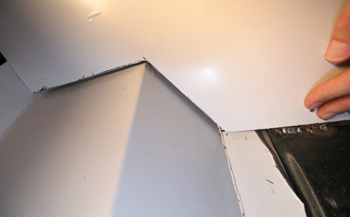
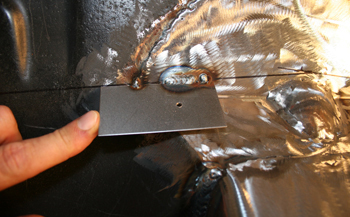
As seen a 1/4 inch gap as discussed in Caption 2. Running the rear panel over the top of the side panels allows removal by itself to service the taillight bulbs etc.
He cut out around the catch for clearance also.
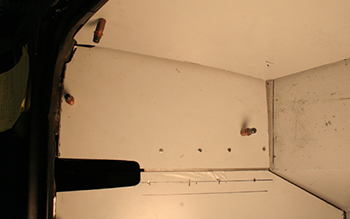
This is the back panel toward the interior of the car. This gap against the hinge needs to be a bit larger to clear its movement 3/8 is a decent amount to look good once covered with no contact.
In place we can see how it will still be removable to get to the spare tire, stereo amp and other items.
Around corners you need to allow extra materials that can be trimmed with metal shears to round a corner.
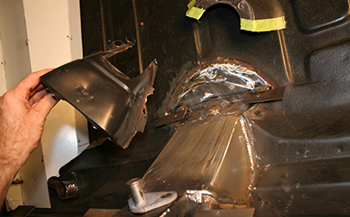
The outer panels by the hinges have to be separate as there is no way of removing a full length rear panel without interfering with the hinge. Once it is covered with our selected materials it will look like a one piece surround panel.
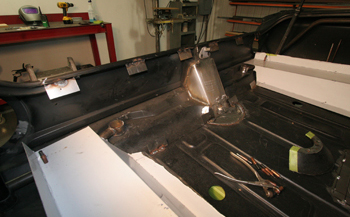
Last but not least we made the side panels. These were made last to allow the easiest access because they will probably be removed more often due to the fact we located the batteries behind them. One on the passenger side and one on the driver side along with the main fuse panel.
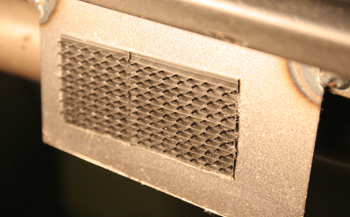
This industrial grey Velcro really grabs and you have to be careful to not install too much as it could potentially bend the 50 thousands aluminum during panel removal if too much grab is present. Test your panels with 1 inch pieces first to see what you like then add more if needed.. Much of this depends on how well your brackets mate up to the panels surface.
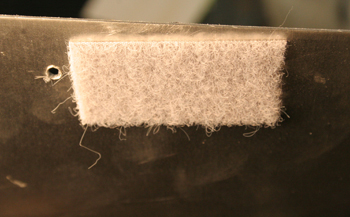
The fuzzy part will eventually wear out and start to loose its grab after 15 to 30 on and off. Simply remove and apply a new pice.
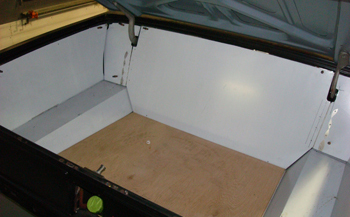
She is ready for covering. We built it to go as deep to the floor as possible to allow the owner to take some items with him when he shows the car. Therefore it will be show quality with usability so to speak. A 1/2 inch birch floor plywood section will support anything he would put in it.