Build Tips
Tail Light Panel
Our guinea pig is a 65 Fastback Stang. If you really think about it and look with a critiquing eye all vehicles made in Detroit have some characteristics that are not all that pretty. The 65 tail light panel is certainly not the best part of that years design. Watch as we remove the old panel and make a new and improved one.
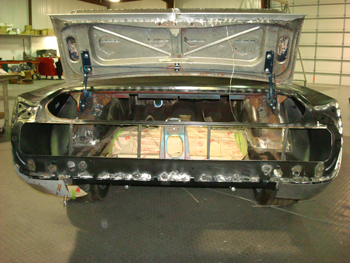
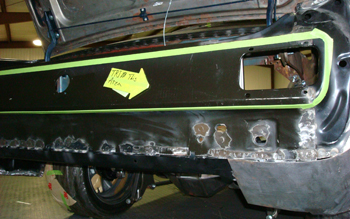
First off we remove the old panel but we left the outer frame and or shape which fits the remaining parts of the body.
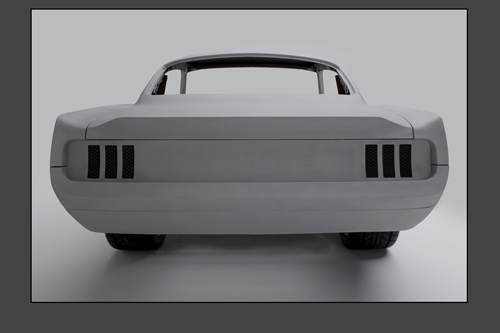
We already built a custom trunk lid spoiler and bumper so now it is time to re-do the tail light panel. We mocked up a slightly con caved panel some thing like a 67-68 Mustang has, a little more subtle taking in to consideration the ease of redesigning a new taillight. We also cut back enough materials to get a recessed look by setting the tail panel back in to the body 2 inches more then it was originally where it stuck out like a flat panel. The 69-70 Stang style mock up chip board taillights as a thought of what might become.
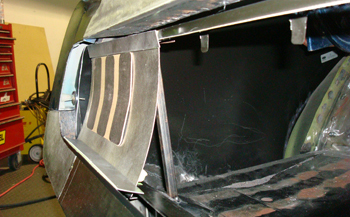
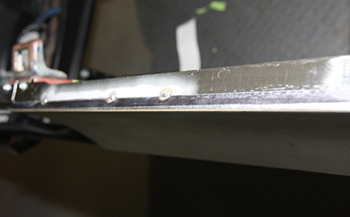
This angle shows where we have it and it is enough to give it some style yet some what simple to build.
Mani made a small template of our desired shape to use as a gauge when bending the metal on the brake and or other tools.
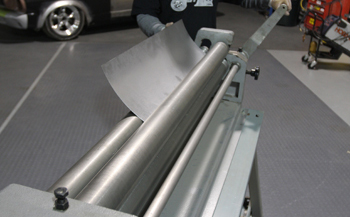
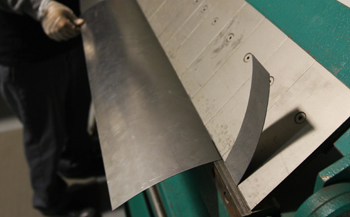
This operation can be done at home by clamping a piece of round tubing to a bench. We use specific tooling because we have to be efficient when building projects for customers, but simple common sense can get you there if you are on a budget. The roller makes short work of this shape.
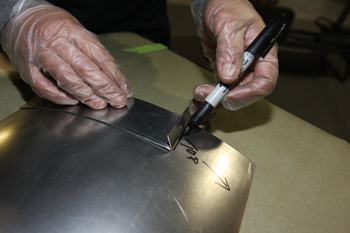
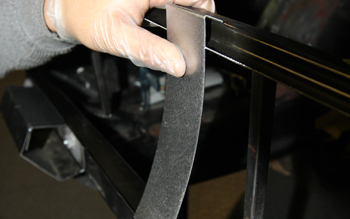
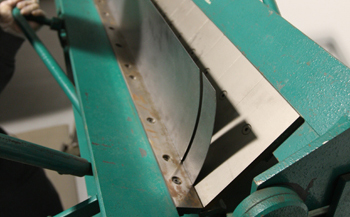
He checks it against his template and marks it for size to do a bend on the edge where it will go in to the trunk opening area.
Using his template he simply bends the same angle to match what he already determined to be correct. Simply clamp two pieces of angle iron under and over against the metal on your scribe line and leave the steel extra long to use as a leverage against itself to bend it easily in to shape. Where you see Mani's right hand is where you would clamp a piece of angle the length of the piece being bent as this will keep the metal straight as you push on it.
Looks good and ready to mark the next step.

Using the template he marks the edge for some trimming. Simply use some Tin Snips or a band saw like we do if you have one.
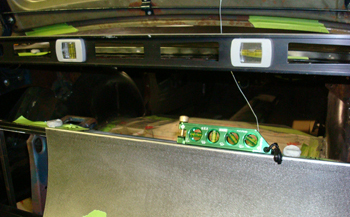
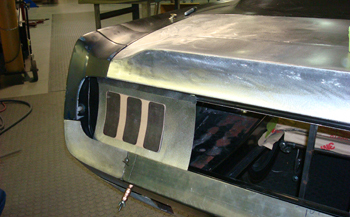
He attaches it to the car and with a torpedo level he checks it again and all is plumb. "keep in mind we leveled the car/body previously"
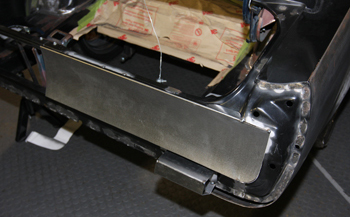
He tacks it on and goes to the other side to build an exact duplicate.
Small tack welds is all that is needed.