

Build Tips
Stang Glass Install
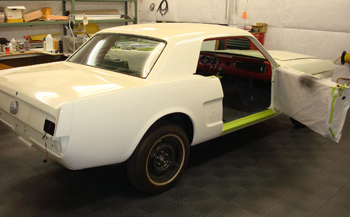
Although we are using a Mustang as our demonstration car " any " vehicle with a Gasket style rubber seal that is used to hold the glass in the vehicle will use the same techniques. This includes 50s trucks and many 60s and 70s vehicles.
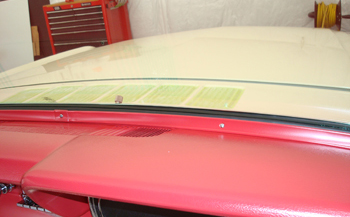
If you are removing an old front and or rear glass simply reverse the order of what we are about to go over. As seen the channel is clean and we have the molding retainers in place.
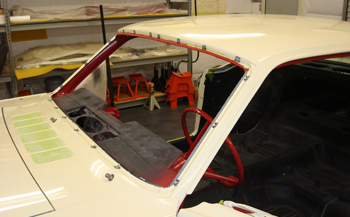
The headliner was installed and glued around the edge, We then installed new molding retaining clips. We use auevco screw in studs after removing the factory welded in studs during restoration. We do this because it allows us to adjust the molding right to the top edge of the roof and sides. The factory was not very concerned with a dead on fit so more then likely you will find your moldings either low and or too high compared to the body which is unacceptable to us.
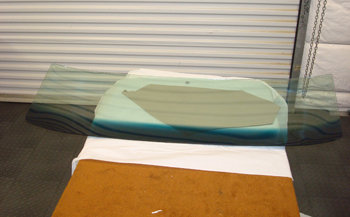
New glass cleaned up and ready.
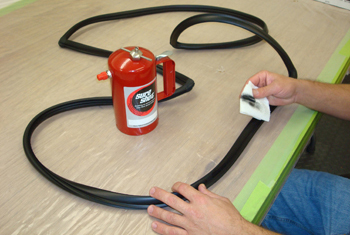
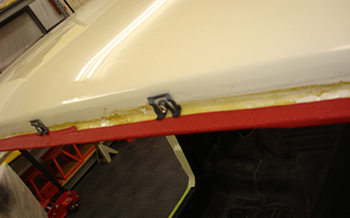
New gasket cleaned up using prepsol to remove silicone and or mold release. This also cleans it to a deep black color for the optimum visual appearance.
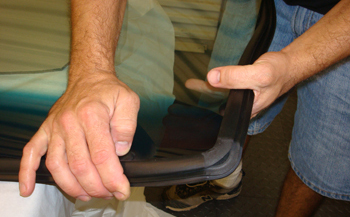
Eric fits it around the corners to check tolerance. If the glass fits in too tight He can trim the center rubber flap to make some room. He is happy with the gasket the way it is so on to the next phase.
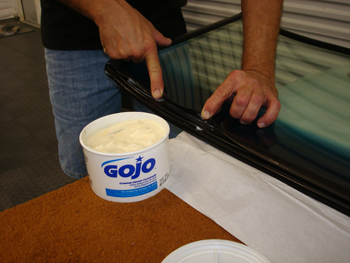
We use Go Jo hand cleaner because it is very slippery yet it dries up in 10 minutes and has literally no residue afterwards. If anything a quick swipe with a damp paper towel and all residue is gone.
A liberal amount around the entire gasket and she will slip in to place.
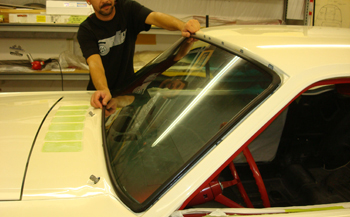
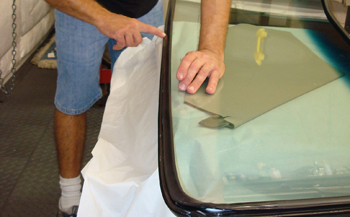
We placed the glass in and we are ready to get it on.
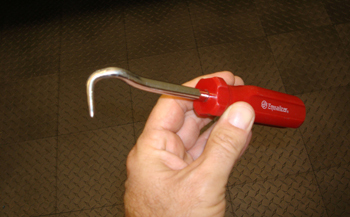
This hook tool is from Equalizer and has a rounded tip to avoid ripping the rubber. Sears sells one but you will need to round the tip a tad because it comes to more of a point.
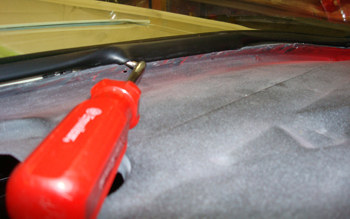
As seen Eric lifts up the edge and pulls it out gently working it all around the perimeter. If you feel more comfortable you can place a 3/16th nylon rope around the perimeter of the rubber before setting the glass in place. Simply pull it while placing pressure on the outer glass inward a bit and pull the rope at the same time.
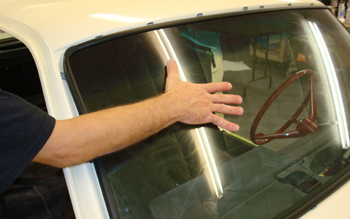
Once the flap is pulled around the edge he hand slaps it to pop it in place and finesse it around a bit. Always remove any rings or jewelry before doing this.
Then simply attach the interior trim moldings.
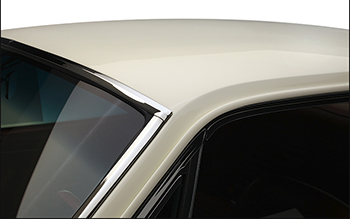
Then afterward snap the pre fitted outer trim in place and you are ready to cruise.