

Build Tips
Splash Apron
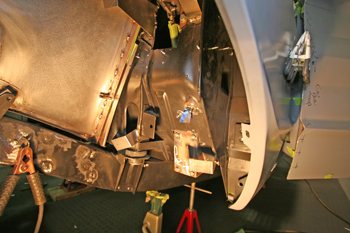
Unsightly is the word when it comes to the back side of most front fenders. The factory was not to concerned with the beauty aspect of this area. If they did install a splash panel it was usually bulky looking or a screwed in panel to ward off mud and debris, if there was no panel installed then cowl bracing and other structural systems were shown in the rough. On a custom build this can not be over looked so we will show you how to give your ride some style in this often neglected area.
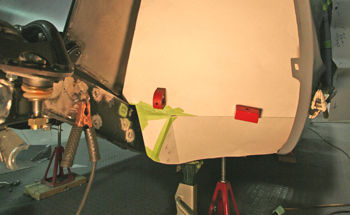
As with any fabrication we first do a mock up to get a look at our ideas in true form. Notice the 3/4 inch clearance all around the mock up. This allows the proper clearance for a rubber seal to go around the perimeter. As seen on our mock up we built a smooth transition pocket to cover up the body mount at the same time. Ideally you want it to flow from top to bottom.
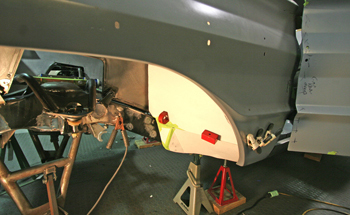
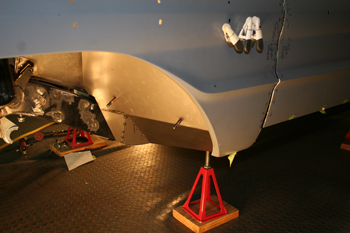
This is usually the angle it is viewed at the most. If your tire is turned out you can really notice this area hence the reason we want it to look good.
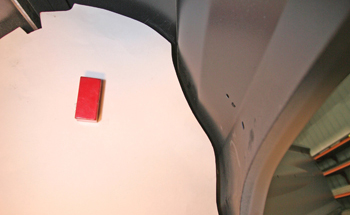
Equally important is to be sure your 3/4 clearance is consistent. As seen in the inside fender area.
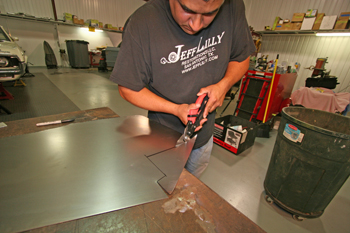
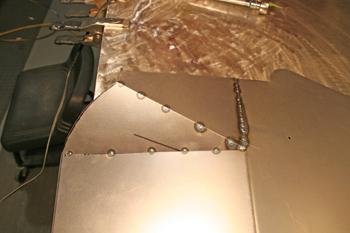
Luie lays it out on 18 gauge cold rolled steel and begins to snip out the unwanted portions.
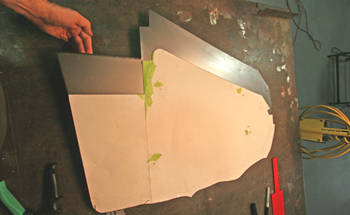
She is starting to look good but still needs the corner rounded and inside upper notch put in.
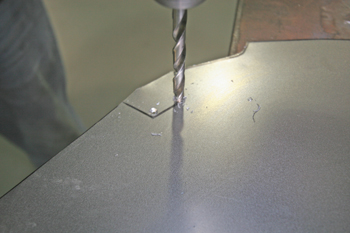
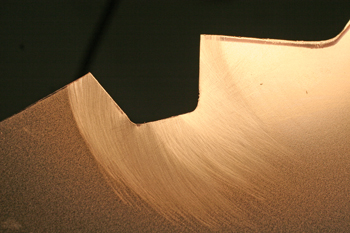
On tight areas like this notch to clear the inner fender lip we simply drill out the corners with the correct size drill bit. This gives it a nice gradual look once we cut out the straight sections.
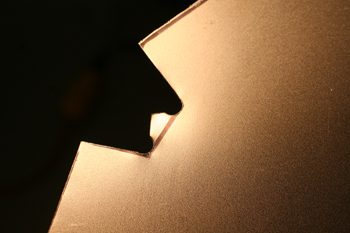
As seen it offers a radius much like a hole punch but tiny as needed. We simply snip out the center and give it a few passes with a angle grinder with scotch bright wheel and voila!
She looks good and we are now ready to make a bend on the brake.
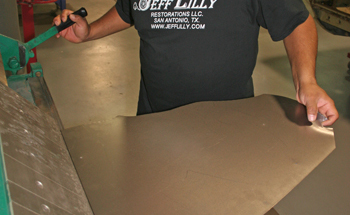
The brake is a necessary tool when fabricating. Luie simply marks up or down on the line so he knows which way to flip the panels when bending .
We inserted a few cleaco's on the contact pads installed in the beginning which we will eliminate when getting toward the end so no fasteners are apparent. She is starting to take shape.
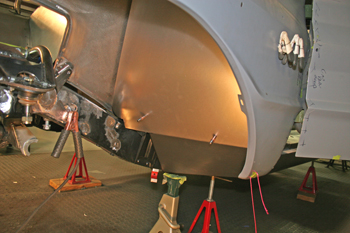
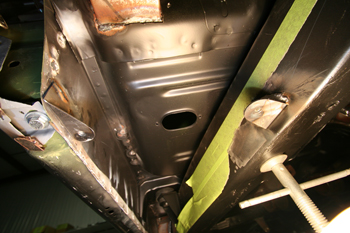
This angle from the frame side shows a nice transition from the fender to the frame. As seen on template earlier we will fab the pocket cover to hide the frame mount next.
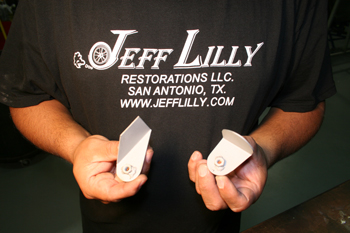
We simply fabbed a couple of triangle pieces and tweaked them a bit before tack welding it all together.
The outside view shows a clean look as she is taking on her nature.
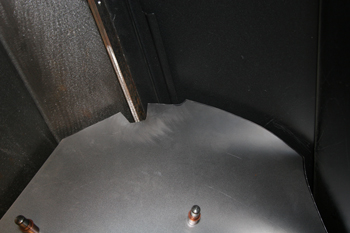
On the sides we have a nice 3/4 inch gap for the rubber seal.
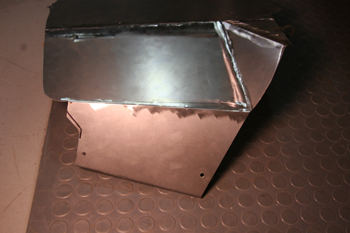
We also installed a bottom section to attach the panel from under the car so no fasteners are seen when glanced at.
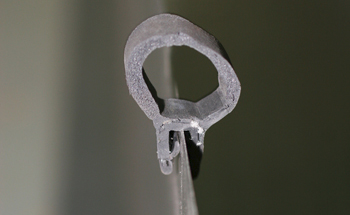
There are many pinch on rubber seals but we chose this size/brand from Cooper which is available from CR Laurence
Luie fabbed some brackets to attach the panel. These will be welded to the frame and inside rocker. 1/4 inch nuts were also welded in to bolt her down tight.
As seen from under the car on the passenger side the brackets are welded in place and ready for assembly.
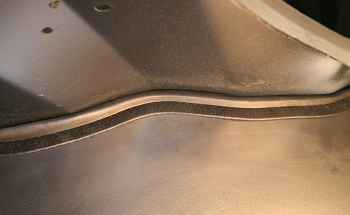
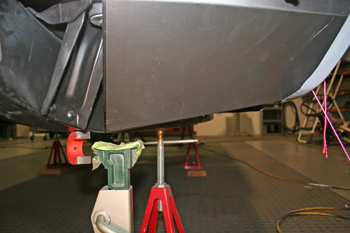
As seen we installed the rubber seal and it flows with the contour well. Having the correct amount of clearance gives us a nice fit.
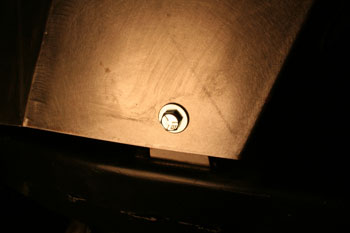
Under the car facing the ground are the attachment bolts mounted to the brackets we welded earlier.

The finished product speaks for itself. Smooth flowing and protection all in one.