

Build Tips
Smooth Fit Bumper
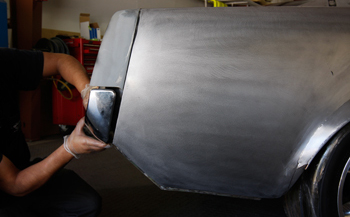
We start with holding up the original bumper and checking its natural shape, then deciding if we want to change the outer shape some or leave it stock.
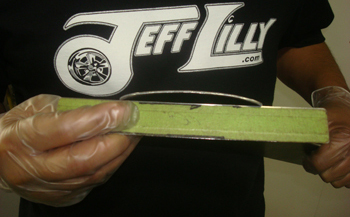
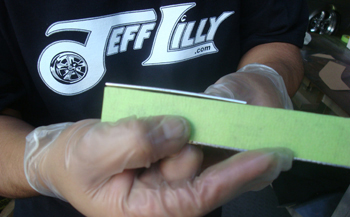
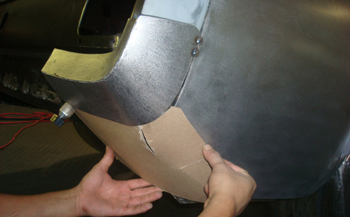
We have decided the original outer shape is decent so we start by using chip board stock which is stiff enough to hold a shape yet flexible enough to get it shaped in the first place. Mani bends it over the original bumper end and we are on our way.
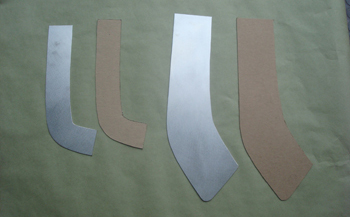
Both sections are done. Sometimes you will find a multiple sided bumper. You can opt to make only the side that fits the vehicles body and alter the other shapes or recreate the same shape only tighter fitting to the body as we did here. We will make the complete bumper to show you all the techniques.
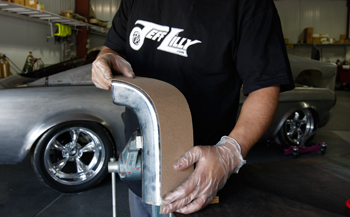
Next we lay out and cut the exact shapes in 18 gauge steel.
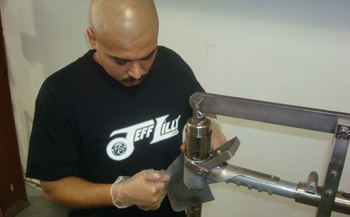
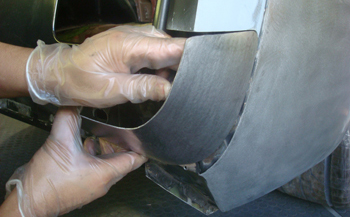
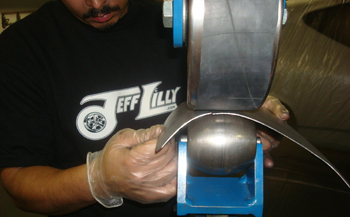
Mani uses a planishing hammer, but for the hobbyist you can simply use a block of wood or shot bag and a body hammer to get the shape going the right way.
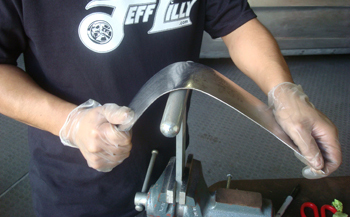
As seen he has a curve in the panel that matches the original shape but he leaves extra metal on the ends in order to allow " fitting" to the body or qter panel.

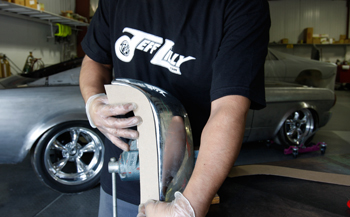
We use an English wheel to roll out all the power hammer marks but with a shrinking or slapping file and a dolly you can achieve the same thing at home.
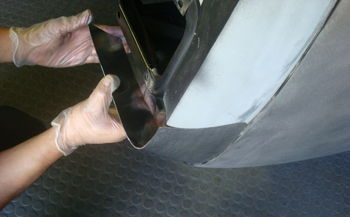
This piece compared to the other section is much more gradual but it matches its bumper section.
A little hand tweaking over a round surface as in our case a t-dolly Mani massages it in to shape.
It is starting to take shape but it needs some more tweaking.
A little more and she fits much better.
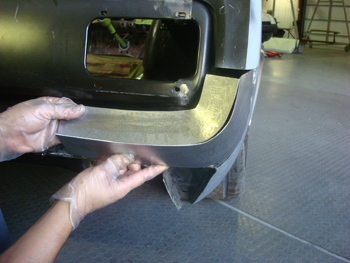
The inside piece looks pretty good also. A bit more refinement and she will be dead on.
Mani tacked them in place and went on to mock up the splash pan which needs to compliment the bumper and glide away smoothly to keep with the overall shape.
As seen there are some relief cuts where the chip board has to be bent.
This one calls for more angles, you can hand tweak this over your knee, round pipe or use an English wheel for speed as we do .
It is coming around and has a few relief cuts to help the bend.
Getting closer.

A bit more hammer work to tweak it in to shape is needed.
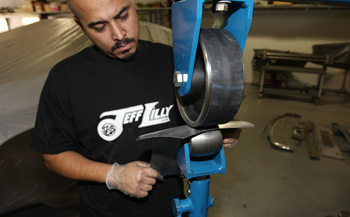
A little more wheeling, notice the rubber band on the large wheel as this is much more aggressive and speeds things up.
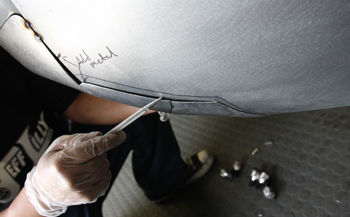
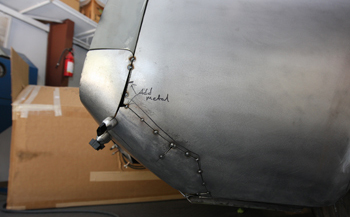
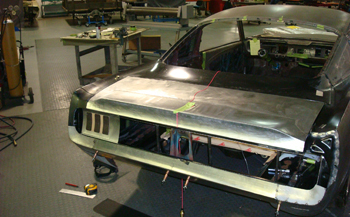
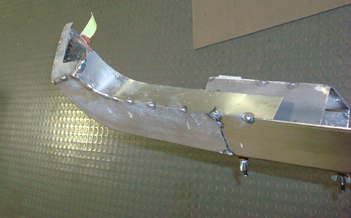
Coming together it is time to trace the orig metal and cut away the old panel to butt fit and tack weld.
Looking better a little more tweaking.
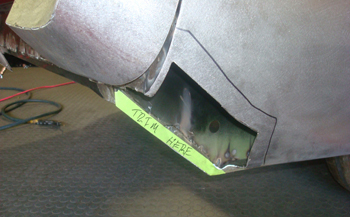
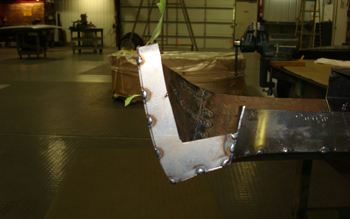
You can see how the inner structure was cut out to make room for the tail panel / bumper section.
A few tacks while working it and she is coming together.
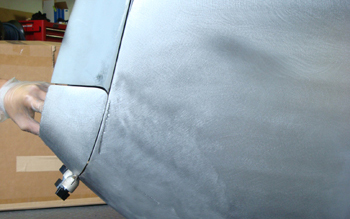
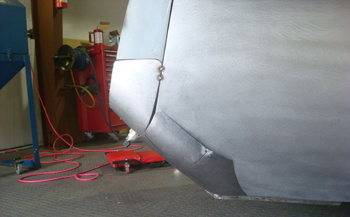
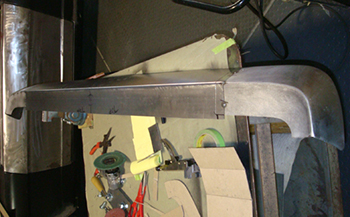
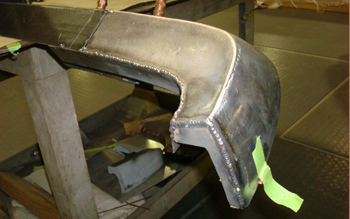
Once welded she looks great.
The bottom curve is looking good also.
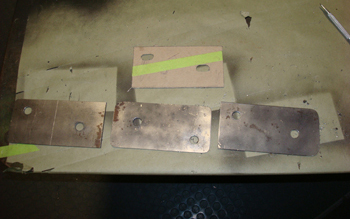
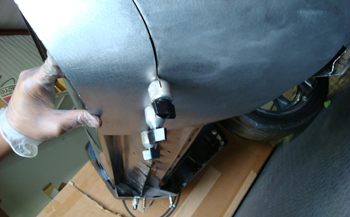
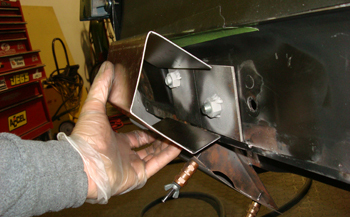
Next we make the bumper brackets. In our case the Mustang bumper is right up against the back of the tail panel so short brackets are all that's needed. We use simple flat plate to weld the nuts to.
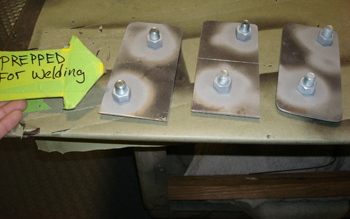
Bolts and nuts for mounting will be welded.
Tack welded on and ready to build the remaining brackets.
Several curves, we are ready.
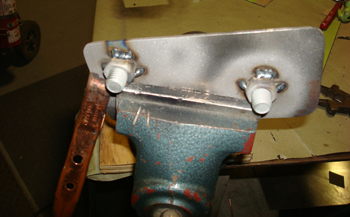
Mani fabs the bumpers main brackets by bending them in our Tennsmith brake.
You get a good idea on how the brackets will be secured to the body from this photo.

After tack welding we will fully weld it in solid once we are happy with our fit.
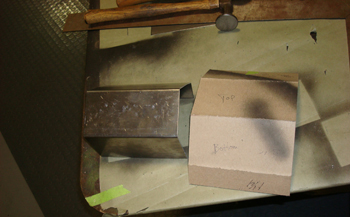
The other end piece was fabricated for the driver side. Then Mani bent some 18 gauge in the same shape as his brackets only slightly larger for the bumpers center section. As seen he made it a bit longer also. This will allow him to cut away some metal to help the curve and or transition from the outer pieces come gradually in to the center section bumper.
We bolted it up to be sure we were headed in the right direction and sure enough, we are.
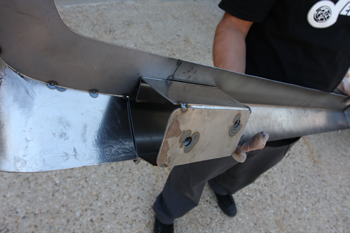
Close up shows how the brackets fit the bumpers precisely.
Mani is pleased, so on to the next phase.
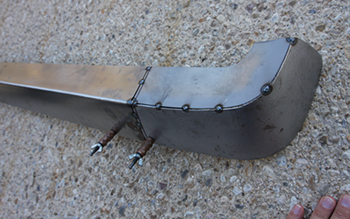
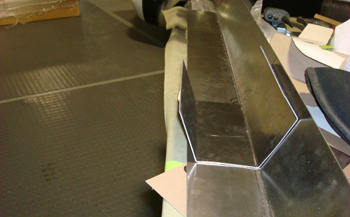
Close up shows a nice curve rolling gradual in to the center piece.
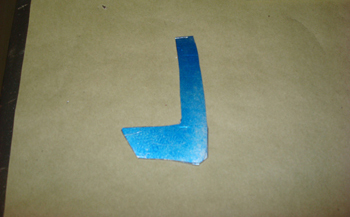
To cap off the bumper is the final touch. This piece was made after a template and is now ready for fitting and welding.
Tacked on she fills the void and also strengthens the end of the bumper some what.
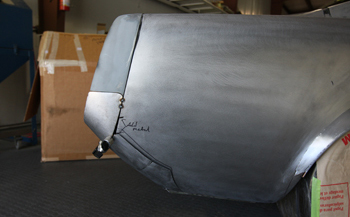
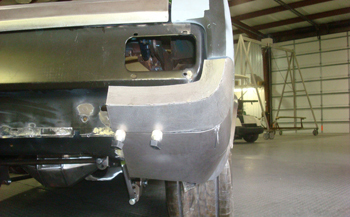
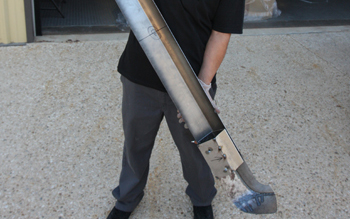
This angle shows the bumper finished and ready for full welding.
She is fully welded and ready to be ground smooth or metal finished.
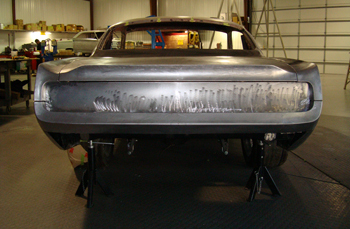
All together and now we have one wild Stang with a custom fitted bumper to the body all rolled in to one bad wam "Frankenstang" package