

Build Tips
Seat Belts
The "Behemoth" needs seat belts so we opted to mount them inside the qter panel window track area.
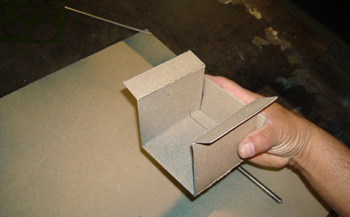
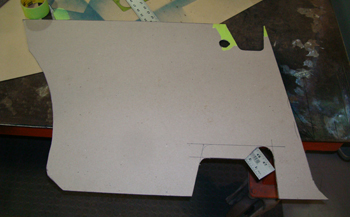
A template " belt box holder" was mocked up in chip board. This will protect and hold the retractor in place.
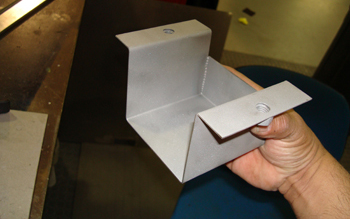
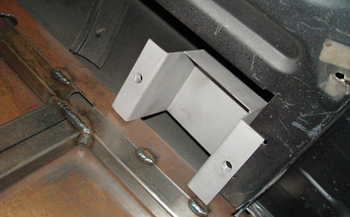
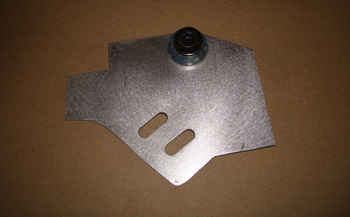
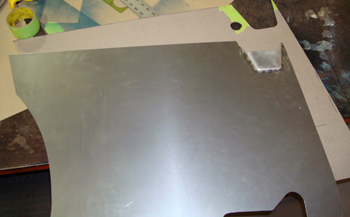
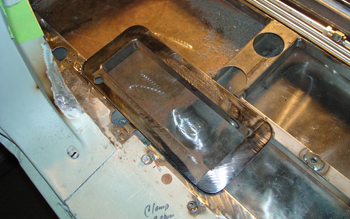
Made in 16 gauge and ready to mount.
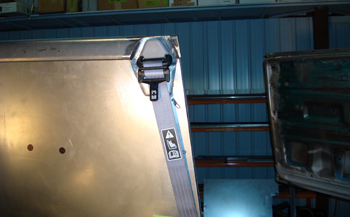
The service plate or cap is where the retractor will swivel and be held in to and against the box just fabricated.
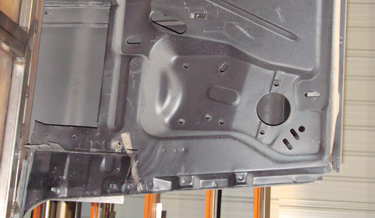
We will mount the box holder where the qter window glass will still clear in the down ward position. Down in the corner close to the door opening.
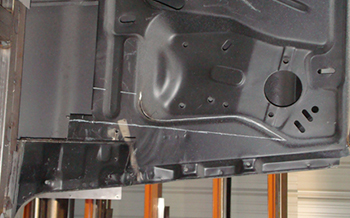
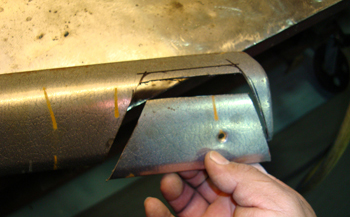
We marked the metal with chalk where it needs to be cut out to clear the belt webbing.
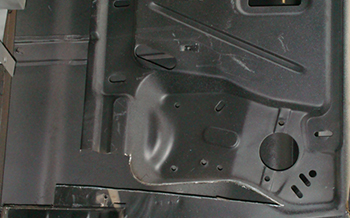
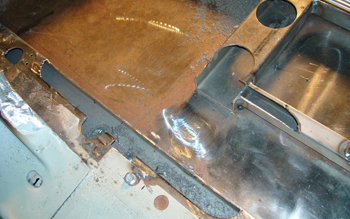
Lou sliced away the metal and we are now ready to build the web slider pocket.
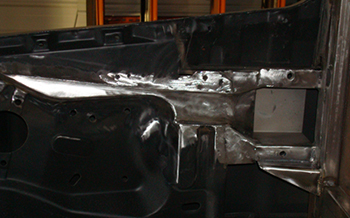
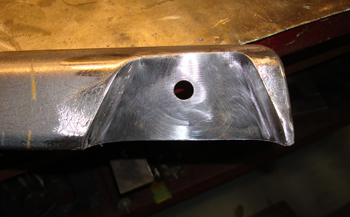
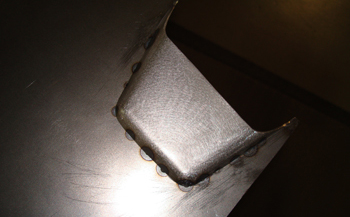
We fabbed some metal to fit the webbing and installed the box and welded it in solid.

This is the passenger side box before we welded it in fully. As seen we added a gusset to stabilize it.
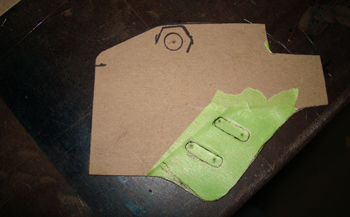
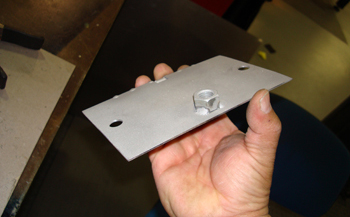
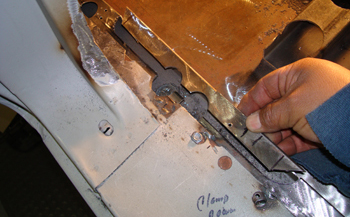
This template is the belt loop sliding ring mount.
Lou fabbed it in 18 gauge with a special mounting nut and bolt.
The belt loop retainer will be mounted at the very top of the qter window so we need to cut out the trim that fits in this area to make way for a custom swivel pocket to be welded in.
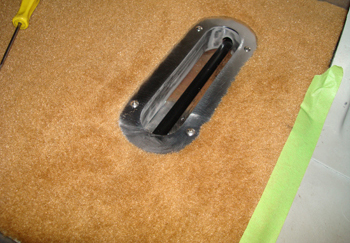
As seen the swivel loop pocket came out nice on the cover and is ready to install.
A qter window interior panel will be made to look good and fit around all the fabricated areas. Mocked up and ready to build.
As seen a lower pocket was formed to allow the belt loop to clear.
It was time to install the belt loop ring mount and weld in place.

It was time to install the belt loop ring mount and weld in place.
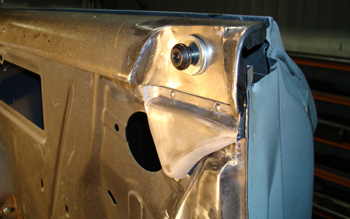
With our upper cover installed you can start to get an idea on how she will look once completed. As seen below on the upper cover. Lou made a belt protector to keep the interior panel from touching the belt webbing as it goes up and down in the pocket when being used.
The cover is installed and she is tight against the qter window so no one getting in to the rear seat could ever snag their feet on it.
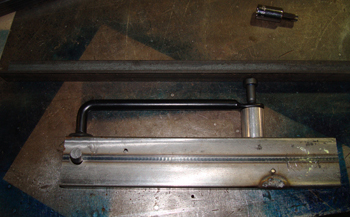
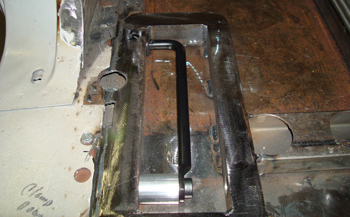
The seat belt floor anchors were built to allow easy movement with no binding. A 3/8 hardened rod along with 1x2 tubing, round chromoly for the spacer and a grade 8 bolt were combined to build it.
Lou marked the floor then removed a section of the rocker panel and bracing to allow room for mounting the system. New metal tends to surface rust quickly as you touch and work on a project. This will be media blasted then primed later on during that phase of the build.
We are now ready to mount the unit.
He added a base plate to the top of the floor anchor system then placed the complete unit down inside to check the fit.
Once finished we will black chrome the rod. Time to weld it in.
A trim ring was built and installed on top of the base plate. This will be finished in a stainless satin finish once the car is done. We also used a scrap piece of carpet sandwiched between the base and trim ring to be sure of the fit once final assembled.