Build Tips
Roof Louver
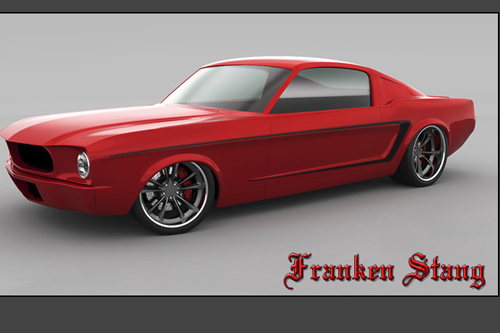
The qter panel louvers or "air duct" on a Fastback Stang have been customized many different ways throughout the years including bolt on items from various companies. We prefer our touch of customizing this area to a modern smooth flowing look. Check out the following story and decide for your self.
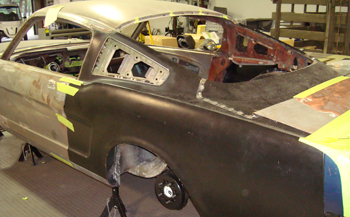
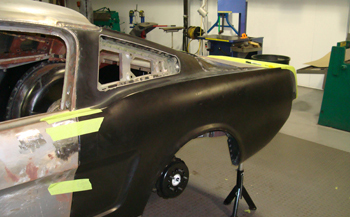
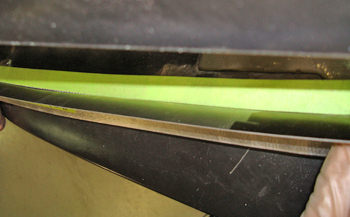
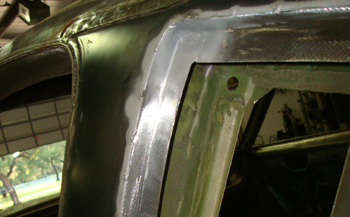
The rear angle shows an open unmodified air duct ready for action.
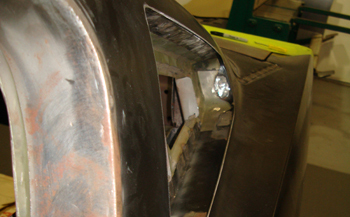
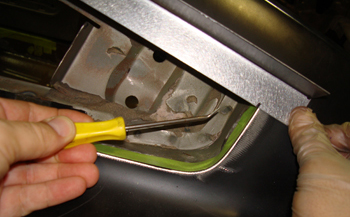
This close up shows many angles stand in our way to accomplish what we are after.
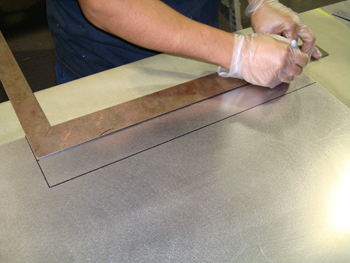
To get started Mani takes some 20 gauge steel and marks out some strips approx 20 inches long by 2.5 wide to make the supports for the inside of the louver.
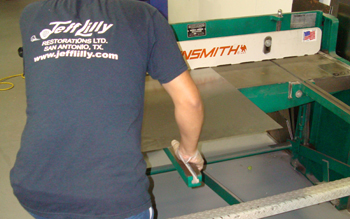
Over to the Tennsmith to make short work and square cuts on the foot shear is all that needed.

Time to mark them up.
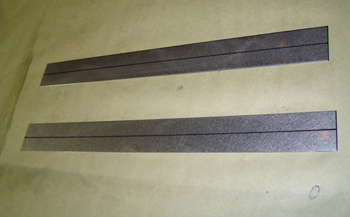
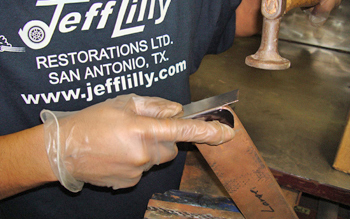
A center line is marked and we are ready to bend to an angle at 90 degrees.
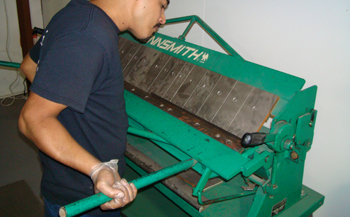
Over to the Tennsmith box and pan brake and we bend a couple of 90 degree pieces. It is best to use a gauge to keep the parts to the desired degree angle while bending as this helps consistency.
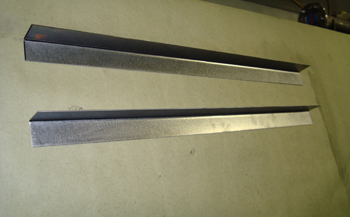
Simple 90s to start with. We will now hold them up to the surface and mark what we need.
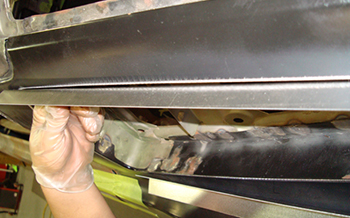
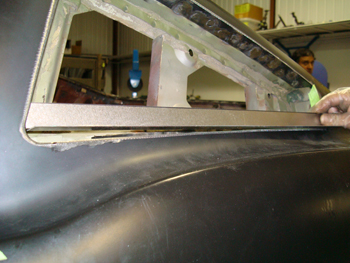
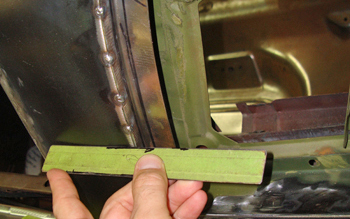
Mani holds up the 90s to the very top of the qter panel. As you can see there is a gap about a qter inch. Some shrinking is needed to fit them exact.
He places another section against the front edge and the square 90 shows you how far off they are. A more aggressive bend is needed on this part.
The bottom is the area in need of the most shrinking. About one inch off at the very back.
We take a look under the bottom edge and some shrinking will also need to be performed here.
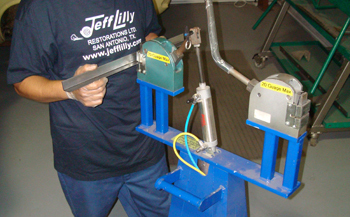
We use a Mittler power stretcher and shrinker but a hand operated unit will work just fine. When shrinking it is best to limit the aggressiveness of the shrink. Do not push the metal in more then 3/4 of an inch, as this will allow a smooth shrink. The idea is to gradually bend the part over the longest area possible and still get it to fit.
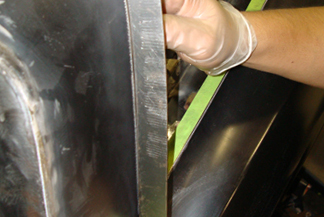
Mani hits the mark the first pass as she looks good and fits well.
Top angle shows a nice fit. Notice the serrations only marking the metal 3/4 of an inch inward.
The top piece matches also.
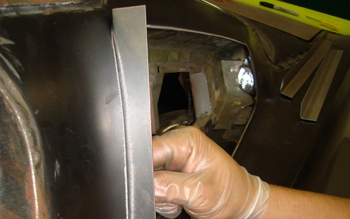
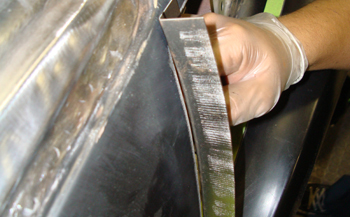
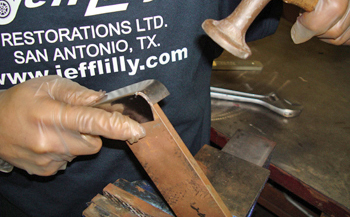
Once all the pieces are shrunk to fit he holds the top part against the body and uses a bent scribe to mark the back side. He sprayed a bit of black krylon on the back side before hand to enable a nice scribe line.
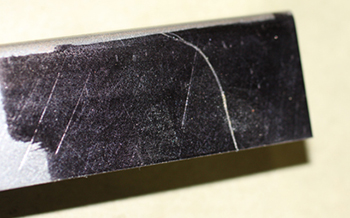
The scribe line is easy to see and ready for cutting.
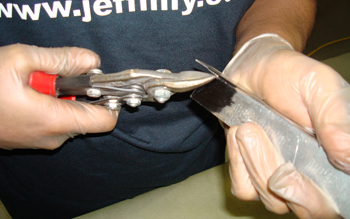
A seen on the previous photo he scribed the front section and he snips it out to get an exact fit.

A little filing helps things fit dead on. Hand work still rules.
Over a t-dolly he hammers the edge down to roll the metal for the concave shape to come alive. This front part has to roll at the corners as you will see.
As seen a slight roll is now in the part.
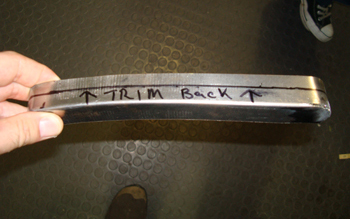
Mani drew a marker line on it to show you the area he wants to trim. This allows the part to be recessed 3/8 of an inch once installed.
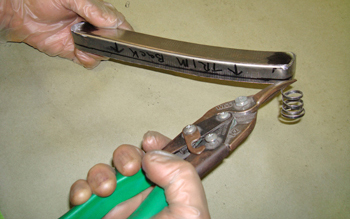
The same procedure applies as he snips off the excess inside wall on the piece to achieve the 3/8th depth then uses his angle grinder to remove that last bit to the line.
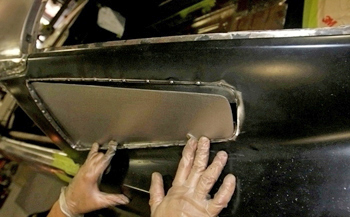
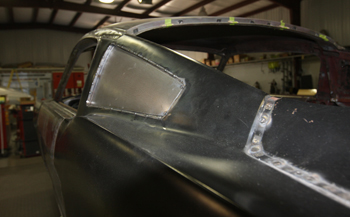
The front section was then tack welded in as seen 3/8 of an inch recessed inside.
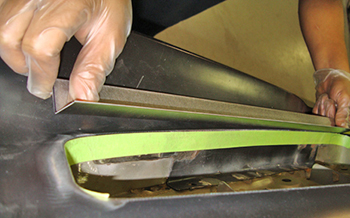
He needs to trim the top length to fit at the 3/8th depth in the front and panel level at the rear. He clamped it to the side piece just tacked in and is holding it on an angle to the very edge at the back. This will allow the panel to be recessed in the front down to level with the qter at the rear. Then he scribes it for his trimming location.
As seen on the top section it is quite an angle to be trimmed.
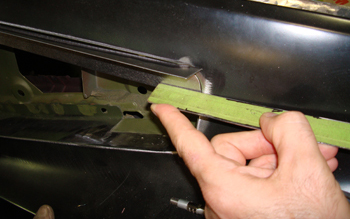
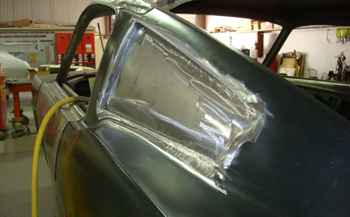
To show you better as to location you can see how it is level at the back of the panel. He repeats the same procedures for the very bottom and then he will tack it all in place.
This angle shows you the 3/8th recessed area at the front attached and tacked together with the side pieces.

Mani laid out a template for the main body panel/cover and applied tape to stick it in place while checking for fit.
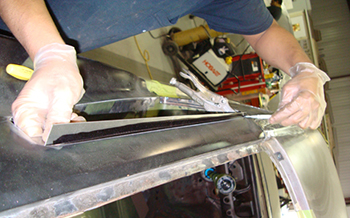
He cut out the steel and as seen she needs some wheeling to get her to fit the radical contours.
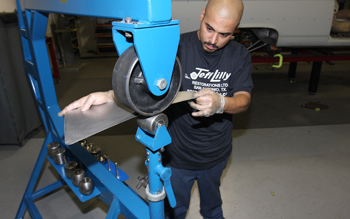
Check out the rubber tube on the large top wheel. This inner tube allows more movement on the English wheel for a faster stretch. Mani works his thing and contours the part in to shape.
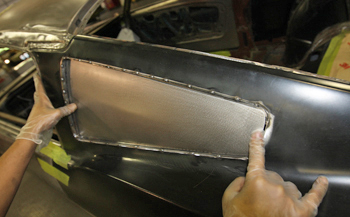
Much better fit as she is coming around.
Tacked in place we are happy with it and Jeff passes it with his raise the bar eye so we will proceed on to fully welding.
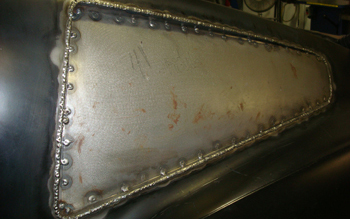
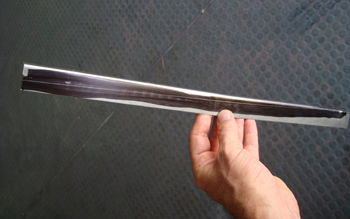
All welded up and time to grind.
She is ground smooth and ready for primer and paint.