

Build Tips
Roll Cage
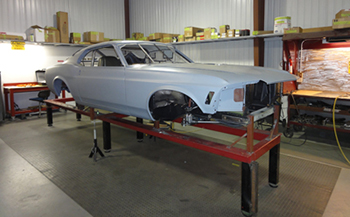
Our candidate for a custom Roll Cage is a 1970 Mustang. This car will feature an all aluminum 351 W putting out 750 HP and backed by a 4 speed 480LE GM automatic transmission. The custom Ford 9 inch will have 35 spline floating axles. This project is from Australia so we aptly named it the "Out Back Fastback "
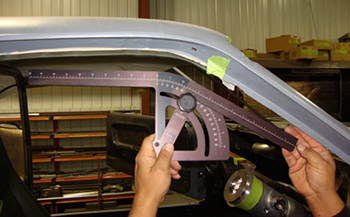
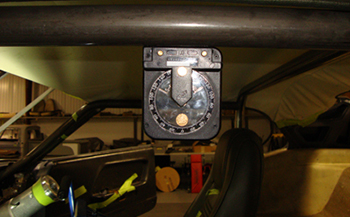
We start by figuring the angles at strategic locations up and around the roof area and we make note of our findings on paper to come up with a plan. Using a flexible protractor makes a major difference by taking the guess work out of it.
As seen Lou noted where he wants to make the bends on the outer rails to fit within 1/4 inch to the headliner of which we installed for fit purposes.
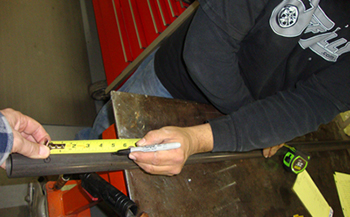
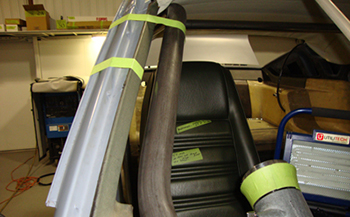
Regardless if you are using chromoly tubing or mild steel, all the techniques are the same, only the bend back rates change. Lou marks his tubing according to his plan and away we go. We always leave the tubes a minimum 6 inches longer to allow for exact trimming and or notching when joining to another bar in the cage.
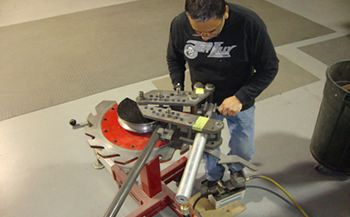
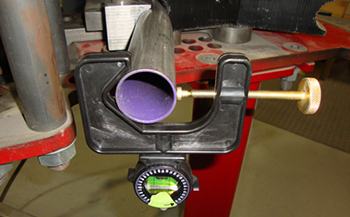
We have a JD Square model 4 bender but any hydraulic bender will do the job as long as you have the correct radius for the project requirement.
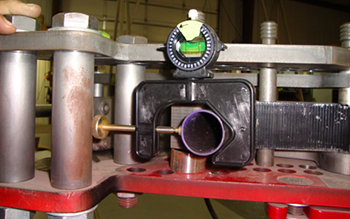
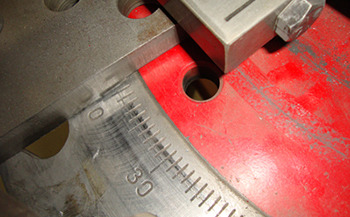
As seen on the end of the tube he has a level attached with a clamp to the pipe which assures an accurate bend when looking to do multiples of the same bend.
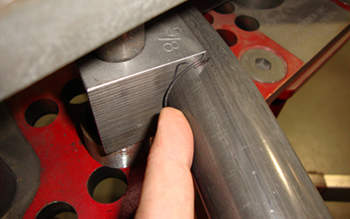
Our marked line is now set against the block as a starting point.
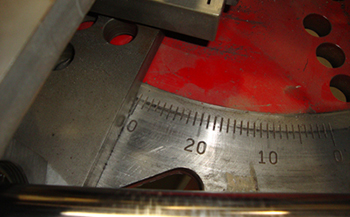
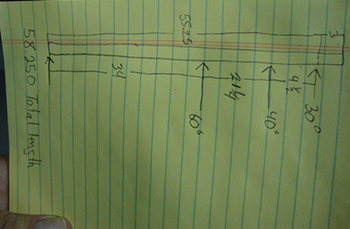
Degrees are on the dial as with most benders. We start at 0 and bend just a bit past 30 degrees allowing for " Bend Back "
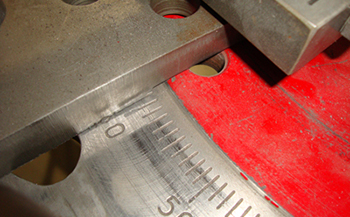
Next on the list was a 40 degree bend on the 2nd mark.
The pipe is now flipped over on this bend because of the angle needed to clear components. As seen the bubble is still level. We will now make our 60 degree bend and fit it to the car. Different angles are needed to clear components so the dial allows duplication on the opposite side of the car. Simply write down the numbers and repeat on the opposite side.
Sixty was our final bend as we have it nailed down.
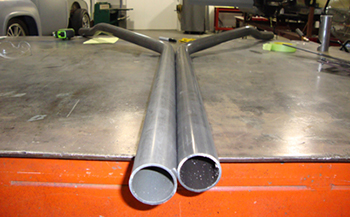
Once we were satisfied with the fit we simply made a duplicate for the other side. As mentioned we now have excess tube where we can cut and trim away to be sure of a dead on fit.
In order to fit the tube we have to notch the end to fit against the main hoop as seen. We use a wire form tool to tell us the exact angled notch we need to match the tube.
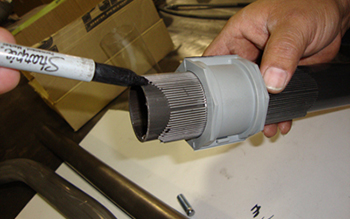
The end is marked using a sharpie and we are off and running.
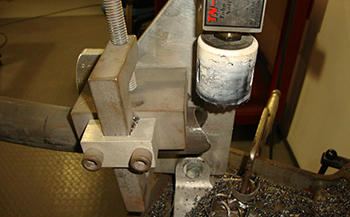
Using a quality tubing notcher it is time to cut.
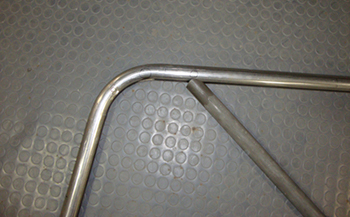
Lou fit the tube and she is looking good.
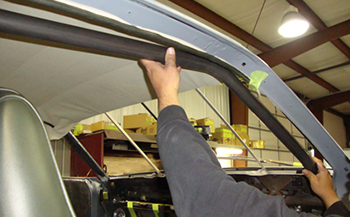
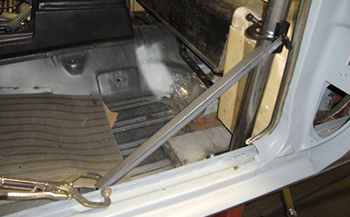
As seen she snakes away from the bottom of the windshield post and over toward the dash pad.
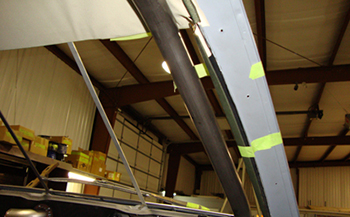
Another view to show it lining up close to the windshield post and then stepping down through the dash corner.
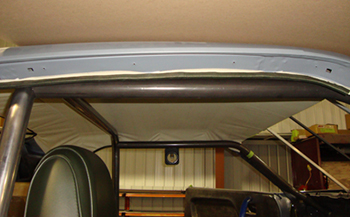
It fits against the headliner about 1/4 inch away and is level.

As seen the notches fit against the lower dash cross tube very nicely and can now be tig welded.
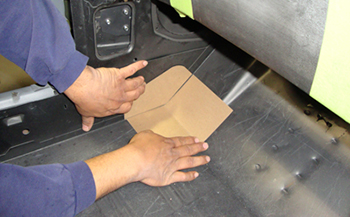
Next our floor supports are mocked up in chip board.
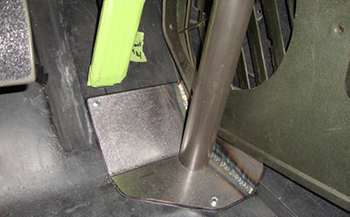
Then we made them in 14 gauge steel. Tucked up close and just enough room to clear everything but still remove the kick panel. Maximum foot room is needed.
A cross bar from one side to the other of the main hoop is mandatory and a minimum requirement in most rule books. We will build a complete X in ours for added strength.
Protractors are used to be sure of level from side to side exact duplicates.
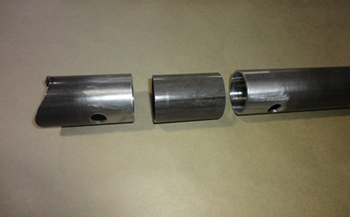
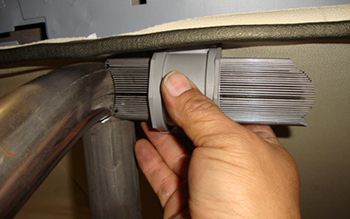
Next we prep some of the bars to accept bolt on sleeves that we machined. This Roll Bar will be removable for street use and also help in cosmetics for paint and assembly.
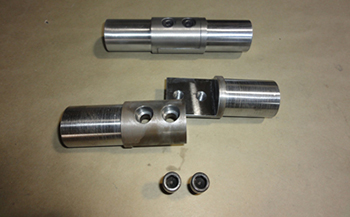
These special steel sleeves with twin bolts will allow removal of the cage and are acceptable in the rules we are building the car for. Check with your Country for particular specs.
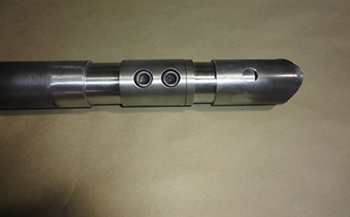
They are pretty cool two haves mated perfectly strong as you want. Simply slip them in with the right tolerance and they are tight but removable.
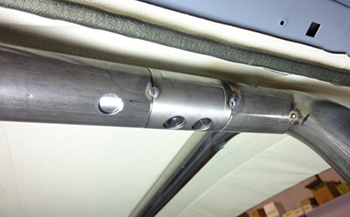
Installed and tack welded for now. They are installed in crucial areas to separate the bars from the main hoop to remove. The roll bar padding will cover them once installed.
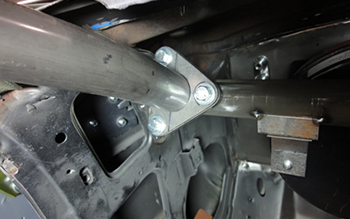
In order to remove the bar from the dash, we had to build a triangular three bolt holder on the front tube. The tube is open on the back side to accept a male reinforcement as seen in the next caption.
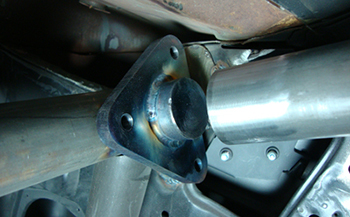
The triangular male reinforcement plate is in place and adds stability in the case of a rollover.
A few common supports we use are clamps that tighten against round tubing to hold things in place when fitting.