

Build Tips
Rear Spoiler
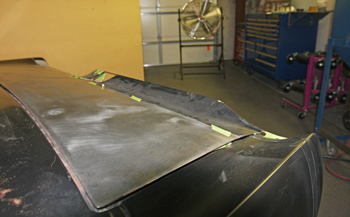
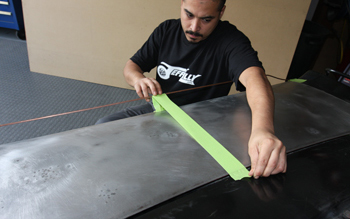
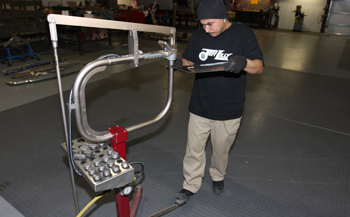
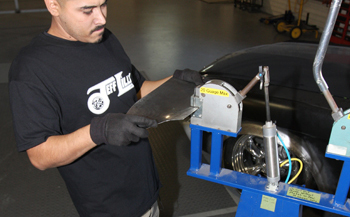
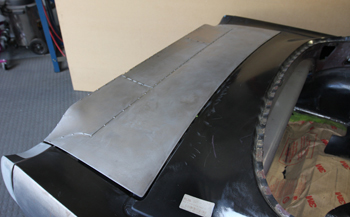
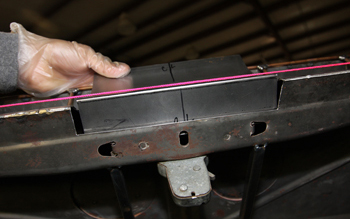
We use heavy mil chip board to design our concepts. Being able to mock up shapes in your head to something you can actually see in an efficient manner is the key to making final decisions as soon as possible. We tried a few transitions in keeping with this body style and sprayed them with some black Krylon to blend it in. It is subtle, yet it flows with the body. We then noted the measurements of the critical points from the edge of the trunk lid to duplicate it during the build.
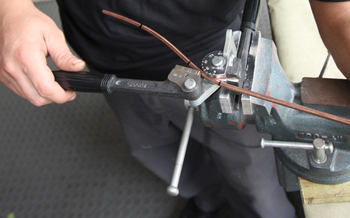
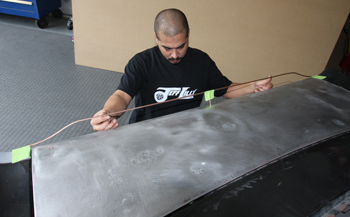
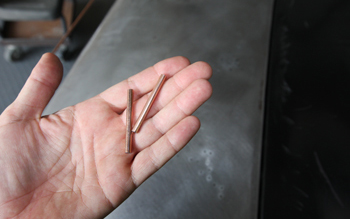
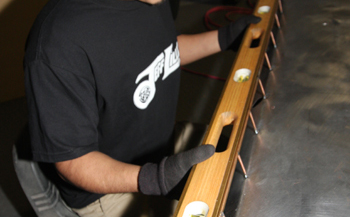
In keeping with our mock up Mani takes some 3/16 th steel rod and bends the shape in to the outer edge or "Profile" of the spoiler first. Notice the black sharpie marks on the rod as reference points.
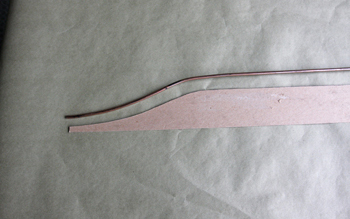
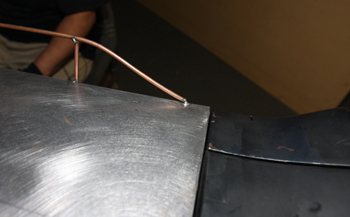
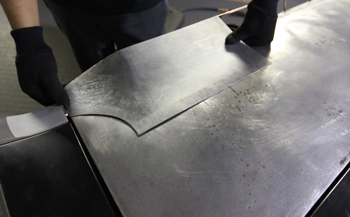
This was part of our chip board mock up on the back side and as seen our profile was matched .
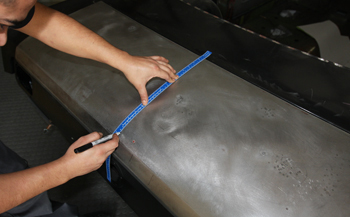
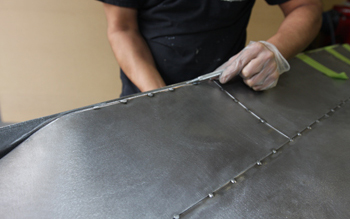
Next step Mani marks the center line of the trunk lid to line up the spoiler dead on to the body.
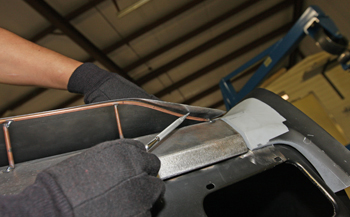
He takes a look at the angle and holds the fit with a few pieces of tape.
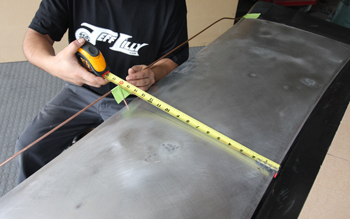
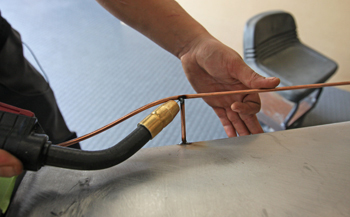
He positions the wire in keeping with his measurements that were taken from the mock up.
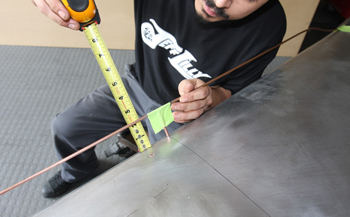
Height is next on the agenda. Notice the tape holding the tri-angle tight.
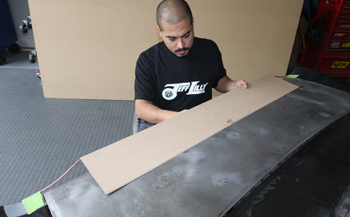
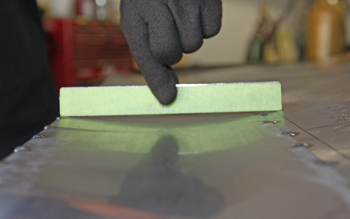
Once he has all of it held in place he lays down a piece of chip board to be sure the transition looks the way he desires in keeping with the mock up.
He likes what he sees and holds the wire in position a bit more to stabilize it during tack welding
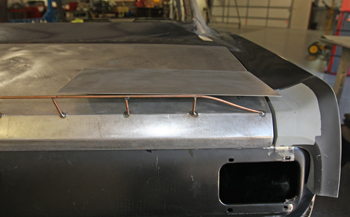
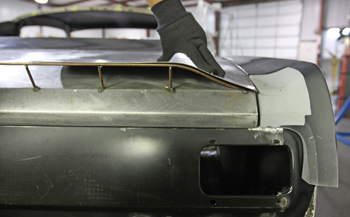
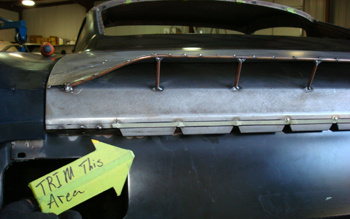
A few pieces of 3/16th wire were cut to keep the height intact and support the spoiler before the outer metal is attached.
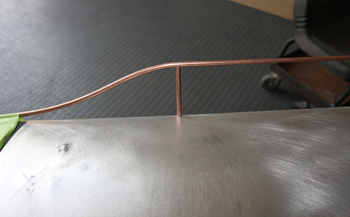
He simply inserts them under the main wire and re measures.
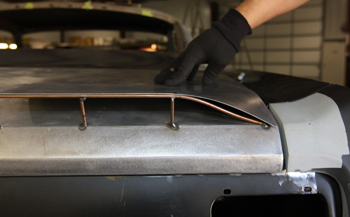
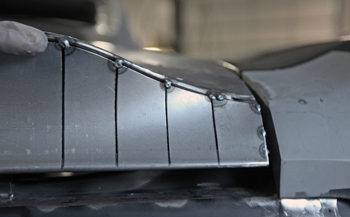
All looks good and tack weld time.
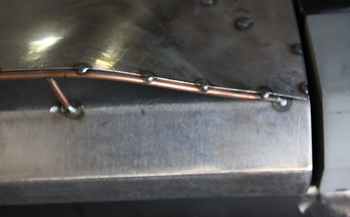
As he tacks them in to position he checks the wire with a straight edge. The original Mustang trunk lid and taillight panel have a concave shape or gradual dip toward the center but we want to eliminate that look and keep it straight across the panel which will look better and be easier to build.
He cut the end off and tacked it down too. This will allow the sheet metal to flow out to the very edge of the trunk panel for a smooth transition of which we will show you later on.
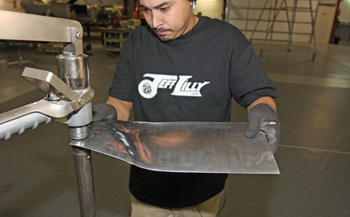
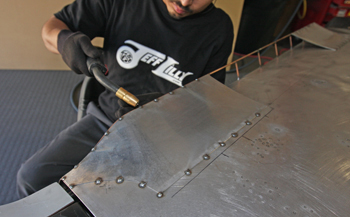
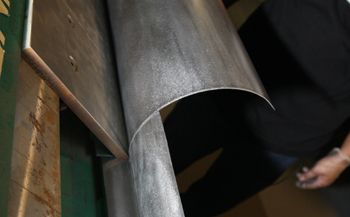
The main shape is laid out and it is time to fit some metal. Because of the multiple contours in this Spoiler we will build the top in 3 sections. As seen the outer section starts with a 16 inch long by 8 inch piece of flat metal in need of major tweaking.
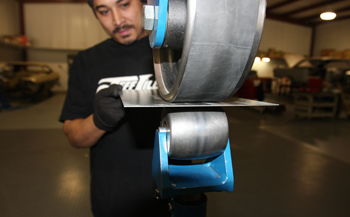
Mani goes to the English wheel first and using a medium crown lower wheel he shapes the panel to his liking. Notice the upper wheel has a "Rubber Band" attached which allows aggressive movement of the panel.
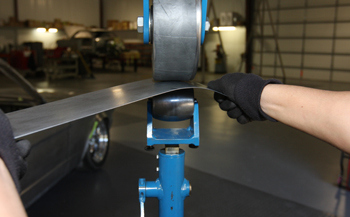
Turning the panel slightly to get a wider transition enables the panel to flow from the trunk lid up to the outer edge of our profile.
You can see it is starting to come together so on to the next shape.
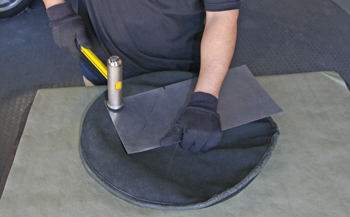
Using "Steel Shot" in our forming bag and a crowned forming hammer he moves the metal in to a concave shape on the corner.
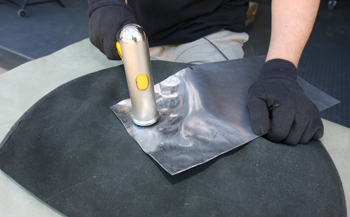
A close up shows aggressive blows to the panel to get it basically shaped the way he wants. It looks ugly before beauty takes place but this is the way its done.
Over to the planishing hammer he works his "Metal Meister" ways to smooth out the blows and form the panel.
A close up shows the panel smoothing out as the planishing hammer makes short work of it.
Starting to take shape. The idea is to have that "grafted look" so the transition from one panel to another is so smooth that it looks like it grew that way.
It is coming around but needs some more tweaking and a bit of shrinking.
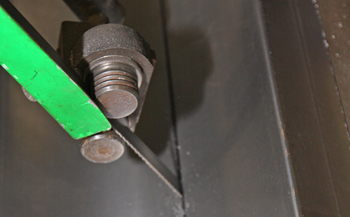
Mani goes to the Mittler power shrinker/stretcher and pulls the edges in to get it to fit better.
Now she looks good and the grafted look has been achieved.
It fits well and is in need of a bit of trimming. As the panels gets stretched and shrunk it grows in some areas.
Mani uses the carbide tip and marks the bit of overhang to be trimmed.
He trimmed off the excess and tack welds it in place. Most of the time we will cut the under-lying panel and butt fit the two together but the trunk lid on this project has a lot of convex shape to it which makes it contain a lot of spring back so we will simply weld it solid right on top.
As seen where the wire was cut it allows the edge to lay down nice.
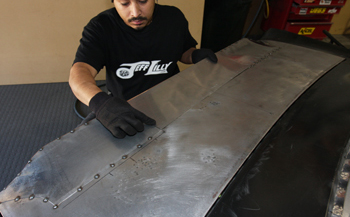
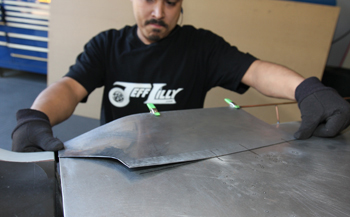
Mani knocked out the driver side the same way and prepares to lay the center section in matching the two outer pieces.

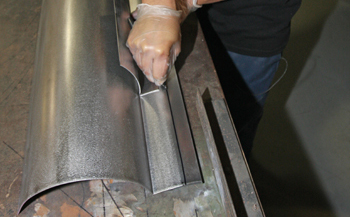
It fits nice and using the butt fit clamps he is ready to tack weld it together.
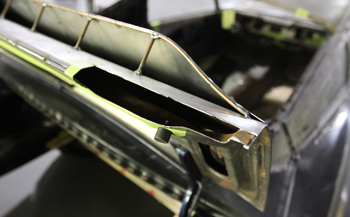
As seen below the straight edge the panel has a nice convex shape making the transition from the trunk lid to the spoiler tip very gradual and " Grafted Looking"
It is ready to weld up solid but we will build the back section first.
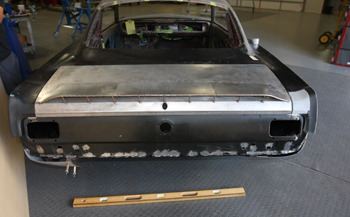
Looks subtle and smooth but mean and aggressive at the same time.
We marked the trunk lid one inch above the bottom edge to reduce our overall spoiler height and to remove the factory turn down lip. We then cut reliefs and welded the edge to keep the panel from separating. Once we had all the tacks in place we cut the remaining one inch lip off.
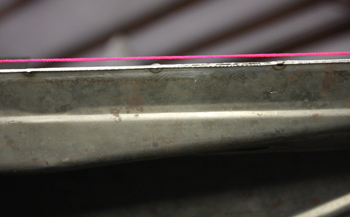
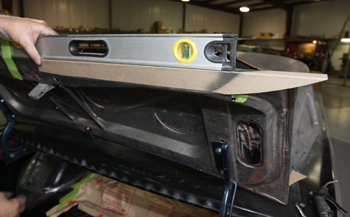
We ran a string line from one side of the trunk edge to the other to show the dip in the factory trunk we were referring to earlier.

Mani fabbed a steel mock up piece from his orig chip board section to check the fit. As seen the edge matches the string line.
On the under side he marks the steel to allow a butt fit.
The corners had to be cut back some in order to allow our concave back to exit the sides with out having a dip in it from side to side.
He fit the mock up to the ends and she clears nice.
As seen on the back where it meets the upper section that we just built some tweaking is needed.
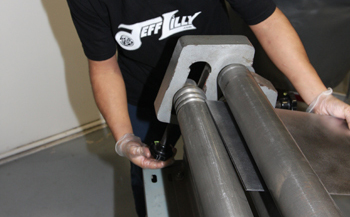
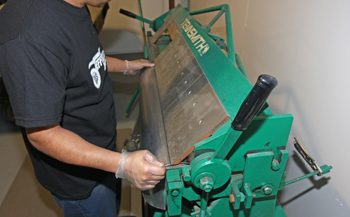
Next stop Mani goes to the Roller and adjusts the machine to meet his requirements. Placing pre-cut metal sized to his mock up he gets ready to Rock and Roll some metal to finish off this One Off Spoiler.
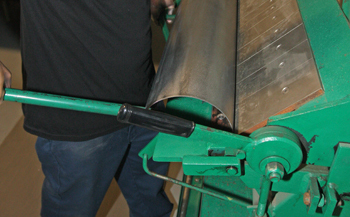
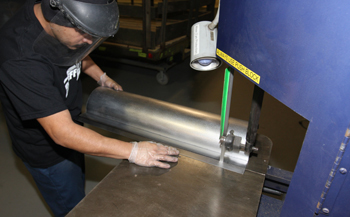
The roller makes short work of it as He rolls it to where he feels it is correct.
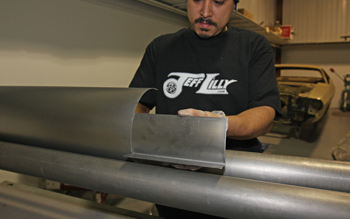
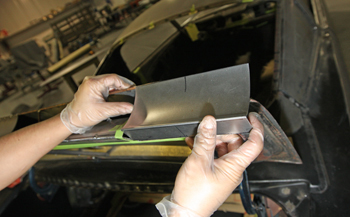
He takes his "mock up" part and she fits exact so on to the next step.
He marks the back side where he will bend it to go back to the under side of the trunk lid.
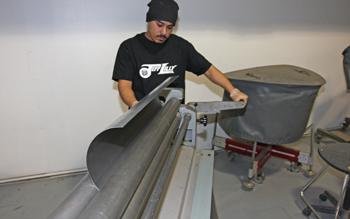
Over to the Box Pan brake he lines it up and proceeds.
Using his mock up to check against it he bends it allowing some spring back to take place
Time to trim off a bit of excess. As he had to make the part much larger then needed to allow room in the roller and get the shape he wanted. This also allows him the room to make a bit more of a bend in the panel to match his mock up.
He goes over to the Roll in band saw and trims off the excess and is ready to final tweak the bend.
As seen the new back side transition piece matches his mock up dead on so we are getting closer.
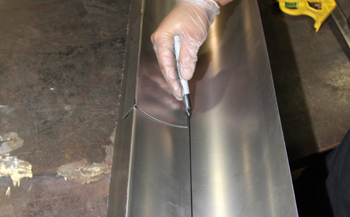
Using his mock up and a sharpie marker he slides down the edge to "get it close" and trim a bit more off so he can fit the panel.
On to the band saw once again he slices it away.
Next Mani placed some mock-up board on the trunk lid and trimmed it to fit his confines on the back side.

With the new spoiler flipped over you can see where it needs to be trimmed back.
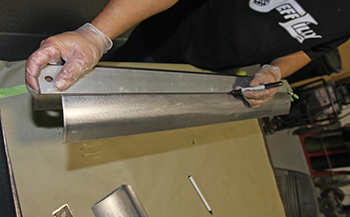
He fit it again and carbide scribed the edge for a bit more trimming on the top.
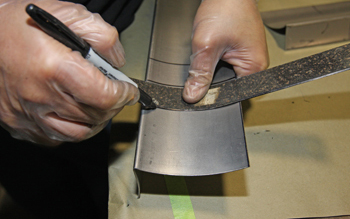
Taking a flex ruler he marks one inch apart on the ends to allow tweaking the part in to the top profile wire on the outer ends.
Marked and ready to slice some relief cuts on the lines.
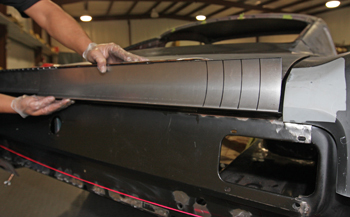
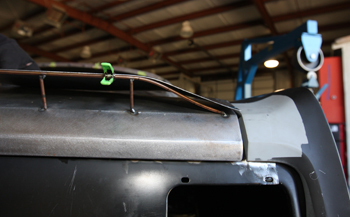
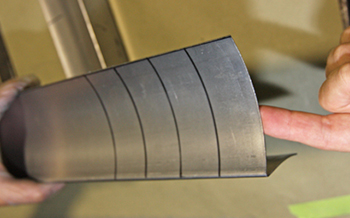
He fits it up and she is looking good.

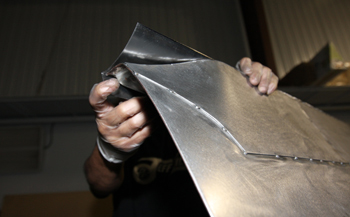
You can see how the individual sections allow you to twist them a bit using a hammer and chisel, then tack weld one point, then twist a bit more tack the next point and again until its done for a subtle transition.
Mani will now finish all welding then grind smooth to get it ready for body and paint.