

Build Tips
Quarter Extension
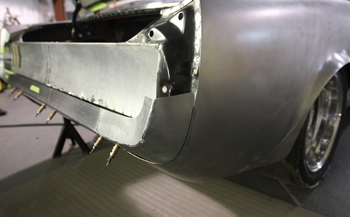
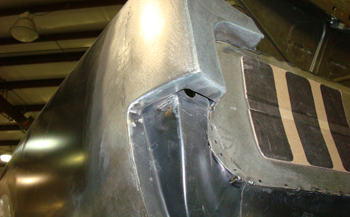
In this customizing example we will rebuild the qter panel extension in steel but instead of them being bolted on to the car showing a separation line we will build them as part of the qter giving a cleaner look. The bumper will be the only panel with a separation line to the body. Watch as we get it done!
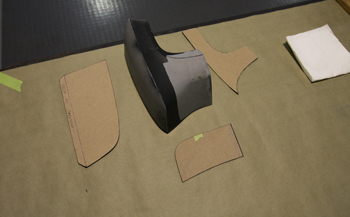
As is always the case making a template is the key. These extensions have 3 basic shapes. Minimum, Minor and Maximum.
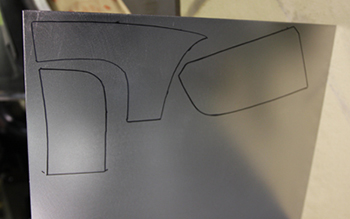
Mani is the 4th part of the M challenge or the brains of the outfit. He traces the pieces and roughs them out on some 20 gauge to match the body. After cutting them out he will begin the process.
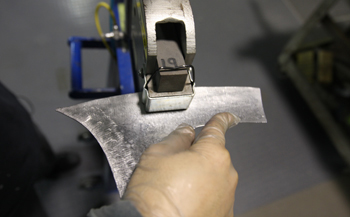
Roughed out and time to play.
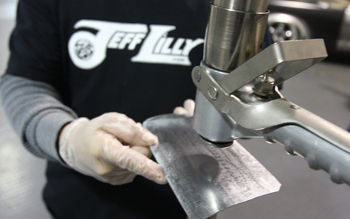
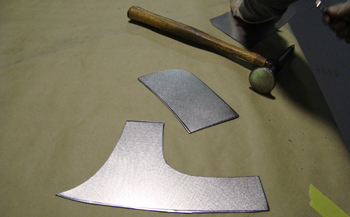
As stated before, you can use a shot bag and body hammer but we use modern equipment to make better time. He planished the outer part to get the contour or shape that will be in keeping with the qter panels natural curve.

Next he shrinks the edges to bring them in tight and pull it around some. Our Mittler power stretcher- shrinker is sometimes used by hand when small tweaks are needed as is the case on this outside shape.
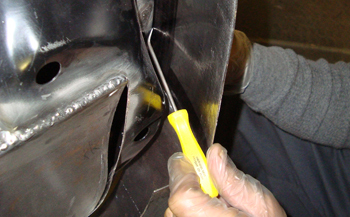
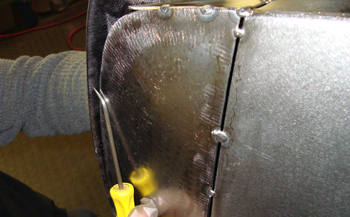
He puts it up against the qter and using a scribe tool he marks the back side to trim it a bit.
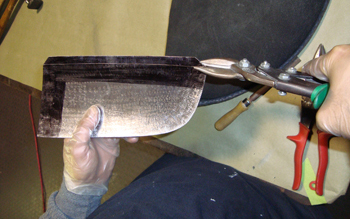
Using hand snips he trims it on the scribe line.
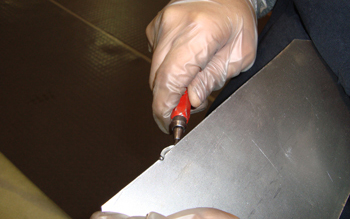
Using a burr tool he removes any sharp edges to allow a better fit and keep the fingers from slices. Note the vinyl gloves Mani wears. This keeps the steel from rusting due to the moisture and acid on human hands.
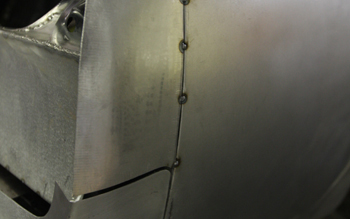
Tacked on she is starting to take shape.
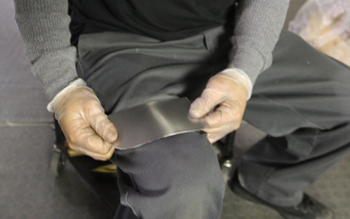
As we mentioned this work can be done with hand tools and sometimes body parts as Mani tweaks the top section over his leg. Like legos and building blocks, boys will be boys putting things together.
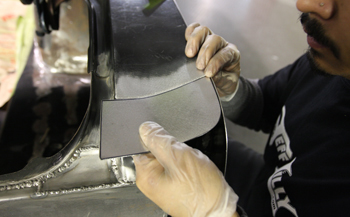
Fits pretty good, now just a bit of trimming.
Tacked in place, the top section is coming around.
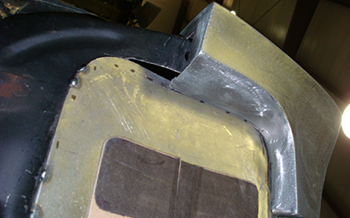
Now the center section. We showed you the Minimum, then the Minor, now the Maximum part to build. This part has a few different contours to deal with. He starts by shrinking the metal around the edges to " gather" it up so to speak which puts a slight dip in the center area.
Next step he holds it up and is satisfied with how it is going. All that is needed is a bit of trimming.

After trimming it fell in to place. Tacked on and ready for full welding.
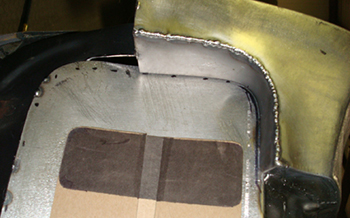
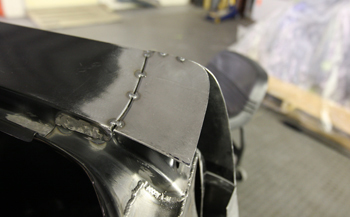
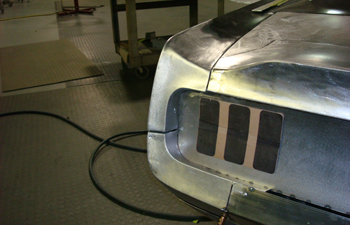
Fully welded she is ready to be ground smooth.
We also installed a cap on the bottom edge to finish it off.
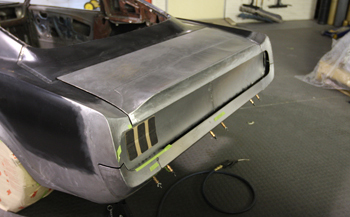
Looking good like she should.
On all angles she presents herself well.
Nice and custom to say the least.
We stand back and take a look at the fruits of our labor and are pleased. What do you think?