

Build Tips
Quarter Panel
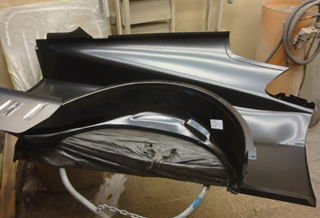
70 Mustang qter panel install there are many new parts available for classic cars today but you have to wade through the myriad of import parts that do not fit to find the best repro parts out there. Our demonstration car is a Mustang but these same techniques can be used on any qter panel replacement.
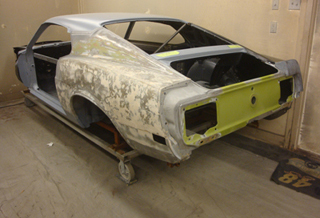
She looked good with old paint intact but unless it is bare steel you never know. No rust to speak of but side swiped and dented with out correct straitening procedures. Some one simply pasted it with bondo now the truth be told. Proof in the naked pudding!
Close up shows where Mani has the qter marked for initial slice. Once he gets the outer layer off he can work the edges where the spot welds are easier.
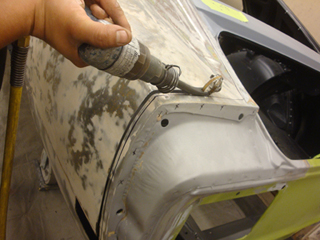
Using an impact hammer and cut off blade he proceed to slice the old panel away.
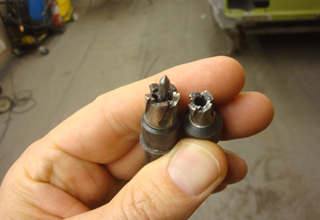
We use various size rota broaches for different size factory welds.
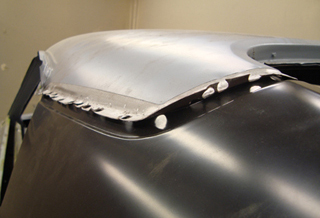
As seen on the roof area we have the original panel spot welds wire wheels clean floor pin point accuracy.

There are various spot welds located in different areas so inspection and being careful not to over look any is crucial
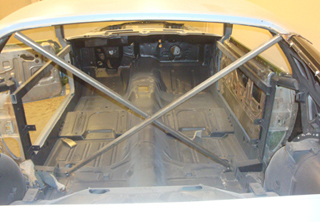
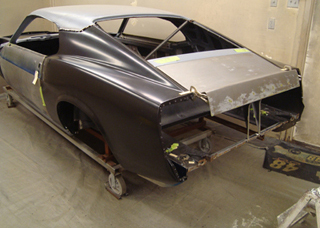
Cross bracing was tack welded in place to stabilize the roof and qters.
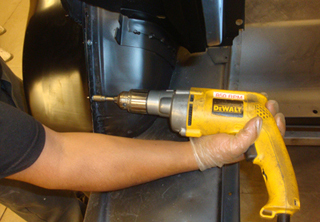
Next Mani takes off the outer wheel house as it needs to be replaced too.

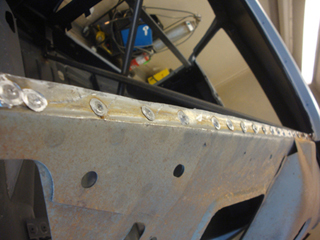
Once they are all drilled out careful grinding is needed to keep the original metal at its full thickness for strength.
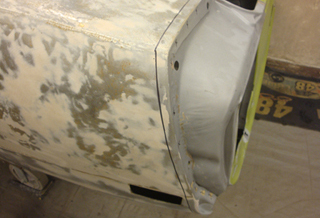
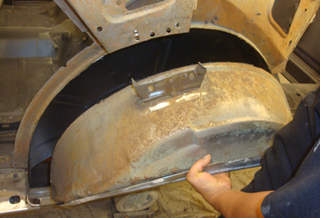
Mani has all the welds ground smooth s it is time to fit the new outer wheel house.
As seen the factory alignment holes are dead on. Most often the inner wheel house will not need removing when qter panels are replaced because of rust problems.
A basic fit is all that is needed at this time because once we put the qter in place for the first time we want to be able to move the outer wheel house around to match the qter panel so leaving it a bi loose is good.
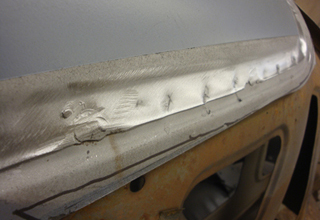
All of the spot welds will need to be ground smooth where they were cut off and as seen on the fastback glass they are ready to be taken to level with the base metal.
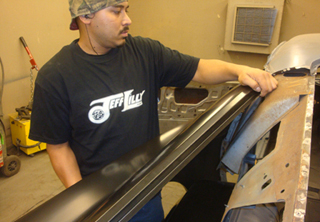
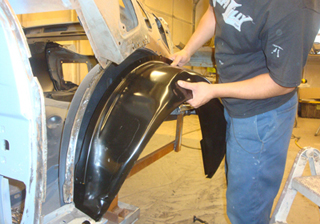
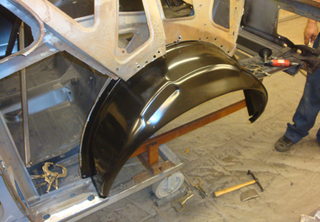
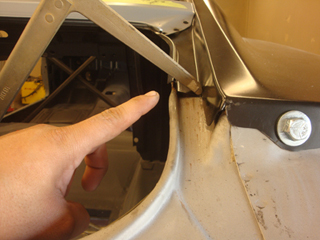
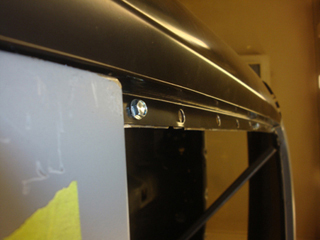
Mani slides the top or roof edge under the roof section first to allow clearance when installing. Not every qter goes under the roof but some do. This doe make it harder to fit because of it.
As seen the roof edge was peeled up slightly to allow the qter to slide under it. Once we are satisfied this will be tapped down in order to weld it all solid.
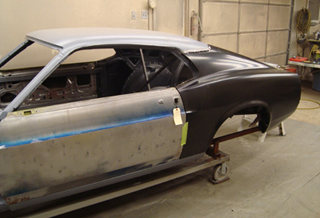
Next step is to install and line up the door to be sure of a matching panel system from to back.
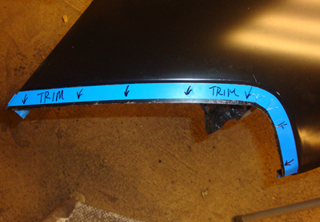
It was determined that a bit of the outer edge of the qter needed trimmed to allow maximum fit so we marked and are ready to trim it.
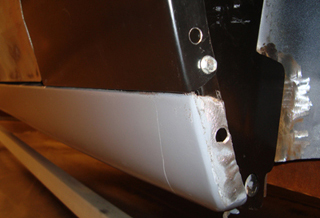
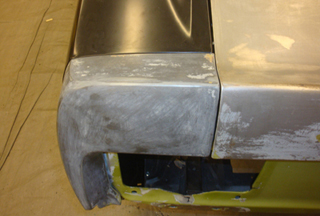
Another important area is the qter to rocker panel fit/ A thin 1/16th line is premium ad the desired goal. The panel should be flush up and down as well as in and out.
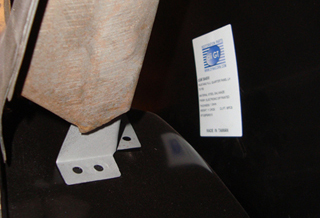
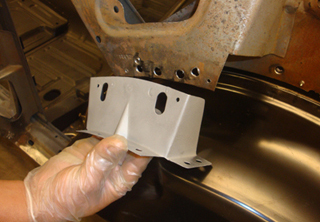
On the back side of the qter there is a bracket that attaches the main wheel house to the bracing.
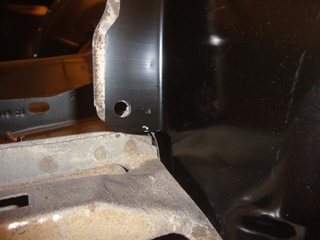
This is the seam that drops off below the trunk lid edge. Many repro panels do not fit in this area. As seen the crown is rolled slightly and will need to be held in place with vise grip pliers. It’s the little things that make a nice panel installation.

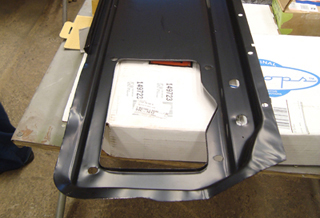
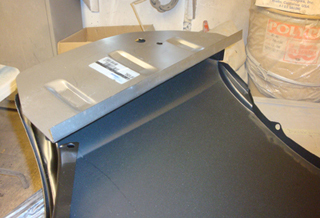
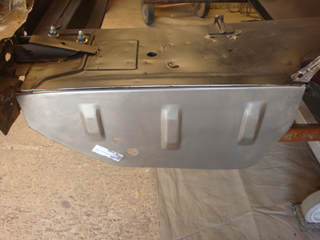
These are the qter extensions. The sheet metal pieces needed to be taken off the old qter panels as they are reinforcements where the extension bolts up to. We will blast and prime these sheet metal pieces and then install on to the new qter panels.
Quarter Panel
Quarter Panel
Quarter Panel
Quarter Panel
Quarter Panel
Quarter Panel

Quarter Panel
Quarter Panel
Quarter Panel