Pot Metal Repair
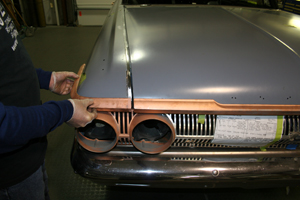
Our first determination is to be sure we can use the parts and that they fit well enough to tweak them to perfection in the first place. We then strip the chrome and nickel from the parts down to the copper plating. Often a pot metal part will look terrible after the stripping process and another part will have to be found. In our case these parts came out OK during the strip phase. There are no pits and or tears in these particular parts. On a hi-end street rod, bad fit of any part is not acceptable so proper repairs must be done. The repair methods we will show you can be used to add materials, fill pits, seal up tears and join pieces together
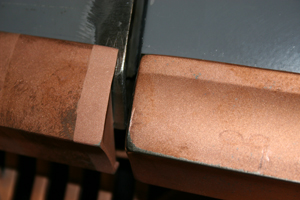
We chose this fender eyebrow molding as our example. A close up of the gap shows the part over 1/8th of an inch inside the fender edge. We already welded the fender to adjust the gap to our desired 3/16th gap between panels so the same needs to be done to the trim. Once we have our fit we will be re-chroming these parts on this project so we have to use this particular rod and flux combo as it is completely compatible with the plating process. As seen we have bead blasted the edge of the trim piece. This is best for maximum adhesion.
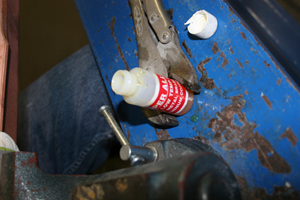
The secret SUPER ALLOY 1 flux and rod! The flux only comes in small containers so we lightly put a pair of vise grips around it to keep it from tipping over during use.
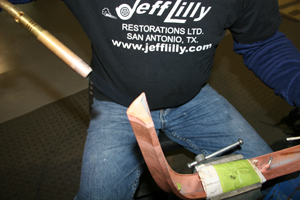
Bob puts the part in a vise gently but wraps it with several layers of paper towel and tape to keep it from marking the soft die cast.
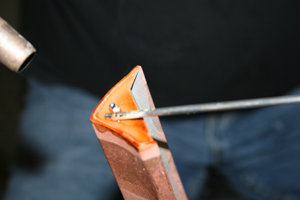
He dips the rod in to the flux and applies heat using a Propane torch. 350 degrees is all that is needed. He warms the rod and flux at the same time. When the flux turns root-beer brown it is time to swirl the rod against the part and create a "bonding coat"
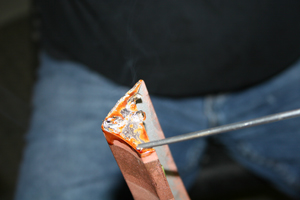
A few seconds and the bonding coat is coming along nicely.
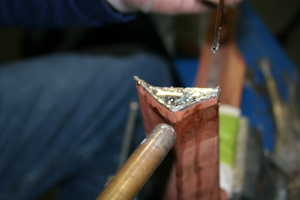
The bonding coat is complete and we are ready to cool it down.
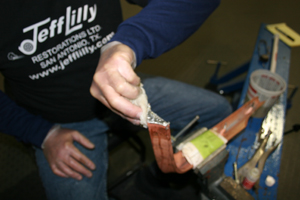
You can cool it down and remove flux residue with water and a paper towel very easily. Bob will sand the edges down with 180 grit and then mold a form around the part.
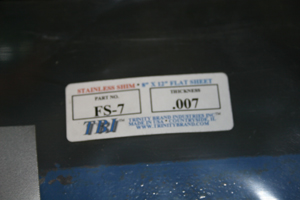
Available from Mcmaster Karr this .007 stainless sheet is easy to mold and does not adhere well to this special alloy, which makes a natural release agent once done.
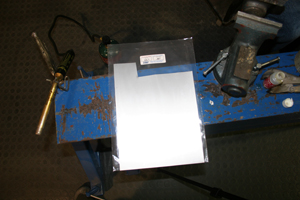
We simply snip a bit off and start molding around the part.
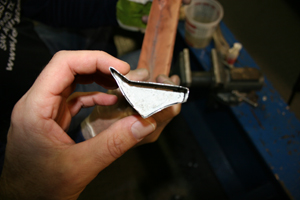
As seen Bob has the form done, it is a strange shape. Most parts are easier then this one so this is a good example of how well the stainless sheet works.
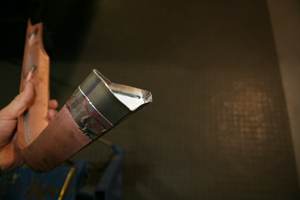
This angle shows aluminum tape holding our form in place. Home Depot, Lowes etc has this stuff in the Heating /AC section. It works great and can take the heat.
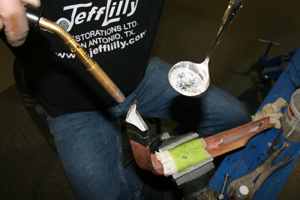
He is ready for round two. Gently heating the area to a warm temp the rod will adhere to the bonding coat or itself, easily. In this particular situation he needs to build it up over the desired amount to file and sand it back to the desired gap. He is melting some rod in to a stainless ladle to pour it in the form all at once. You can add rod a bit at a time if you want but it is less time consuming to fill it this way.
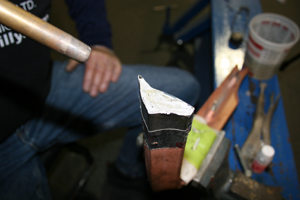
We poured it in and topped it off. Let it cool a little bit to melt in to all the crevices. If it starts to seep past your mold then use a wet paper towel to cool it down and turn it solid sooner.
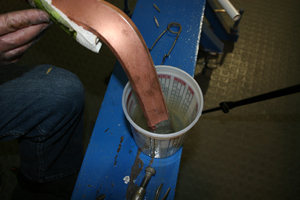
He turned it over and submerged it in water to cool it completely down.
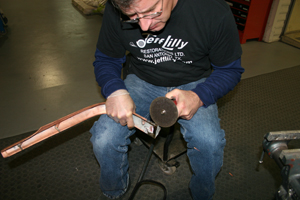
Bob uses a cut off to slice the metal on one side for easy release!
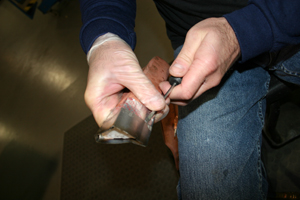
A small screw driver is used to slightly pry the form away and "voila" you have enough material to work with.
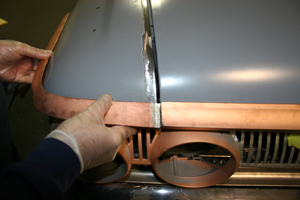
We hold up the part and there is plenty of material to shave away to an exact gap!
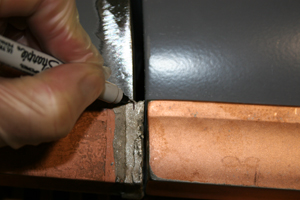
He bolted it up tightly then using a sharpie he fine line marked the desired edge.
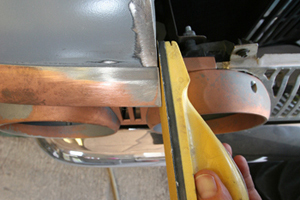
We simply grind away any excess with an angle grinder then finish off by hand using a sanding block. We used 80 grit then 220 and finally 320 which will be excellent for copper plating.
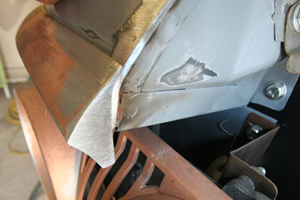
The edge looks great and the part is ready to be sent off for copper plating. Copper is an adhesion promoter between the pot metal and nickel. The chrome is simply a protective plate coating. Once the part comes back it will be sanded with 320/400/500 then polished to a mirror ripple free surface. Then nickel and chrome will be applied.
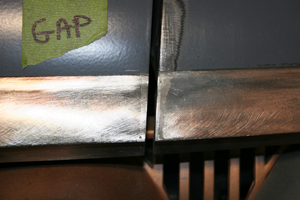
The finished gap is 3/16 ths and looks great. The copper and nickel are so thin that you do not usually need to worry about this gap getting tighter. However, if your plater keeps it in the tank for a long time the copper will be thicker. Always get the part back to final fit and shave it if needed after the body work, primer blocking etc is done before painting. Then send out for final nickle/chrome. This way you keep the plater from doing any grinding, cutting or polishing on your parts. They do not have your car or truck, so they can not control the fit and they often grind too much off the part.
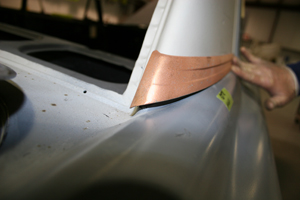
Many different moldings and trim can be repaired with this material. Check out this roof line molding. It has over 1/4 of an inch gap from the factory.
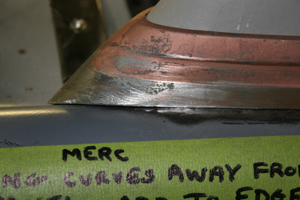
After a mold was made and rod was added this part now fits precise.
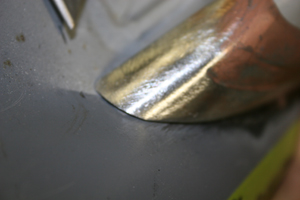
This angle shows the desired razor blade gap to the body surface.

