Build Tips
One Off Flares
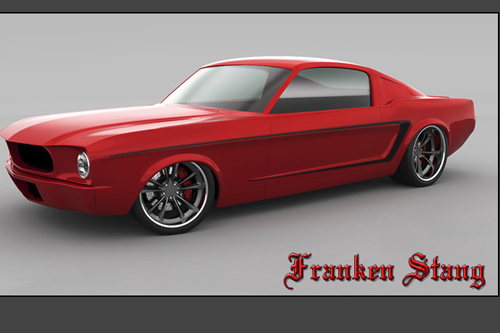
The famous 65 Fast Back Stang. Niceeee, problem is they all look the same. For this reason we will modify the body so we have a one off looking car!
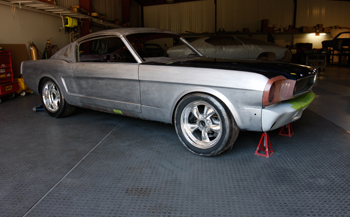
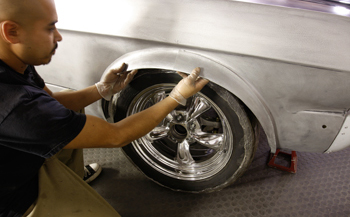
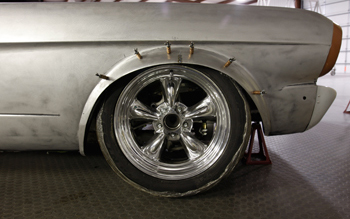
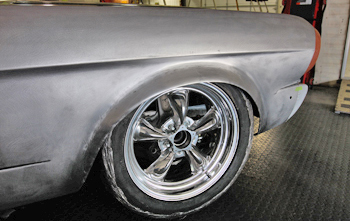
Side profile shows the baby flares that Ford put on them. Not very aggressive to say the least.
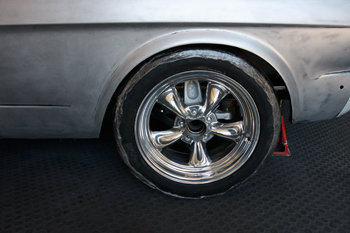
As seen from the side profile the wheel opening is round and plain looking. It is not as noticeable with the small tires Ford originally put on them but when you start upgrading to larger 17 inch wheels and wider trans-am style tires you really start to see it.
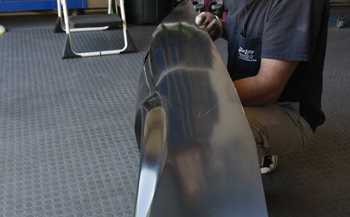
Fabricating one off flares from scratch is very time consuming so we have chosen a more efficient way to have our cake and eat it too. We chose a pre made flare from a 1971 Mustang and at $60 bucks a qter panel they are very affordable. Mani looks over the reproduction 71 Stang qters that we will use for our demonstration and as seen they have a much more aggressive flare but not gaudy looking as in " too large" for the car like most after market fiberglass flares.
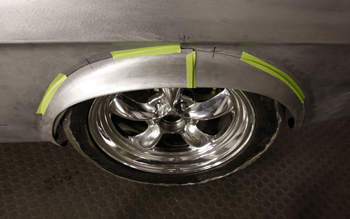
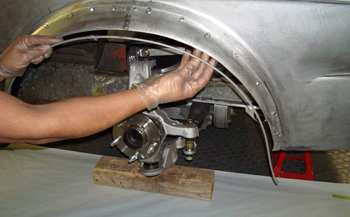
The first step is to find the center of the wheel opening in correlation to the wheel itself. Using a plumb-bob and tape we have it located.
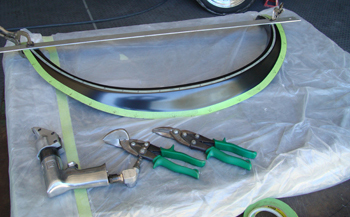
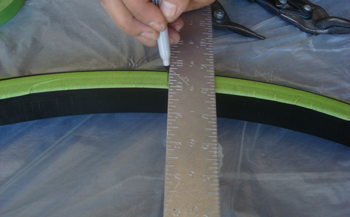
We marked with tape on the outer edge of the flare both on the drop off and the inside taper or groove about 1/4 inch more then we will end up with. We then cut it off the complete qter panel using a cut off tool and power shears. Next we will use snips to trim it down to size being careful to leave 1/16th of the orig drop off still on the flare to keep it strong.
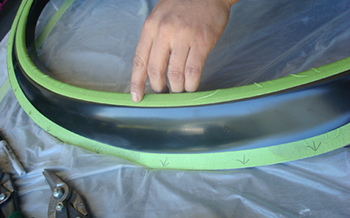
The 65-65 Stangs did not have a bead around the perimeter and we want to keep that style. You can see about 1/8th of an inch of the drop off being kept as this gives it some strength to keep it from becoming flimsy while fitting it to the car. The 2008 Mustangs have a very large drop off and flare that looks way too large on the car in my opinion, so we want to make these flares look like they were designed by FORD when they had their thinking caps on !
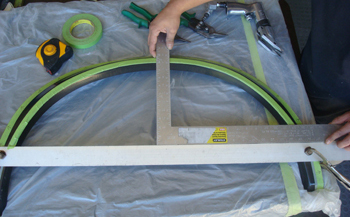
We also have to splice the flare as the 71 Opening is too large compared to the smaller Pony of 65, so he marks the unit using a square to locate the center.
Marked and ready for some cutting.
Mani cut off the factory bead leaving the 1/8th and then sliced it down the center line. He then pre fits the flare up against the orig fender and as seen a noticeable difference.
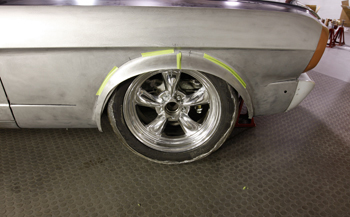
He tapes it in place to stand back and take a look. As seen she is looking aggressive but needs tweaking to flow at the back. We have slammed the body to give it an even "MEANER" look.
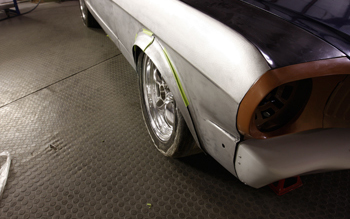
This angle shows the aggressive stance a bit more.
Top view looks good also.
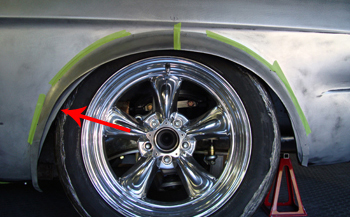
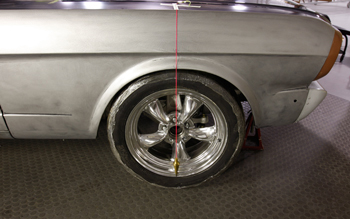
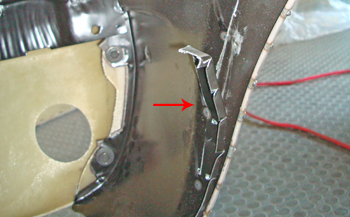
As seen at the red arrow the original wheel house slanted back more, of which we want to duplicate some what. We have centered the flare on to the fender in correlation to the wheel for an even looking opening. As compared to caption #3 our new flare is a bit more subtle as far as the opening and not as round matching the radius of the tire. This adds to the more aggressive look.
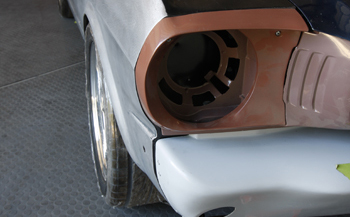
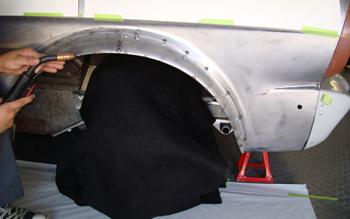
With the flare pulled off you can see the difference in the fender opening.
Mani clecos the flare on to the fender to get a tighter look. As seen he spliced the flare and tacked the two halves together to help out the fit. As each step takes us closer to the look we want on this pony called "FrankenStang".
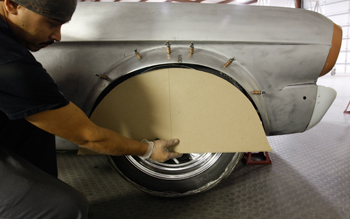
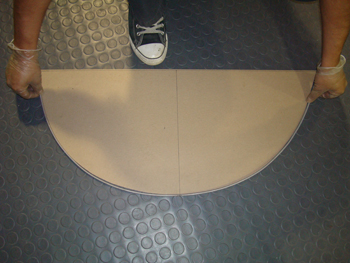
In order to duplicate this opening exactly for the driver side he made a template to make it easier and more efficient. This will also be used to bend a wire for the opening.

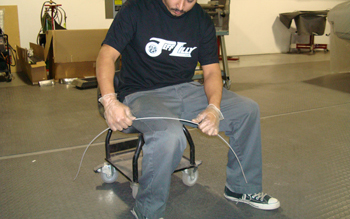
Now it is time to make the outer wire to stabilize the flare and give it a smooth edge. We use equipment like this wire roller but you can achieve it by hand using the template as a guide.
Mani finishes it off to fit by hand to a final fit. She is really coming together.
Yep, it fits dead on as Mani the meister of metal knocks it out.
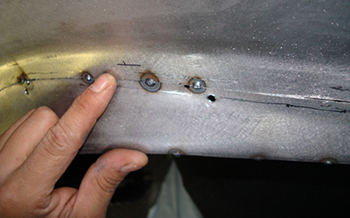
He looked it over once again and was satisfied with the fit, then used self tapping screws to hold the flare down tight and stabilize the outer perimeter. He then fits the wire and is ready for some welding.

A close up shows what he is after. The wire sits just outside of the flares edge as he holds it in place using baby clamps. The idea is to have the wire fitting comfortably with no force fit or pressure.
A few tack welds and she is starting to stiffen up the whole lip.
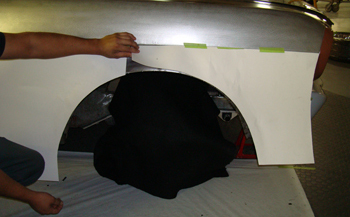
Another template he made was this paper board mock up to transfer to the other side in order to build an exact duplicate.
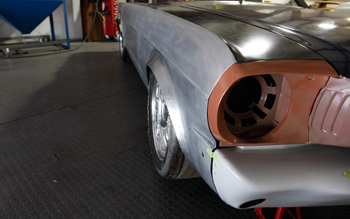
In between the tack welds where the new flare overlaps the fender he slices right on the flares edge through the fender and then peels away the old flare on the back side. At that point he pushes the new flare level with the remaining fender and tack welds it flush.
Pushing it in flush then tacking it allows the smooth transition.
As mentioned he peels the unwanted orig fender flare away on the back side so that the fender and new flare are becoming one with a butt fit.
Tacked and held in place he will now hammer fit some and weld up the holes used for cleacos and screws.
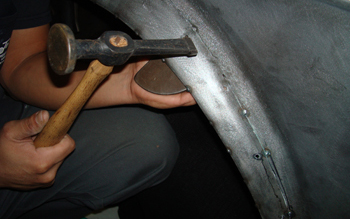
A little hammer and dolly work as he tacks the flare in some more areas, she is looking good.
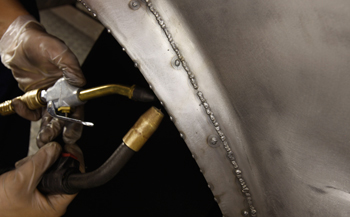
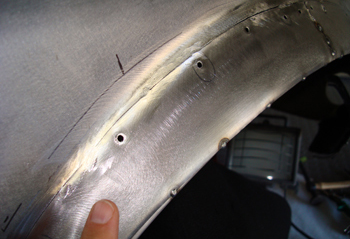
All welded up and no distortion by tacking and cooling with air between rounds.
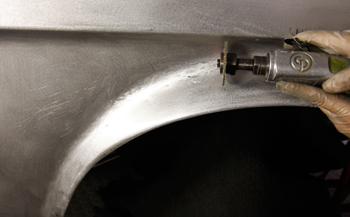
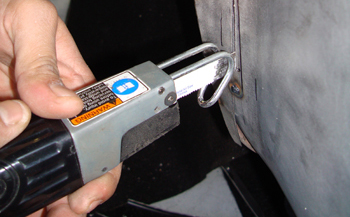
The cut off grinder works out 3/4ths of the welds down smooth.
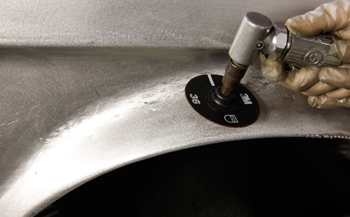
He then finished them off with an angle grinder and a 36 grit disc.
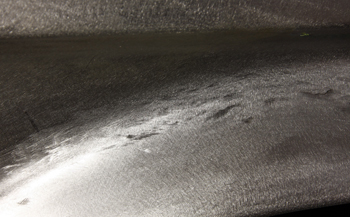
The results should look like this, small grind marks and no warping.
We stand back and take a look at the fruits of our labor and we are very pleased.
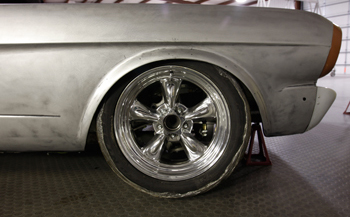
From the front she looks mean and smooth.
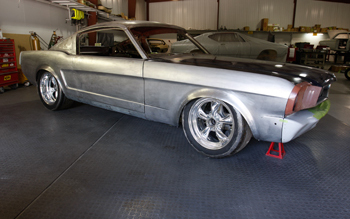
Fast Back with one off flares, Just the way we like it!
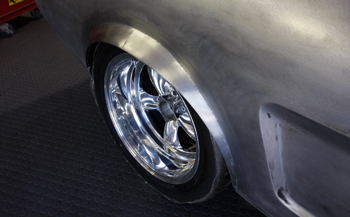
Rear flare looks great also for the complete package.