Nylon Striker
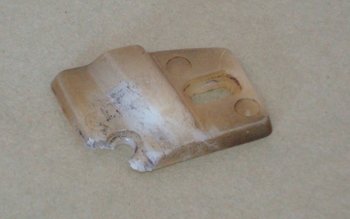
A typical plastic part found on Muscle Cars and Hot Rods such as guides, strikers, stops etc. We will use this convertible top guide as our example. This material becomes brittle and weakens over the years which causes cracks and chips, eventually becoming unusable.
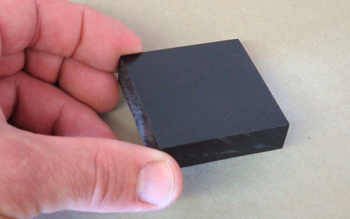
This material comes in black and milky white and can be purchased at most plastic supply houses. It is a very durable hard plastic with natural lubrication properties.
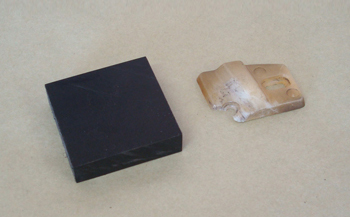
We like to start with a slightly larger piece then our actual part to give us room to work with such as clamping it in a vise etc.
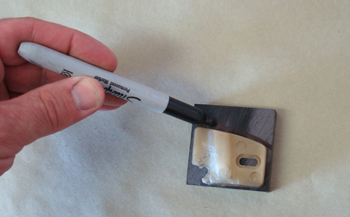
Eric starts off by marking the outside edges of the part to get a reference.
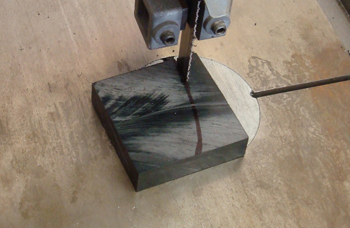
He then cuts it out about 1/8th of an inch larger then he needs to allow vise clamping marks etc.
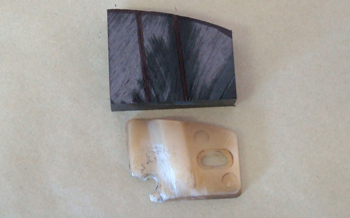
She is sized and coming together nicely.
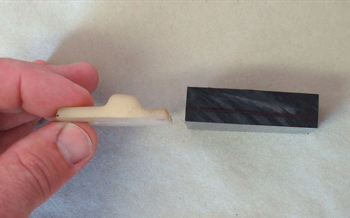
As seen the overall thickness is just a bit more so we have room to work with.
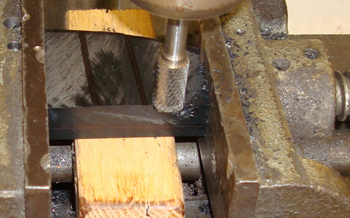
He installs it in to a 3 way vise with a block of wood to support it. As seen a simple carbide burr is used.
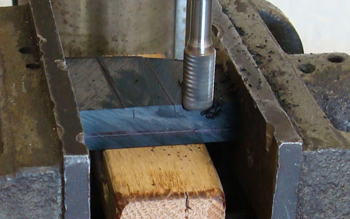
Slowly but surely he whittles the shape in to the plastic using the carbide burr.
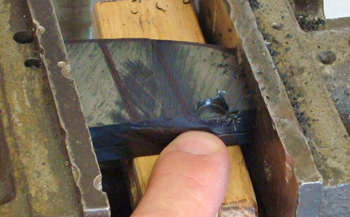
As an example Eric shows what "not to do". Do not try and take more then 1/6th of an inch out at a time. This plastic is very hard and needs to be shaped slowly. Several passes is the way to go.
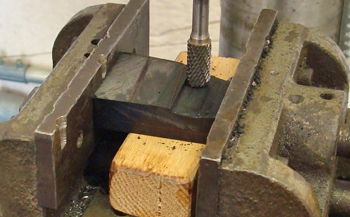
Nice and steady passes.
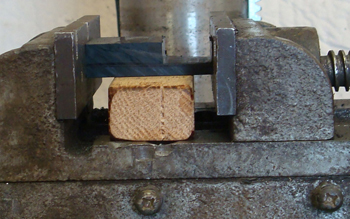
You can see one side is worked down.
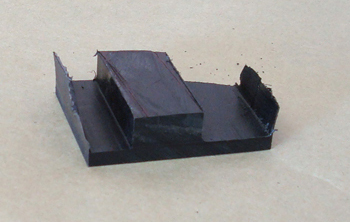
Eric worked it down as seen to a thin edge on each outer side.
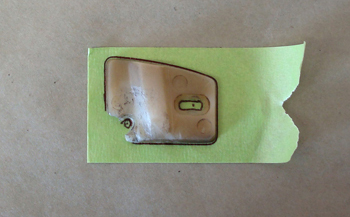
Placing tape under the original part he made a template for the oval holes to be transferred to the bottom side of the new part for drilling.
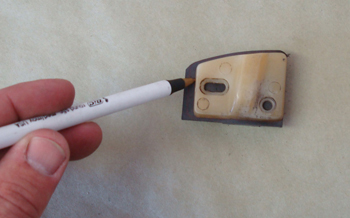
Then he marked the new stock on the top side around the perimeter.
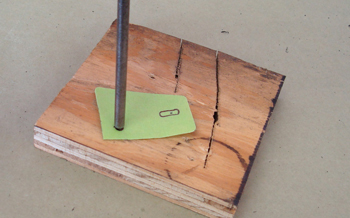
The tape mock up is ready to transfer to the bottom side part on the new piece.
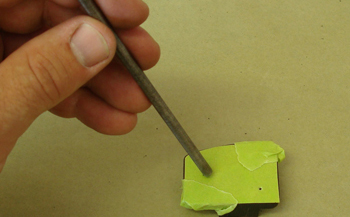
He applied the tape and marks the plastic using a punch to locate the holes to be drilled.
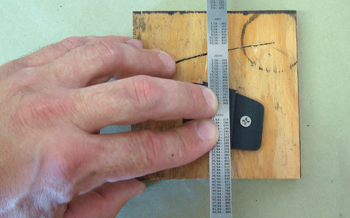
He drilled the part then screwed it down to a block of wood to work it further. Using a straight edge he refines his shape and marks for a bit of tweaking.
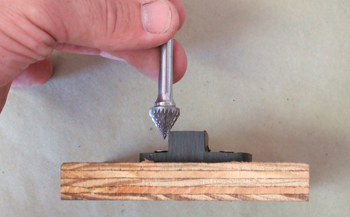
Using the correct angled carbide burr to refine the part to his liking he is ready to tweak it in to submission.
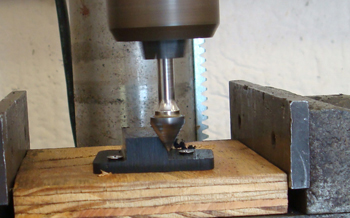
A little on each side and she is taking shape.
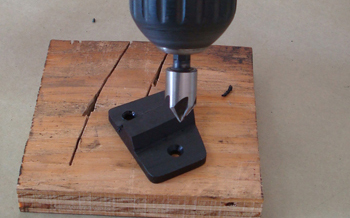
Once she is dialed in he removes the screws and counter sinks the holes for a flush screw fit using a counter sink carbide bit.
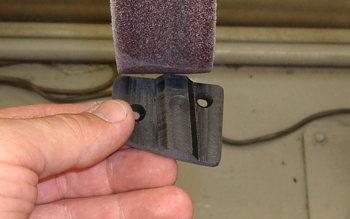
A bit of sanding to finalize and almost ready.
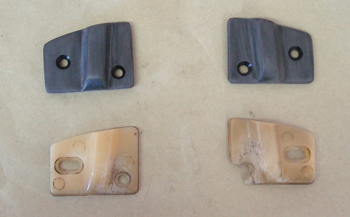
Just about done and looking good.
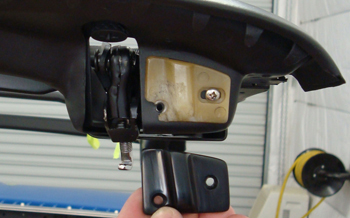
Original guide above is cracked and not usable against the new one ready to install. As seen it has a smooth appearance which he achieves from buffing it using a sisal wheel.

