

Build Tips
Hood Extension
Using the profile gauge we see how the hood turns down on the end some what like a birds beak. We are going to extend the hood length around 1.5 inches at the center and taper it out to the out side edges.
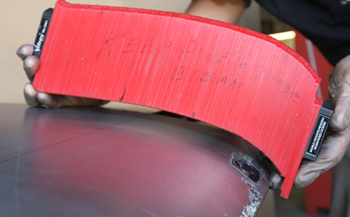
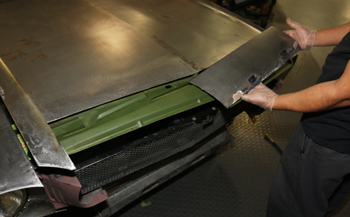
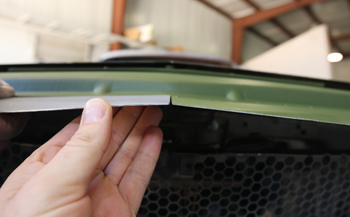
We place a piece of metal we bent on the old hood to get an idea of what we are trying to achieve.
The top view shows how we will extend the length just a little bit. More importantly we will be raising the edge up giving it a sleek look.
We start by tracing out the stock hood and marking the center line.
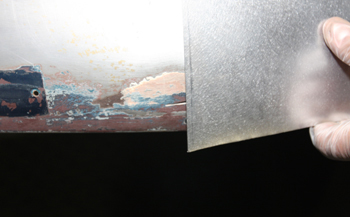
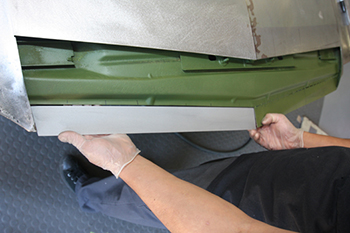
We cut off the old outer panel then blasted and primed the under side. We cut some of the factory bracing away to get more clearance allowing the new section to lay flatter.
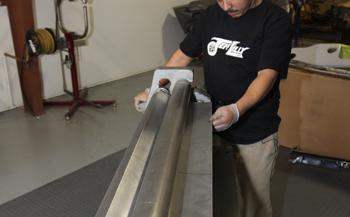
Mani goes over to the roller to fabricate some metal close to our desired shape.
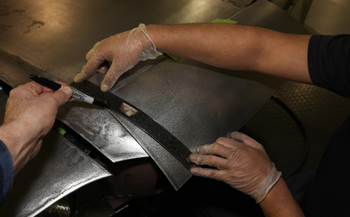
Laid on top of the existing hood we use a flex ruler and mark the outer line in correlation to the remaining hood following the original lines.
As seen we have it marked to trim.
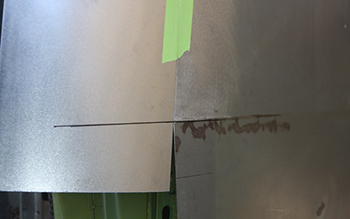
We then marked the center of the hood to our desired trim line.
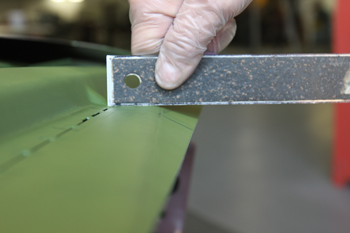
Now that we know our top hood panels confines we need to add a small section to the underside for reinforcement which will meet and match the upper section. We cut out a piece of sheet but we need to put a bend in it to allow it to meet up with the top panel on the very edge.
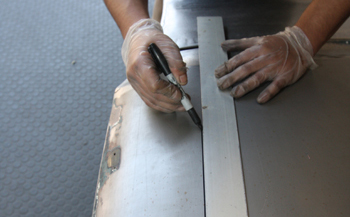
As seen the panel has been marked where we have to make our bend. This will allow it to meet the new upper hood panel.
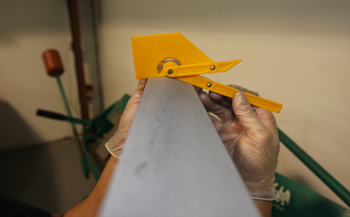
Using an angle finder as a gauge we have what we want so it is time to install.
This front view shows the slight tapering from the center to the outside.
The slight bend that was put in to the panel is then tacked in place. We are checking the angle one last time.

We placed our hood extension metal on top and using panel clamps we are ready to final mark, cut and then weld.
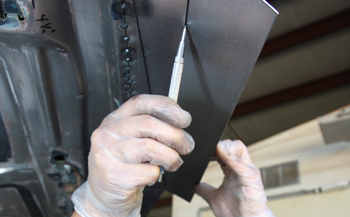
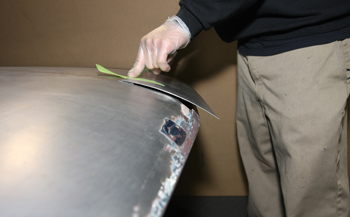
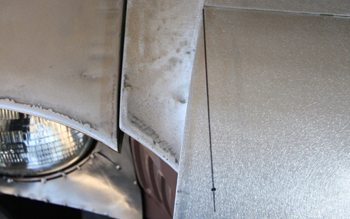
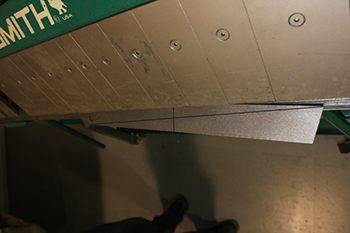
Mani goes under the hood and scribe marks the bottom against the top section where he will slice.
A nice crisp line the scribe shows where he needs to trim.

Back in place we have it ready to tack weld.
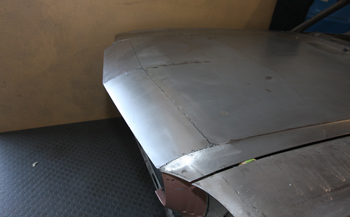
As seen no more Birds beak only a smooth transition, catching no air. Time to finish grind the welds and we are done.
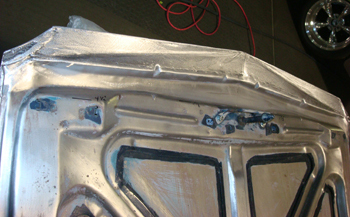
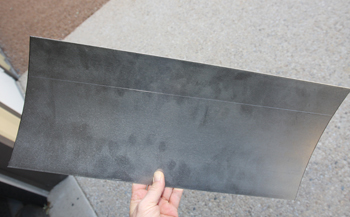
We flipped the hood over and fully welded the under side piece to the edge of the upper section to make it one unit.
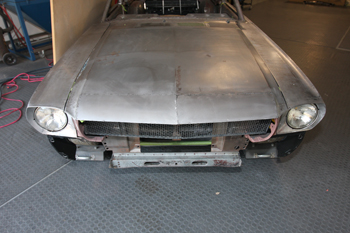
On to the next phase of Franken-Stangs new body.
Igor- Pull da switch