

Build Tips
Hidden Door Opener
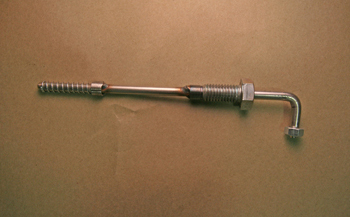
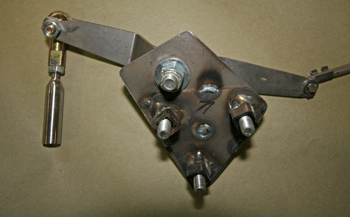
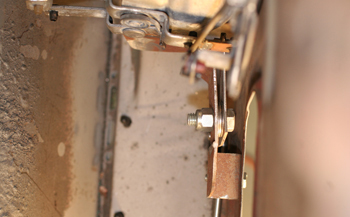
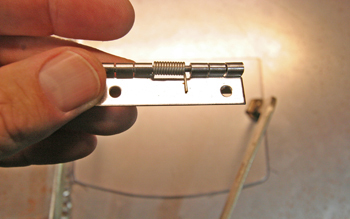
As seen we start with using some 1/8th diameter stainless steel rod and bent a 90 degree angle on one end. A 3/8 bolt was pre-drilled to accept our rod, which slides inside. Notice the small thin nut threaded to attach to the 90 degree bent end.
On the far end we welded a 3/16th OD "tubing stop" for the release spring. From the tubing stop to the tip is 1 inch long.
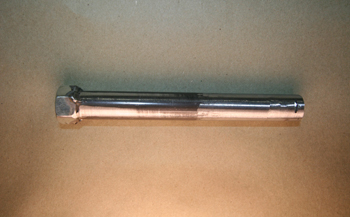
We then took 7/16 OD solid tubing and drilled a 1/8 th inside diameter hole at the very end, a 1/4 inch deep for the tip to protrude out just a bit. We flipped over to the other end and drilled a 3/16th hole to allow our "tubing stop" to slide the full length to 5/16 from the end, being careful not to go past our 1/8th tip hole which keeps the tip in line. We then welded on a nut to accept our 3/8 slider bolt as seen in caption 1. This will allow our rod to slide easily through but tight.
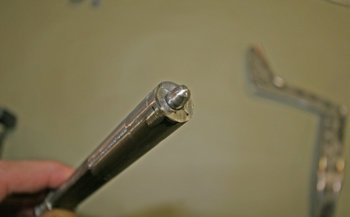
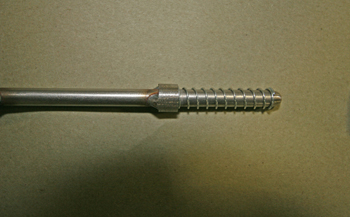
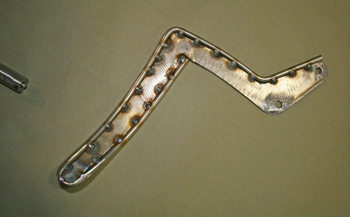
As seen our push rod is complete and this close up shows our 1/8th rod protruding.
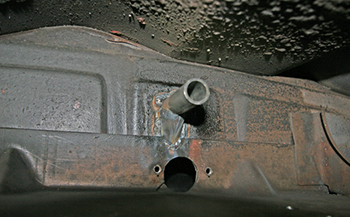
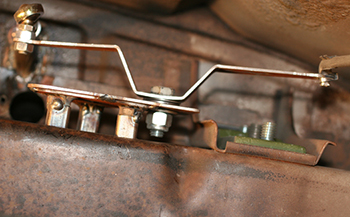
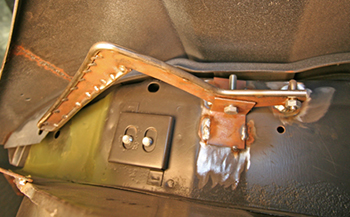
We went over to the passenger side door at the hinge plate and installed a piece of 7/16 I.D. tubing to accept a push tube that will be installed on to a rod end connected to a pivot system.
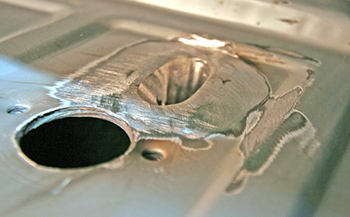
On the outer section of the door we added metal and cut a gradual groove to allow some movement when the point of the rod shown in caption 4 makes contact with the push tube that will slide through our #5. Tubing
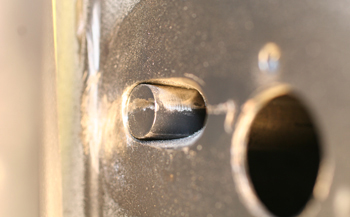
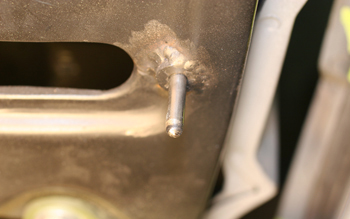
This is the push tube inserted in to the tubing shown in Caption 5

Inside the door you can see how the rod end push tube is inserted.
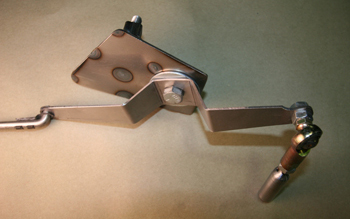
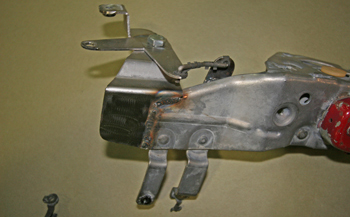
We built a pivot to allow a clip on one end and a rod end on the other.
Turned over you can see the three mounting flanges to keep it supported inside the door. Notice the rod end has the 7/16 stainless push tubing shown in #7a-b on the end.
This angle shows the pivot bracket mounted to the inside of the door. We had to keep it slim enough to allow clearance for the glass tracks etc.
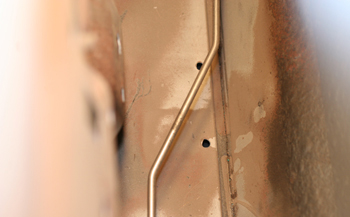
A view from the glass opening shows the angled rod that goes back toward the door catch. This joggle allows the rod to connect the pivot to the latch at the right angle.
The angled rod then ties in to the door catch. As seen Louie extended the stock door latch to attach the rod
Another view at the latch shows a small bracket welded to keep the latch stabilized to the side of the door when being pulled on by the rod.
Behind the passenger fender we only have a bit of room so we built a slim pull handle to unlock and open the door.
A simple bracket keeps the handle stabilized and allows more pulling power then a simple t-pull cable that comes with most door popper kits.
On the hinge pillar we welded our stainless tube to keep it aligned and support our push rod. " see caption 4 " Time To Hide the Handle so lets move on.
A small spring hinge was purchased and we will use this for our entrance door.
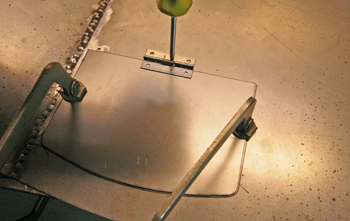
We built a splash apron before hand for the car behind the rear tire and this is where our entrance door will be mounted.
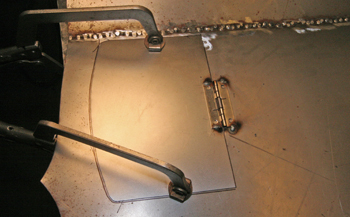
Just a few tacks are all that's needed

Once it is painted black behind the tire no one will detect it.
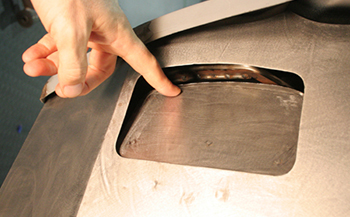
Simply push back the hidden door and you can see the pull handle.
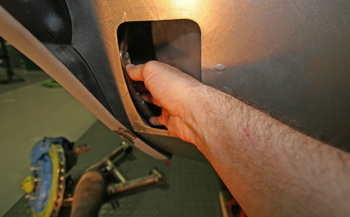
Simply insert your hand and open the door grab the handle and pull.. The 1/8th pin pushes on the push tube and the swivel bracket pulls on the rod and Voila the door pops open.