

Build Tips
Headlight Extension

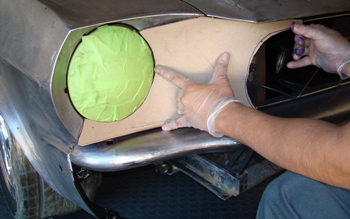
The first step is doing a mock up to determine the overall size, diameter and width of our new " Franken-Stang " grille opening. We selected the right size and are ready to start building the parts.
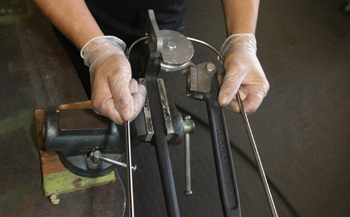
Mani forms the new grille opening with 1/4 inch stainless rod on one of our benders to match the template.
As seen the new opening matches the template and a duplicate piece will now be made for the other side.
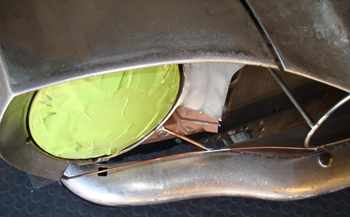
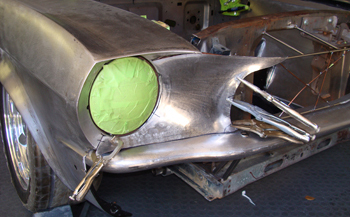
Once we had it formed we placed it where we liked and tack welded some 1/8th rod to hold it in position. Once the grille and surrounding sheet metal work has been finished we will decide on the type and style of brackets to hold it in place and allow removal.

As seen the grille opening has a nice sweep up and around the bottom of the hood compared to the original style headlight extension going straight up against the hood. Note the 1/2 inch gap between the bumper and the bottom of the grille opening. Tight is right!

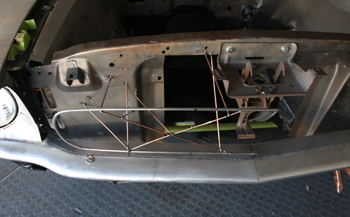
Once we had the grille opening stabilized we started adding the wire forms for the extension to the grille in keeping with our smooth transition style on all parts.
This top view shows the wire starting from the outer head light surround to the grille with the same basic transition we put in to the hood. The idea is every thing must flow from one edge to another with nothing catching any wind.
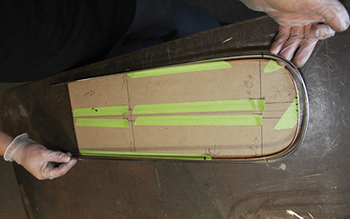
Now that we have our " Buck " or wire form in place we can start the mock up process. Mani cut out some chip board to make a template within the confines.

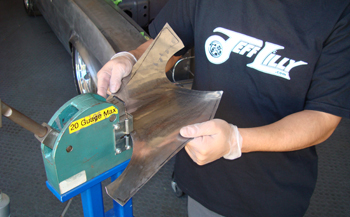
The mock up is placed on some 18 gauge cold roll steel then marked to be cut out and formed. We use 18 because by the time we wheel, planish, stretch shrink and tweak the metal it ends up to be about 20 gauge.
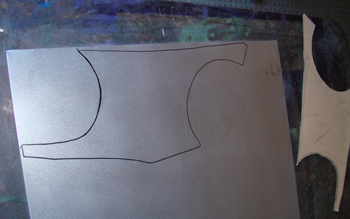
We will cut about an inch outside of the pattern for extra room to work with.
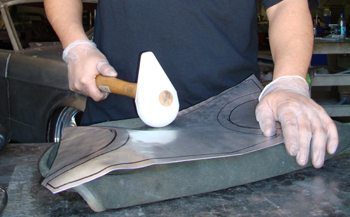
Mani starts out with the shot bag and a plastic mallet to get the panel moving in the right direction. As seen the grill area will be raised by moving the metal down and stretching it to flow downward in to the head light area.
Next in line is the planishing hammer which will level the plastic hammer marks out to enable the English Wheel to flow over the panel smoothly in order to take it to the next level.

A bit of wheeling is done to keep the panel moving in the proper direction.

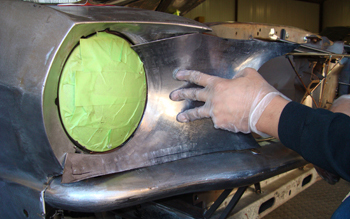
Time to check the fit in order to mark and tweak the panel where it needs to go. She is looking good but will need some trimming to allow it to go in tighter and clear around the perimeter.

Main hand snips a bit of metal away to help the process. The key is to trim just a bit then fit, wheel, planish and stretch a little at a time until we are satisfied with the product.
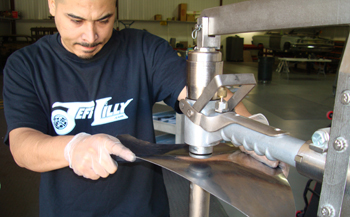
Off to the Mittler stretcher / shrinker to curve the grille opening around more thus pulling it in tighter for an exact fit.
As seen it made a major difference as it is really taking shape.
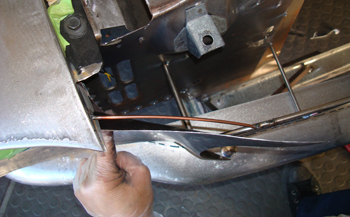
The top view shows it coming in toward our wire form about one inch away but more importantly it is evenly spaced so we know we are coming down the stretch in the right direction.
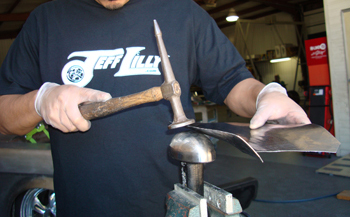
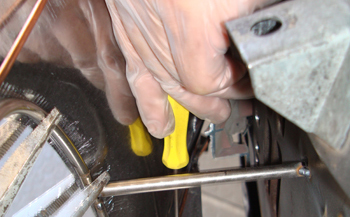
Next we place a football post dolly in the vise and hammer form the edge over a bit to positively " Persuade" the metal in to submission.
Clamped in place she looks great and we are ready for a final trimming. We sprayed blue dykem on the back side first to allow a nice crisp scribe line.
Placing an angled scribe on the back side we scribe a nice line around the perimeter of our wire form.
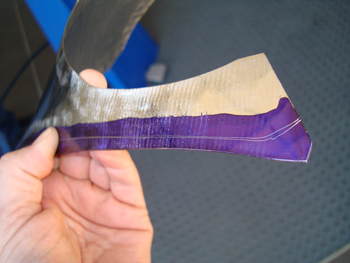
As seen we have a nice scribe. One for the outer fit and one for the inner fit. We will trim it down the center for a happy medium.

We also hammered the edge over a dolly to finish off the top section.
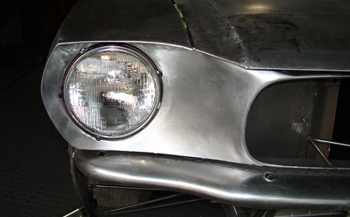
As seen she finished off nice, ready for a little body work and a Jeff Lilly paint job and she will be second to none.