

Build Tips
Front Valance
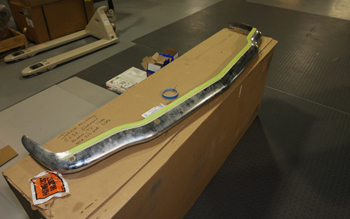
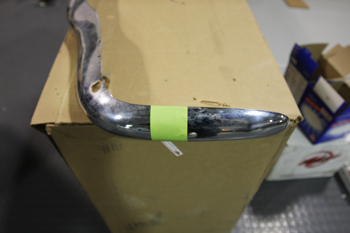
We start by taking a stock 1966 Mustang front bumper and cutting 1.5 inches off the back edge. This procedure will help us most toward the ends past the first curve. Although we will trim the whole back edge now we will eventually add some material back in the center to fill in a void under our grille.
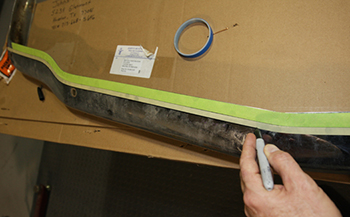
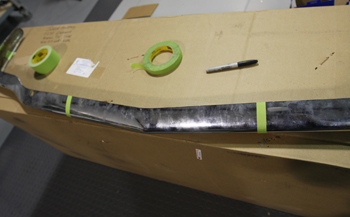
Laid out with masking tape we mark the edge with a sharpie where we will slice.
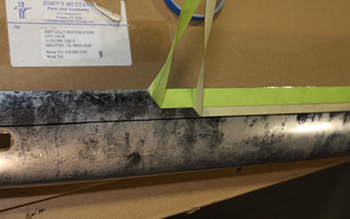
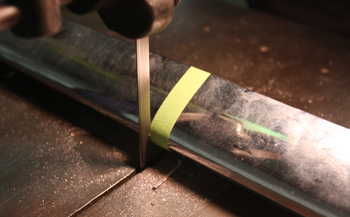
The sharpie line will keep up us on track. Time to slice and dice.
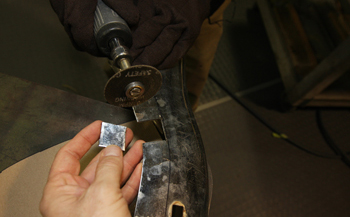
We cut out some small squares to allow the band saw to fit in close. Small hand tools are best to cut out the tight inside corners.
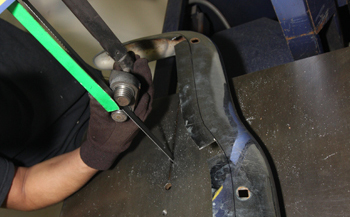
Mani sets up the roll in band saw to start the process on the long runs.
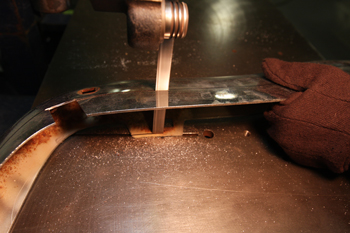
Cutting slowly we are removing the inside ends first.
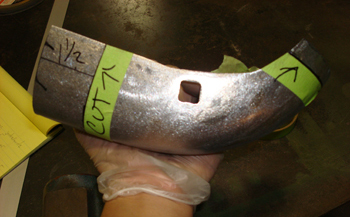
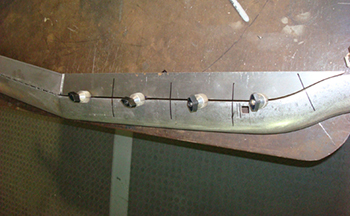
We removed the excess inside part which will allow us to move the bumper in tighter to the car. The new taped sections are where we will slice to remove material in order to push in the sides. The original Shelby R style front end has no bumper ends sticking out on the sides and in order to keep up with that style this is the next procedure.
As seen she fits in tighter to the body and the original Mustang Bumpers curved around the fenders but a 350R Shelby front end does not and that is our theme. Time to trim the ends off and also move them inward.
The ends will now be trimmed to allow the bumper to match up against the fenders.
More band saw work to get her ready.
Mani has the end caps marked to cut in order to allow the look we want.

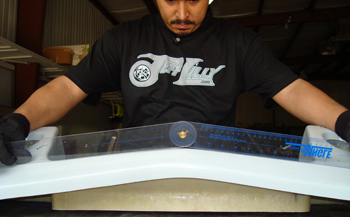
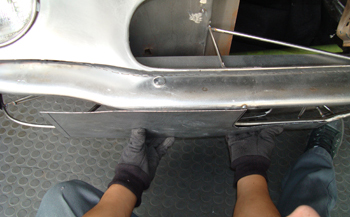
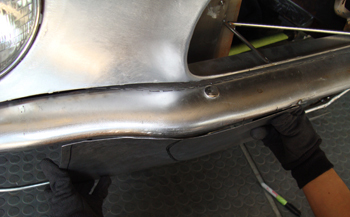
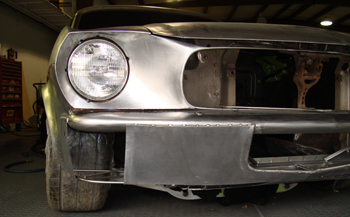
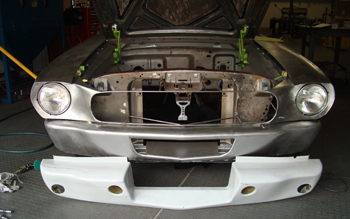
Leveled and set in place we get an idea of just how close the bumper will sit up against the headlight extensions. 1/4 inch away is sweet.
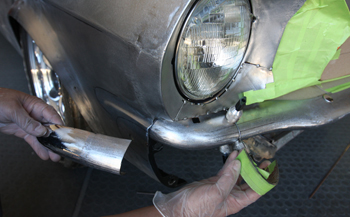
As seen where the bumper curves around the end it makes a nice transition in to the fender like the fiber glass 350R unit only in steel.
Time to add a bit of material on the back side to fill under the grille area. As seen at the curve we tapered the fill to a point.
Tack welded in place and ready for re-fit.
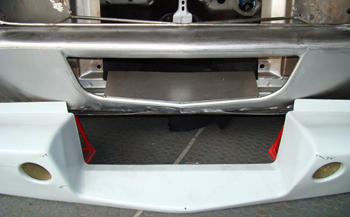
Re-installed she fits nice.
Close up shows how she fits inside and under the grille.
As seen we have a repro 350 R Shelby fiberglass panel. First we take a few measurements and check out some angles to see what we have to start with. There are many areas on the original style that we do not like, particularly the sides and the way they flow around toward the fenders, so we will smooth that area to create a more natural looking transition. Mani uses a large angle finder to duplicate the original style 350 R opening.
Transferred over to the top section of the original bumper that we tweaked you can see how it is pointed more. This is actually better because it transitions from the hood to the bumper and then to the bottom of the car at a perfect arc which we will show at the end of this article.

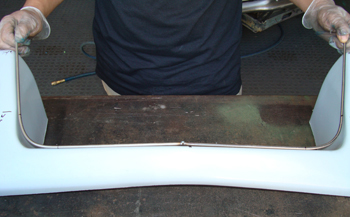
Being that we have decided to go with the shape we already have we placed it on the outer edge and match the tool to it then clamp it down and now we will transfer over to some mock up board to bend the tubing.
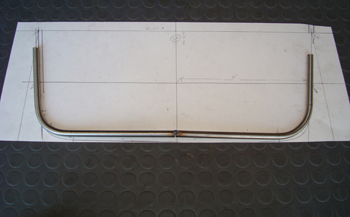
We laid our gauge on some chip board then fabbed some wire.
We then bent the ends and are ready for a trial fit.
As seen one of the changes are at the inside corners, as with all the mods done to Franken Stang we want a subtle transition on all edges.
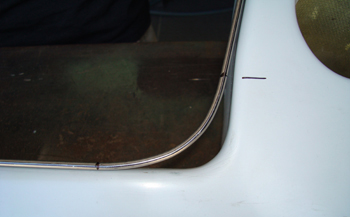
This close up shows how much we changed the inside edge to make it a bit more gentle.
Tacked on to the bumper we can now decide on the slant or rake we want in order for the correct front end flow.
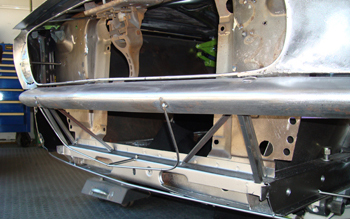
We liked what we saw so we made our final part in 1/2 inch stainless tubing so that the edge will have a nice radius on it once the sheet metal work is done.
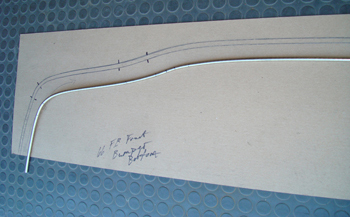
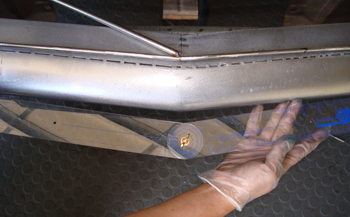
In addition we bent some tubing to support our bottom edge of the splash pan with a similar shape to the bumper only a bit smaller to allow the transition from the top edge of the bumper down to the bottom of the pan.
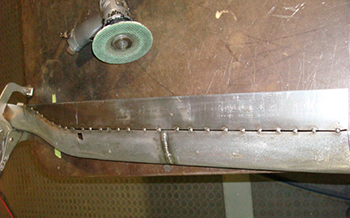
One of the other changes we will be making is at the seam or gap where the panel will be attached to the fenders. This will be more of an angle as seen at the sharpie line. It will help the overall look of the splash pan to appear to have more of a rake.

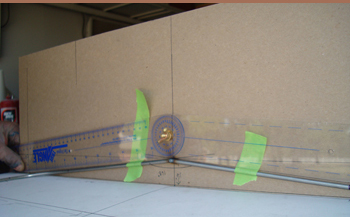
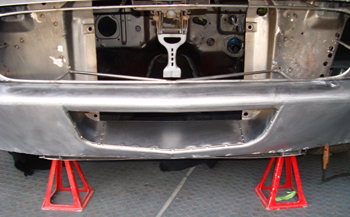
We tacked welded both tubes on at our chosen rake.
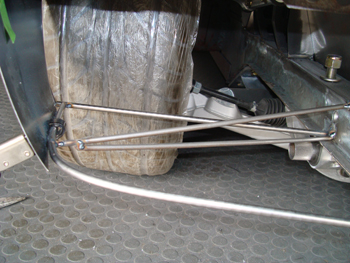
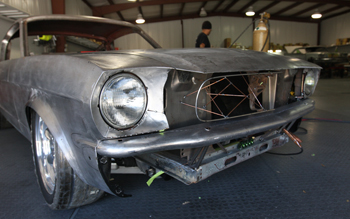
As seen we added some strengthening wires to keep it all in place like a 'buck' to stabilize while shaping the metal.

This angle shows the subtle curve in the wire support.
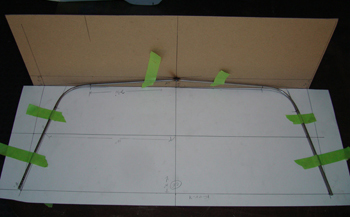
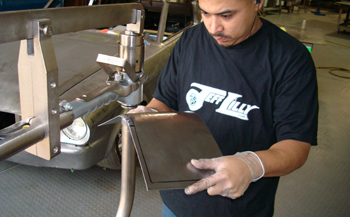
After our wire was shaped and welded in place we made some paper board mock ups to get our body metal cut out.
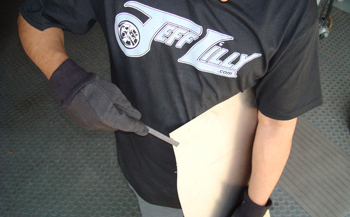
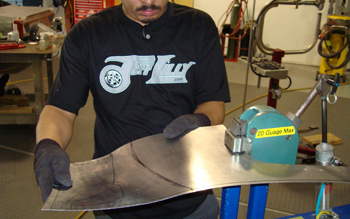
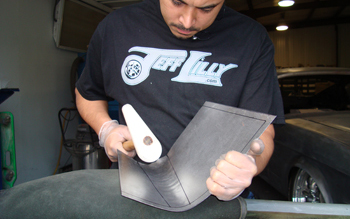
Mani cuts out some metal then removes all the burrs for safe handling during fabrication.
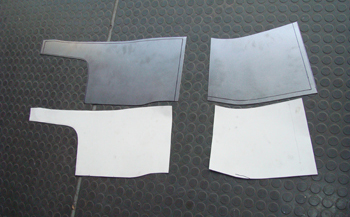
The pieces are ready. Note the extra inch outside the line where the mock ups were traced to allow for fitting with the stretching and shrinking of the panels.
This angle shows how much tweaking is needed. Mani holds the panel in place and analyzes his next step.
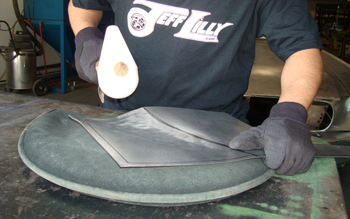
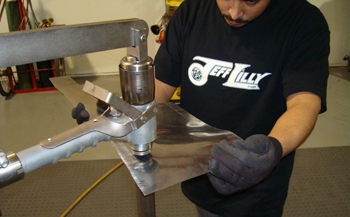
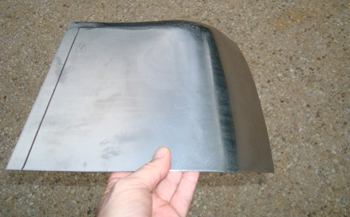
The first procedure requires the use of a plastic mallet to form the basic shape we want in the panel.
As seen it already looks good. Time for a bit of wheeling, shrinking and manipulating to fine tune.

Wheeling can really work your fingers and hands. Bit by bit checking the fit to get it right.
Shrinking the edge pulls the panel up and around to form a curve or transition.
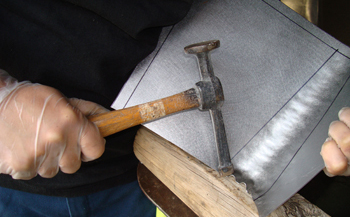
Off to the planishing hammer for some aggressive hammering to smooth over the top ridge.
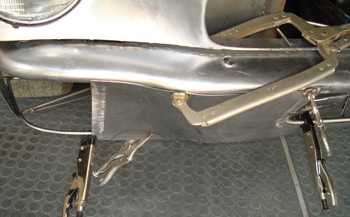
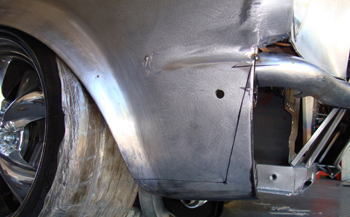
As seen it fits good so we can tack weld it in place and go on to the outer section next.
We stand back and take a look after tack welding in place and removing the clamps. Looks good and is exactly what Jeff's mind had envisioned. Keep in mind the customer never had a concept drawing done. We just talked about some basics and he let Jeff decide on what it should look like. We simply built it from scratch.
The corner gets a nice valley put in to it to get it going in the right direction. Note the cone shaped lines Mani drew in the panel before working it to show the basic shape desired.
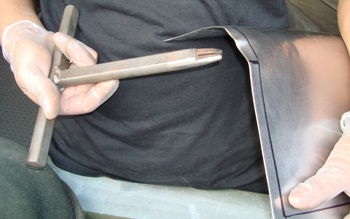
This English tuck puck tool we made simply twists the ends of the panel and after a bit of wheeling you have a nice shrunk radiused edge.
A bit of hammering first to get it flowing.
The power hammer next.
She is taking shape but is a bit tight yet. A little bit more wheeling is in order.

Wheeled out for a smooth flow.
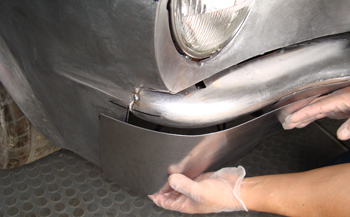
Trial fit. Cool, she fits decent on the first pass but will need a bit of trimming before final install.
Clecos and panel clamps to hold it in place before welding.
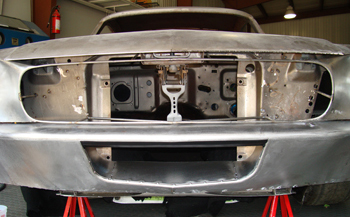
Over to the opening we see the orig next to the custom metal one and the difference is obvious. We laid out some metal on the inside opening and started to tack weld.
She looks good.
We shaved about 1.5 inches below the original bumper top edge to open it up some.
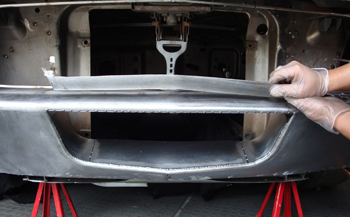
As seen Mani holds the section we removed above the bumper. By opening it up it just "Looks Right" in correlation to the grille opening. Building things symmetrical so they compliment each other is critical to success in custom metal work.
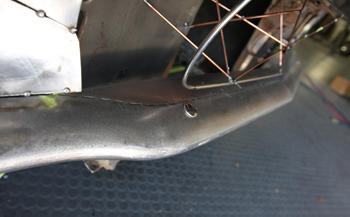
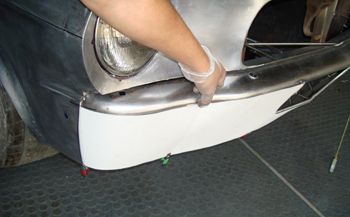
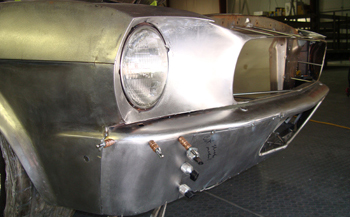
The original fiberglass front valance sits below our all steel, modified Valance. We think it looks much better. Of course beauty is in the eye of the beholder. What do you think?
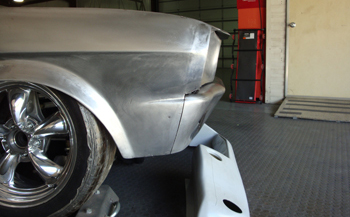
Side angle shows a very nice rake and subtle corners compared to the original.

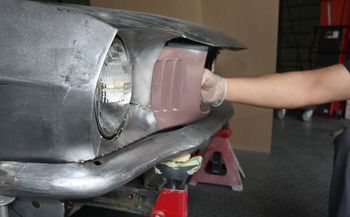
Next we need to decide if we want all 4 holes as per original for air flow and turn signals or just turn signals in the center as our black paper mock ups show.