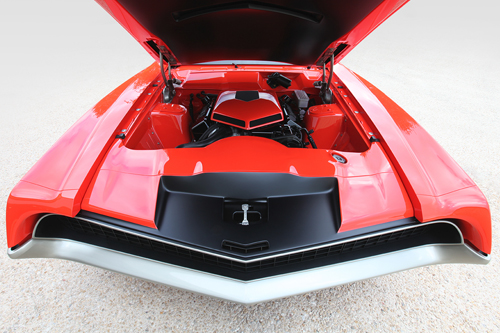
Fiber Glass Panels
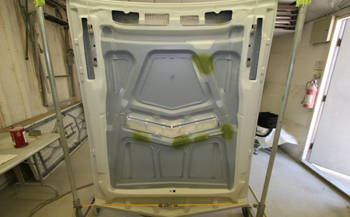
The under side of a Hood and Trunk lid are often the most neglected part of a Custom vehicle. Our project is a 1970 Ford Torino hood which features a fiberglass duct that runs across the middle and sticks down in to the engine bay. Sad to say but Ford did not have " A Better Idea" on this one. This hood is a great candidate to show our techniques for building a custom cover because it has so many contours and close tolerances to clear the engine.
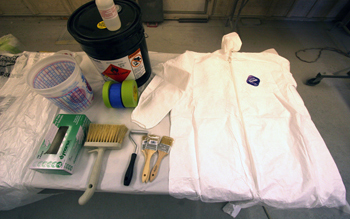
Some of the materials needed are as follows, 5 gallon polyester resin,Vinyl gloves, large and small disposable paint brushes for resin application. Air bubble roller, masking tape, tyvek spray suit to avoid fiberglass dust contact on your skin, razor blades. etc
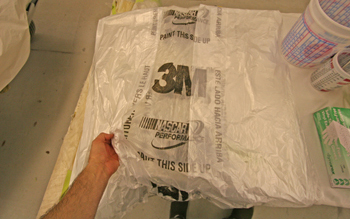
3M Plastic car cover works good as a masking agent and resins release from it pretty easily.
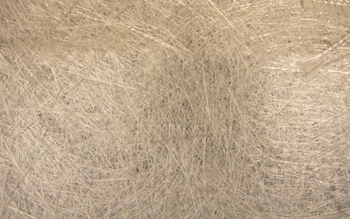
Chopped Strand Mat, this close up shows how the strands go in all directions. It is available in different thickness / ounce levels. The thicker you go the more strength you have with less applications needed, but the less flexibility it has to contour to convex and concave shapes. As with all fiberglass work it is best used in conjunction with Screen Matting for maximum strength.
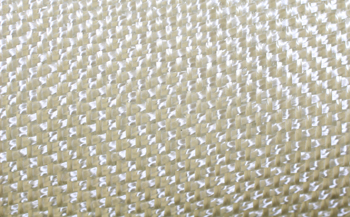
Screen matting has excellent contouring abilities compared to strand mat. It also sells in different ounce levels which changes the thickness. In general it is a thinner product then chop strand and is usually applied on top of the chopped strand as it gives a smoother surface after it cures. Use it as the second layer over each chop mat layer for max strength. I also use this screen for small touch ups on tight areas by itself.
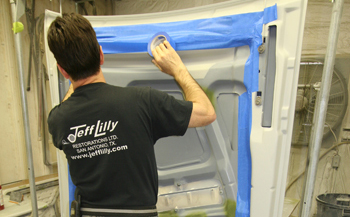
Jeff started out by taping off the areas where the outer edges of the panel will be located. 3M green tape has the best adhesion but does not release from the surface as easily as the blue painters tape.
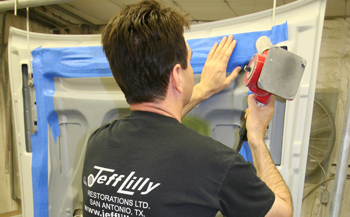
Depending on how many unusual shapes you have, a heat gun may be needed to assist in pressing out the tape for a skin tight fit. A mold it only as good as the prep you put in to it. Avoid wrinkles and lines as they will show up in the finished product.
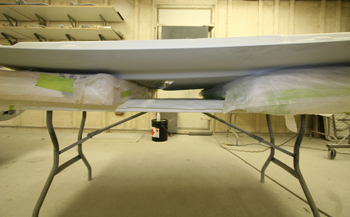
We flipped the hood over bottom side up for easy access while building our new panel. Notice the 4 inch thick foam pads we use to support the hoods weight. This supports the panel with out causing damage to the outer sheet metal. We also pulled the foam apart to allow clearance for the scoop to rest untouched
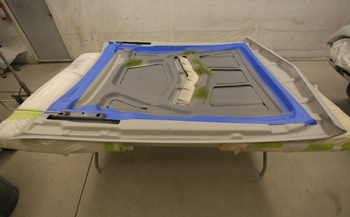
We have the outer edge taped off tight and are now ready to shape our inner section,.
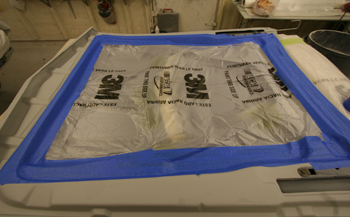
We placed the 3M plastic inside our hood section to keep any resin from sticking to the steel hood and we are ready to proceed! Be sure and pull it somewhat tight to minimize wrinkling.
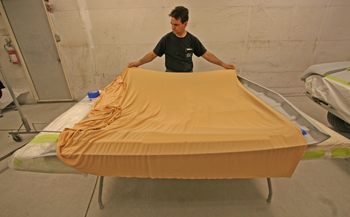
Jeff lays out some polyester material purchased from a fabric store. We like a heavy weight poly that can be stretched if needed but will also allow swooping contours. It is also important to use a heavy enough material that will support the weight of the resin applied and still keep its shape without sagging.
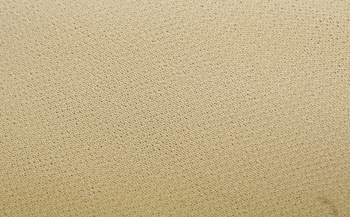
A close up shows the cross hatching pattern of this poly, The larger the perfs or holes the more it stretches. The more it stretches the less it will hold its shape after resin is applied to it.
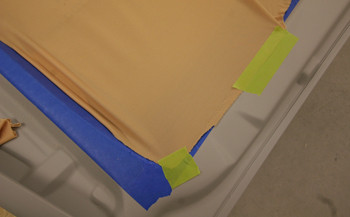
We cut back the edges using scissors and tape in to place on a few edges to get an idea where it will lay out in to the shape we desire.
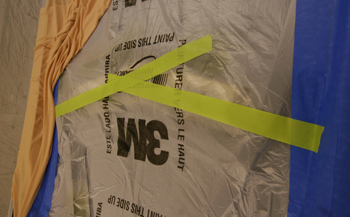
Where the fiberglass factory scoop protrudes in to the engine bay we added a few pieces of tape in order to keep the poly from folding around this area. This will act as a bit of support.
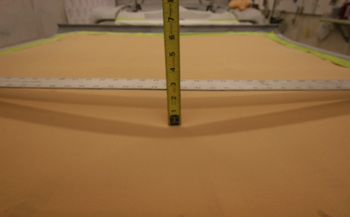
As seen in the Back section we have about a 3 inch drop which will provide ample clearance between our engine air cleaner and hood panel.
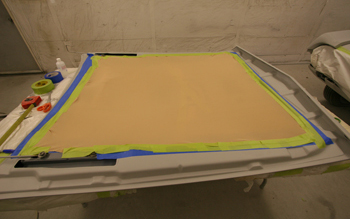
Once it lays out you want to look it over and adjust the tape so the poly is shaped enough to give you the gradual swooping contours while retaining enough spring tension to overcome the weight of the resin we will be applying.
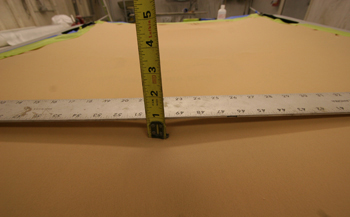
At the front section we have one inch which will do the job. We have a nice slope side to side and front to back. We are now ready to apply a very light coat of resin.
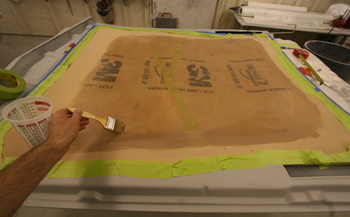
We mixed up about one quart of resin with MEK hardener per the MFG specs. Notice we are using a smaller application brush. This enables us to coat the poly with just enough resin to make it a mold that will support the fiberglass matting once dried. Too big a brush means more resin and you will then soak the poly too much which will make it weighty and sag in areas you do not want. Apply very sparingly just enough to wet the thickness of the poly.
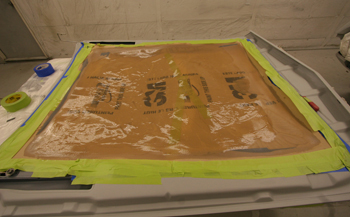
Now is the time to pull the material a bit here and there if needed by releasing and re-positioning the two inch tape. If you notice it sagging a bit to much, pull the tape in that needed area. If it is too taunt then release the tape and let the weight of the resin swoop the material down more. If you are working in a hot climate, only mix 2/3rd of the hardener in your cup per mfg so you have ample/more time to mix and coat, re-adjust and tape down as needed.
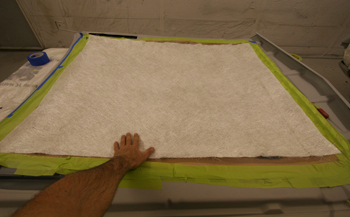
Our polyester mold is cured and will keep our contoured shape while supporting the extra weight of the glass matting once soaked with resin. We start with the chopped strand then the screen mat and then back to the chop and again screen 2 to 3 sheets each. This makes a very strong panel at just under 3/16th of an inch thick. It will keep its shape and not bend or sag from gravity weight after final installation. We start by building the center areas first and will finish the outer perimeter last. Note! We fog blasted the panel for adhesion between rounds, this is important for max adhesion.
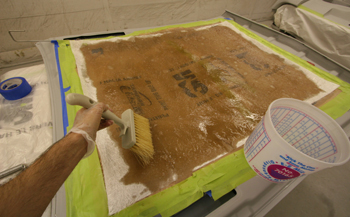
This matting procedure calls for a large resin brush as seen. We coat it thoroughly saturating all the fiberglass strands.
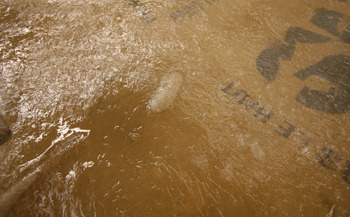
Air bubbles can get trapped when hand laying fiberglass glass down but we have the remedy. These must be removed for a perfect panel.
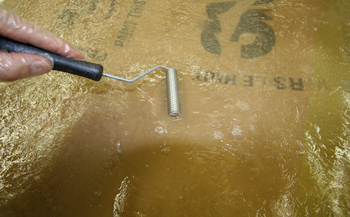
After the matting is applied take a "glass mat roller" and work out the air bubbles. Work aggressively as the clock is ticking and you need ample time to get it all worked out before the resin starts to kick-cure.
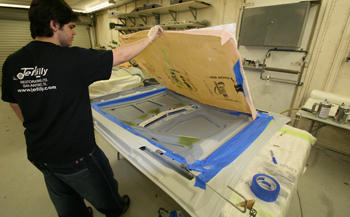
We let it cure for 2 hours then Shannon lifted up the panel away from the hood. She looks good. The masking tape keeps oxygen from the surface which can tend to keep it from curing completely and as quickly as the open sections. Once you pull the mold up and away from the surface it will finish curing in those areas.
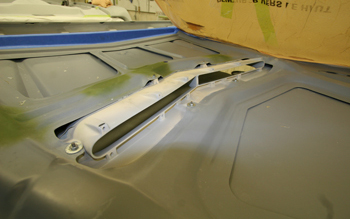
As seen we have a nice release from the sheet metal with no problems removing the panel.
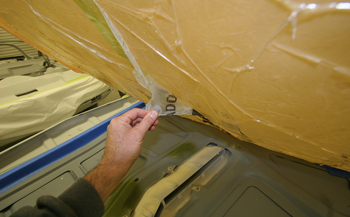
The 3M plastic simply peels away from the fiberglass mold.
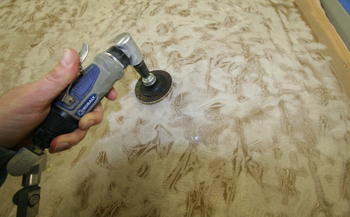
Using a roloc 40 grit disc on an angle grinder we knocked down wrinkles on the back side from the resin on our mold.
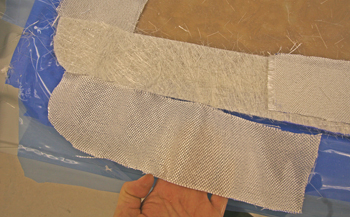
Once again we combo the matting for max strength. This is the same procedure Boat MFG's use. 1. Be sure and lightly scuff grind or fog blast the dried panel between matting applications. This will give you max adhesion. 2. If the panel is tacky and still curing then adhesion will be fine directly on top of the panel. 3. Depending on the brand of resin once dried you can wipe down the area with acetone and if the panel gets tacky that will also allow good adhesion.
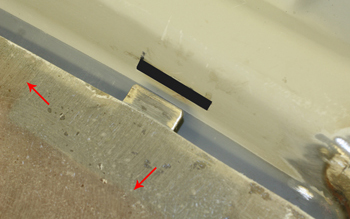
As seen at the "red arrows" the outer edges of the support plate is sandwiched between the fiberglass layers. The tab is 1/8th thick and simply slips in to the black cut out groove to hold the front section of the panel in place with no detection of fasteners.
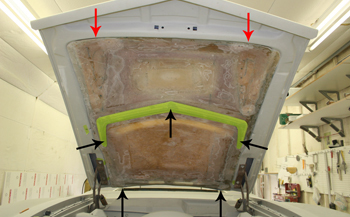
On the hood we added our cosmetic "boomerang bird" trim to match the outer hood edge. This covers over the hidden attaching screws " black arrows" and under the bottom edge of the hood by the windshield which will also go undetected. The 'red arrows" show the location of the hidden 1/8th thick flat stock guides. She is now ready for a quick smoothing then upholstery to finish her out. Bon Appetite!
