

Build Tips
Export Brace
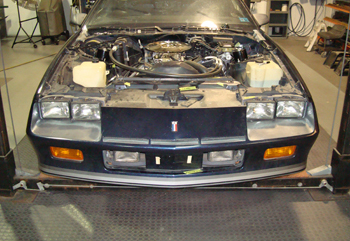
1986 Plain Jane meets our creative team for an Export brace upgrade.
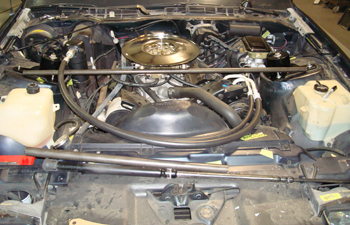
We laid out some 1-1/4 diameter mild steel tubing between the strut towers to see what clearance issues there may be.
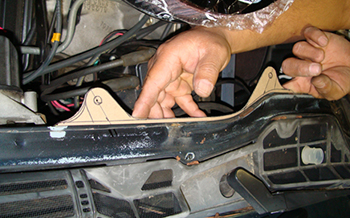
As seen we mocked up some tabs in chip board to mount the brace and are checking location for enough clearance out side the tower caps.

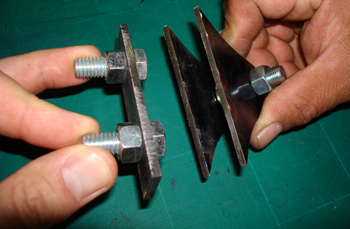
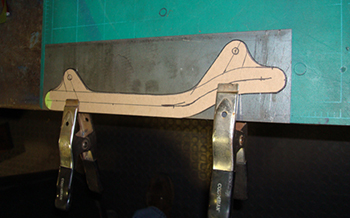
We cut them in 12 gauge steel and made duplicates for driver and passenger sides.
Tacking them together and then final shaping them on the grinder/sander will give us exact duplicates.
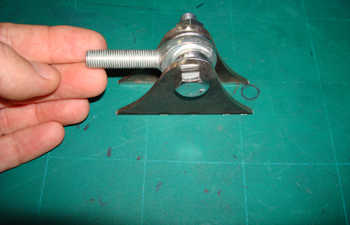
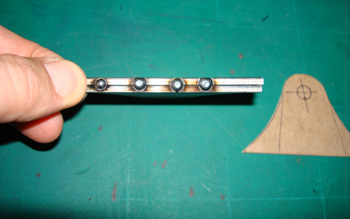
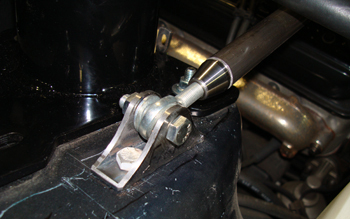
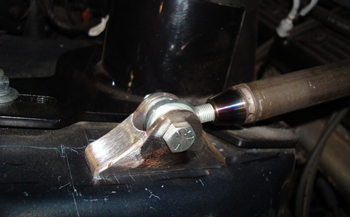
We chose a rod end with 3/8 thread and assembled it as a unit to place it on the tower for a final fit.
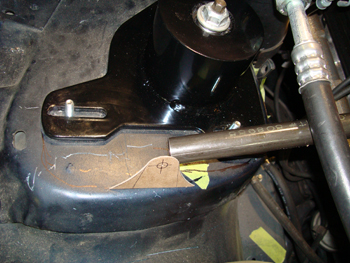
As seen Lou took a flat plate, drilled it and attached 2 bolts and nuts to it. This will be fitted to the tabs then welded in place to form a unit.
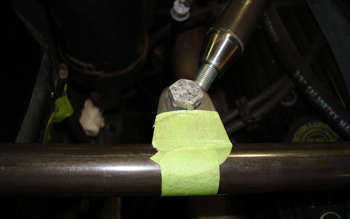
He will drill the tower at the proper location and mount it.
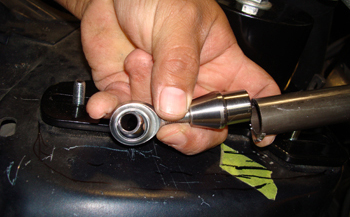
Next he cut the tubing to the correct length and inserted the rod ends flare nut inside. He will Tig weld tack it only until all is ready.
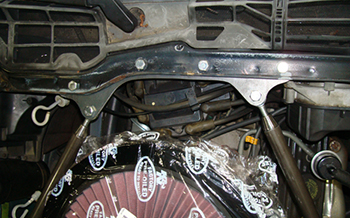
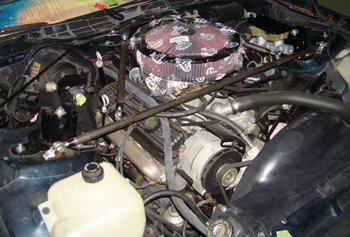
At the fire wall cowl he formed a brace in mock up board to allow two mounting points with some curving around the air filter assembly.
He then transferred the mock up to some 12 gauge steel and will trace it out, then cut it.
The mounting tabs are in place and are ready for a cosmetic smoothing.
She is coming around nicely and taking shape.
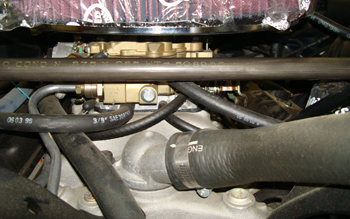
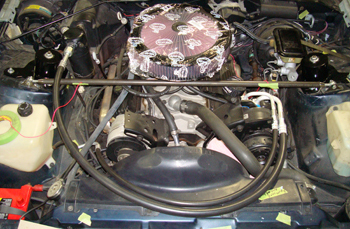
Under the carb we have over 1 inch of clearance so no problem with engine torque movement.

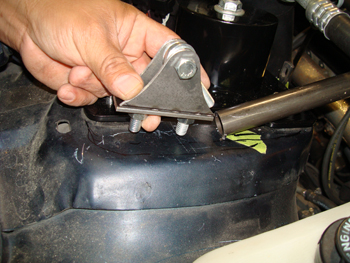
The cowl to front bar bracing will be mounted here and clears every thing fine.
A close up shows the tabs Lou made to attach them.
The rear brace fits great.
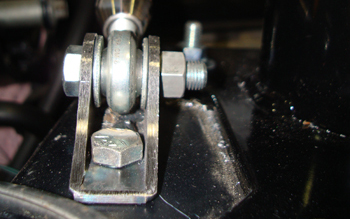
This angle shows why we want to cosmetically clean up the tabs so the bolts are not so obvious.
As seen we smoothed up the ends with the addition of metal tabs for a more stream lined part.
Finished product speaks for itself, structurally sound, cosmetically nice and ready for some hard cornering. Lets do it!