Exhaust System

Purchase the best set of headers available. The first thing to look at after they are installed is the collector/flange angle or how far in or out, up or down they may be pointing toward vs dead center. As seen our passenger side is pointing inward toward the trans and slightly downward. In correlation the driver side is pointing downward but is angled pretty straight. Getting them to come out and angle the same is often hard to perfect, but if you want a smooth transition system all these things need to be taken in to consideration.
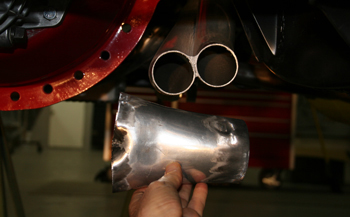
The first thing we did was cut off the collector flanges by slicing the factory welds. Louie carefully ground away the welds and is ready to "realign" the flanges. In addition we also cut and removed the mount flange at the end of the collector as we will be adding V-band clamps for a perfect seal.
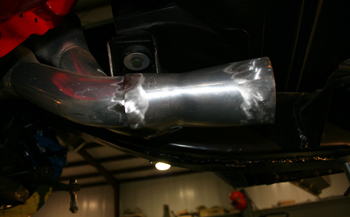
As seen we have stuck them back on and our goal is to have them even. Looking from one side to the other we want them to be lined up evenly as a matched set. In the stock position you can see the driver side angles up compared to the frame of the car.
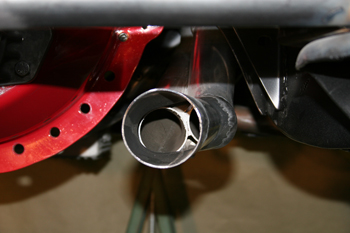
We come back over to the passenger side, as shown this points inward. We will tap it with a hard rubber mallet to move it in to shape.
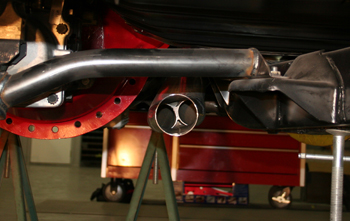
It is looking good and evenly spaced. You want it to flow rearward smoothly.
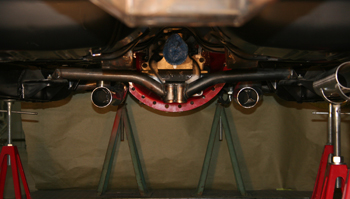
Looking at both sides together we have achieved our best fit possible. They have good flow toward the rear of the car and they match side to side at the same location to the trans cross member.
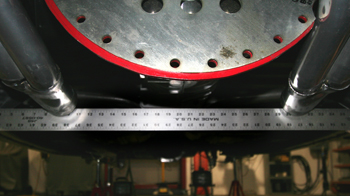
We take a look from the front end and run a straight edge across the frame. The height is identical side to side. The frame is what is most important as that is what it needs to run straight with, to look good cosmetically.
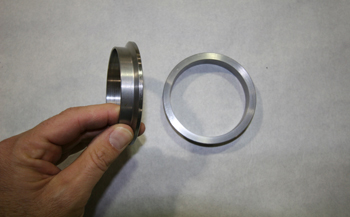
V-Band clamps are the very best for a perfect no leak seal. They are composed of two main parts these are the sealing rings. These pieces are welded to the ends of the header flange and tubing or mufflers to tubing etc. You can put them wherever you deem it necessary to have a separate section in the exhaust to remove it if need be. All the major exhaust tubing suppliers will carry these. You can do a "Google" search for auto exhaust tubing and muffler suppliers near you.
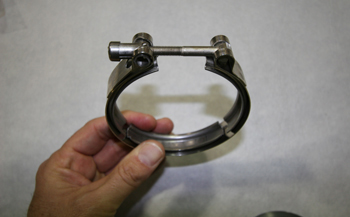
The band clamp then tightens them together. As the bolt is turned the grooves automatically pull the matching machined halves together for a no leak seal!
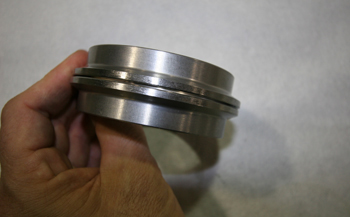
As seen in this close up the seal rings need to fit right against each other when the tubes or mufflers are mated. Be sure before tack welding them to your tubes. The clamps are strong and if you have a gap they will pull the exhaust together which can alter your fit to your hangers and frame components.
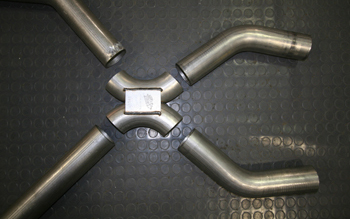
Getting back to the exhaust tubing we start off with a few 45s to our X pipe. We will mark for fit and then trim the pipes to get our gaps just right. As mentioned look in to a google search to find tubing suppliers near you to reduce shipping cost. You will need some 90s- 45s - and straight sections etc. Ask if you can return any unused pieces for credit.
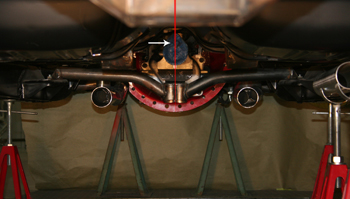
We go under the car and run a center line string from one end of the car to the other. This like a carpenters plumb will keep us on track while we build the system.
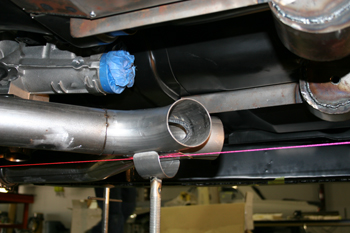
We use various jigs when doing exhaust systems such as this tubing jack stand which can be acme thread adjusted in tiny variables to get everything aligned before tack welding the tubes in place.
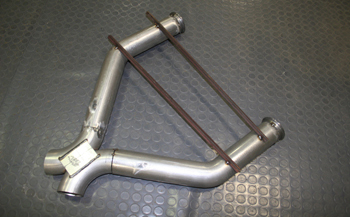
We marked, cut and tack welded the seal rings in place to the X-pipe. Before we removed it from the car we tacked a few pieces of 1/2 angle to stabilize the structure. When all is done we fine grind away any unneeded tack welds.
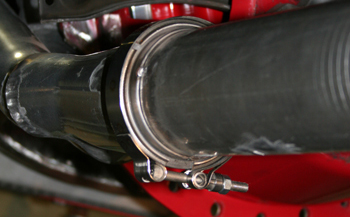
We attached the X-Pipe tubing in place and stuck the V-Band clamp on to show you what it looks like. The bolt/nut on the clamp will be tightened at the top of the tubing when the finish assembly takes place.
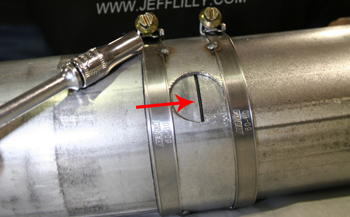
One of Louie's special tricks is a tube to tube clamp setup. To build one for yourself simply take a piece of tubing of the same size and slice it in half. Place them on the out side of the tubing being used and then tack weld two clamps to it. This supports the two pieces of tubing or muffler/flanges together tightly. Cut a hole on each side approx 3/4 of an inch for tack weld access. Notice the 1/32 gap in the tubing. The weld flows in the tiny gap and joins the two pieces while still retaining the strength for longevity once the welds are ground smooth with the tubing.
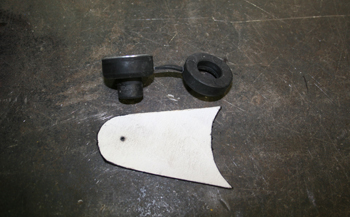
This is a template for a simple exhaust tubing hanger and rubber isolator.
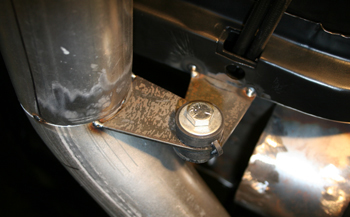
As seen we cut two sections from our template and installed the rubber grommets on both sides. This will allow many variables and angles to hold the exhaust in place.
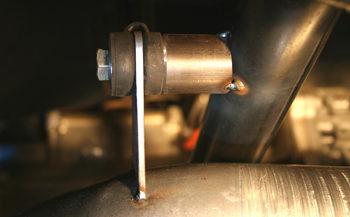
Often when you need to hook a holder to a round tubing such as a cross member or when some space or distance is a problem simply cut some tubing of the same size and use one section of the hanger with the rubber installed. We simply welded a nut in to the tubing to run the bolt up tight.
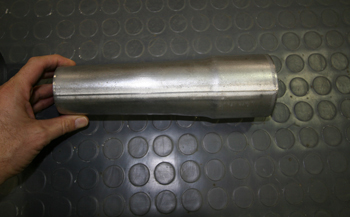
When you encounter floors that hang down an excessive amount transition tubing is available such as this short round to oval section for clearance.

As seen we tack welded this piece to the cross flow section and we have 3 inches from the floor to reduce heat to the occupants feet inside.
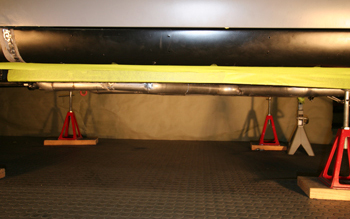
The main fit you are looking for is the frame to exhaust being even the full length as this is what gets scrutinized the most. As seen we have the tubing running about 1.5 inches below the frame with 3 inch tubing being used. We taped off the frame for more contrast to show this important step.
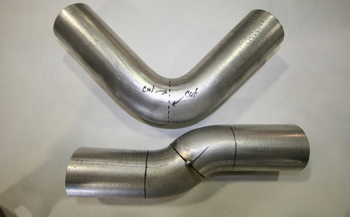
This simple 90 degree piece can be sliced right in the center and turned around to make this step up piece for more clearance. The mufflers need to be up as high as possible but a minimum 2 inch clearance to the floor for heat dissipation is needed..
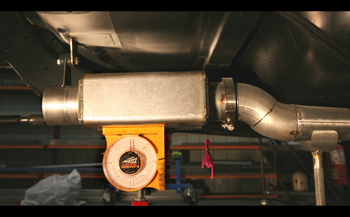
Just what the doctor ordered our transition lifts the short muffler up higher for clearance and good looks as we make our way back to the rear end of the project. Note the protractor on dead zero for a level system.
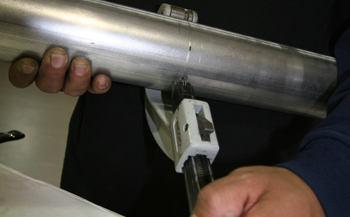
Another trick of the trade is to mark where you want to cut and use a tubing cutter to simply leave a circle around the tube for precision cutting especially when cutting with a band saw holding the part in your hands. This mark allows a precise circle around the tube for high visibility.
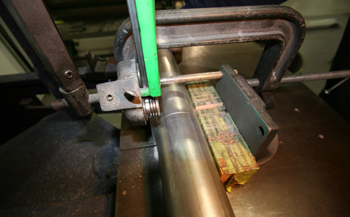
We have a roll in band saw that automatically cuts the tubing through and past the end of the part installed in to the clamp system. As seen the mark we made with the tube cutter leaves a very visible mark to follow especially when cutting by hand.
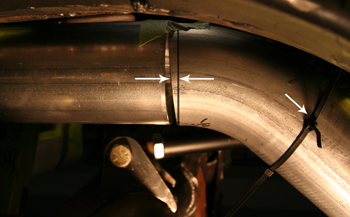
In this caption we have two arrows pointing to each other. This is where we marked the tube to trim the material off to get a good fit. The second arrow is a nylon strap that holds the tubing in place for an extra hand.
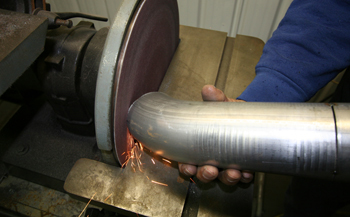
The grind station makes short work of the tubing needing trimmed. You can use a hand grinder if need be.
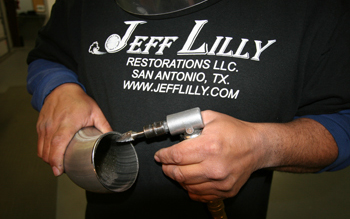
Another good idea is to take a carbide burr tool to remove the burrs inside all the tubes before tack welding them together.
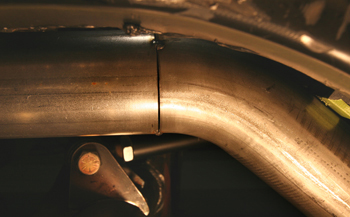
We stuck it back up, installed our tack weld clamp setup and she now fits great!
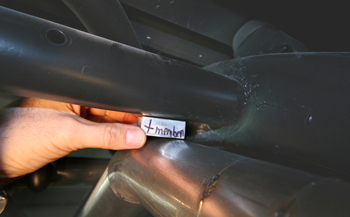
When going around cross members or other frame parts you want a minimum 3/4 inch of space. Heat is not an issue with this but it is best to have that much for any critical vibration that might occur. Then there will never be an rubbing noises.
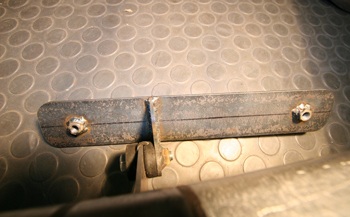
Simple 1/8th thick hot rolled strap can be used to make a muffler mounting bracket as seen.
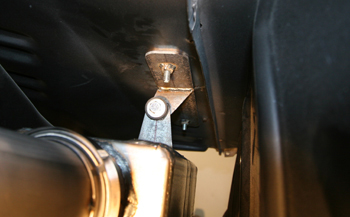
Once installed to the floor above the muffler it is barely detectable from under the car.
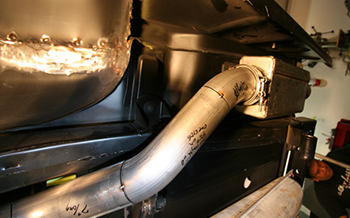
This caption shows the bracket as it would be viewed if someone got under the car to scrutinize it. Notice the measurements written on each piece and a smooth transition past the gas tank and under the frame.
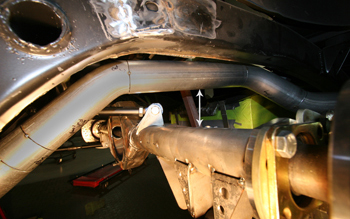
As seen by the arrow we have close to 5 inches of clearance for Max Custom Rod travel if a speed bump ever raises its ugly head!
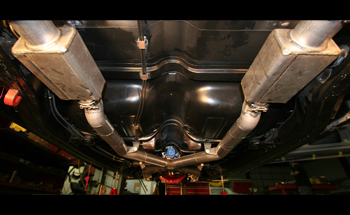
She is coming together and fits evenly front to back.
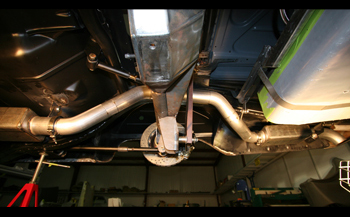
Up and over the Fab Nine rear end the dual muffler system will quiet this beast down as much as possible with out choking the flow
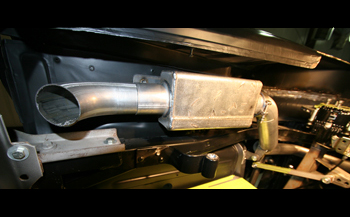
We will simply angle the tips down and out so that little dust will be kicked up from the ground and not detectable from the outside of the car. We are now ready to weld up and apply our ultra heat coatings
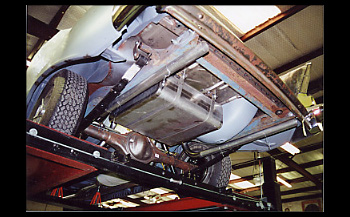
From nice drivers to all out show cars we build our own exhaust systems in house. For quality control purposes this is the only way to go. Our demonstration system is a 57 Chevy mocked up in mild steel for exact fit, then we will build an exact clone in stainless 304 tubing.
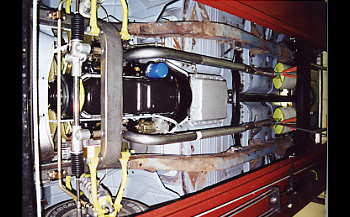
This particular system uses after market cast iron exhaust manifolds, instead of headers which requires longer pipes to be built compared to the usual header flange system.
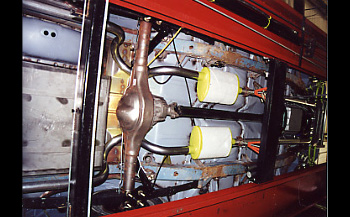
As seen this 2 inch system had to clear over the Ford 9 inch rear end housing then swing down immediately and make a 75 degree bend to the side of the oversized gas tank and the spare tire well on the other side and maintain a minimum 2 inch clearance on all components. Not the typical production exhaust shop job!
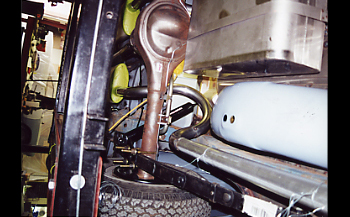
As seen our 2 inch clearance minimum is right on the $ down the side of the spare tire well.
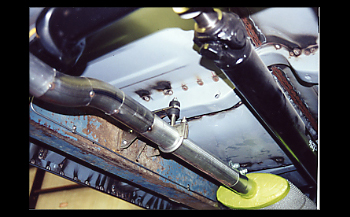
Special fabricated rubber mounted steel brackets were built to keep it all intact and maintain a clean uncluttered look.
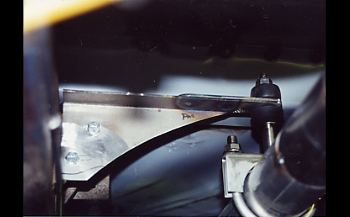
In addition we usually have to fabricate frame brackets in a few areas to support the rubber mounted brackets adequately.

