

Build Tips
Egg Crate Grill
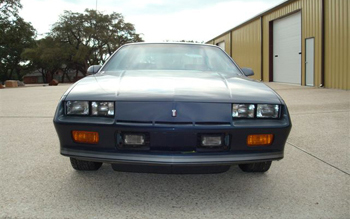
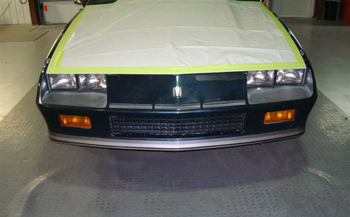
86 Camaro with stock fog lamps and an open grille area. Time to give this bad boy some snap with a custom grille.
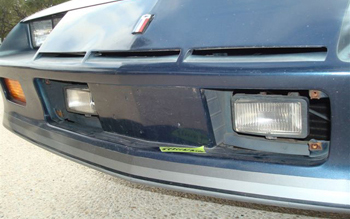
This side angle shows the original license plate area and the factory fog lamps.
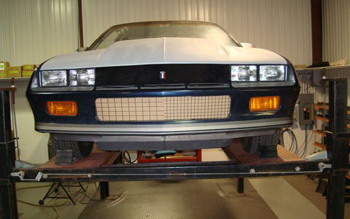
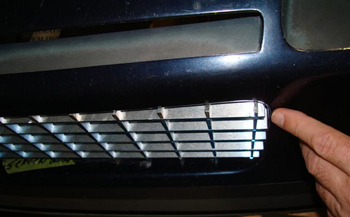
. First thing on the agenda is to mock up a grille in chip board to see what looks good and create a template to fit the outer perimeter.
The customer likes the larger style which is less busy looking and this angle shows it to be the best choice.
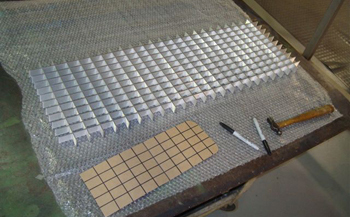
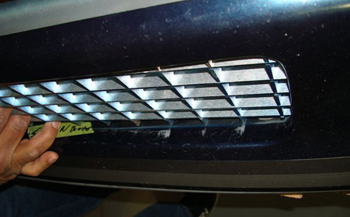
We ordered some raw aluminum egg crate material and will lay out our template to make the cuts.
We marked our cuts and checked it twice so its time to slice. We are leaving 1/8th extra to allow for trimming.

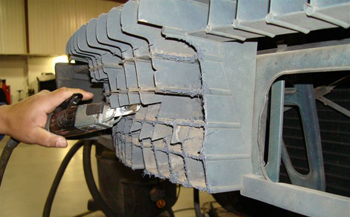
Lou checks the angle of the nose piece to see what the goal is during trimming.
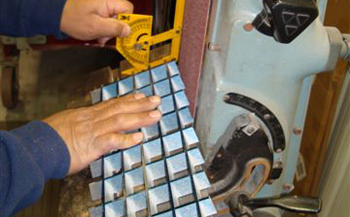
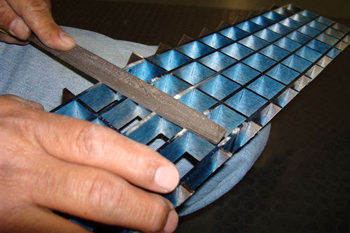
As seen he grinds the aluminum to match the angle determined on the nose piece.

This angle shows where the grille section is going to hit if pressed in any further. The trick is once you get the main section ground you have to fit, grind, fit and grind a bit at a time in order to get it dead on.
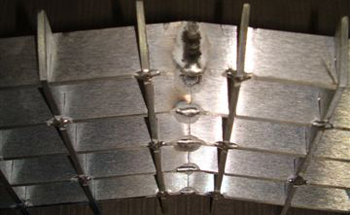
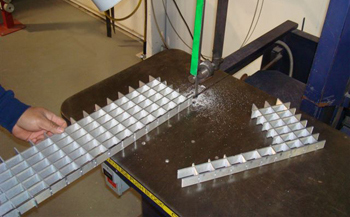
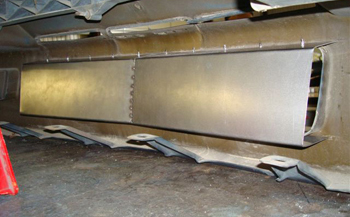
Once we ground it to fit inside we took the two halves and as seen angle cut the middle and tig welded the center with tacks all the way down. As seen the egg crate material was tack welded at the factory on the back side where the individual squares meet together.
After the two halves were joined we inserted the grille and as seen the end sticks out so we will need to grind the center more in order to move the grille in enough so all the outer edges are inside the nose piece opening.
The first step is to remove the center section plastic of the nose piece. This is a rubber plastic material so an air saw made short work of it.
We cut back the nose piece reinforcement to allow clearance for the grille and to allow needed room for bracing which will support the new grille attaching points.
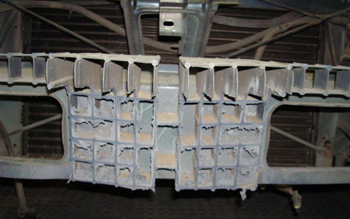
As seen we had to cut back 80 percent of it.
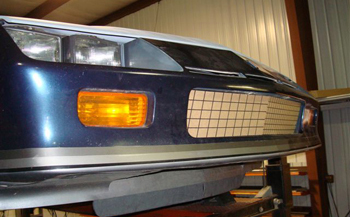
Looking good as she now fits inside all around the perimeter.
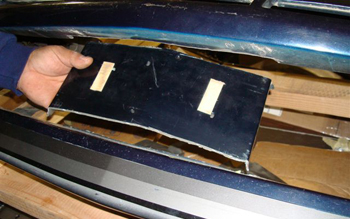
Lou fabbed a tray to encase the grille, this will be attached to the nose piece to both support the cover / nose and allow attaching points to remove and install.
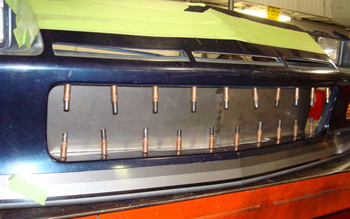
As seen it is clecoed in place to check fit. Eventually we will paint it satin black to hide it behind the grille and drill out some air flow openings.
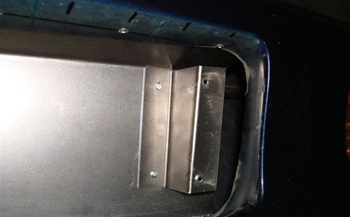
Some simple brackets Z brackets were fabbed to attach the grille.
After Lou finished attaching it he filed the welds for a seam less look.
Finished grille looks mean and is ready for final detailing, paint etc once the car is painted.