

Build Tips
E-Brake
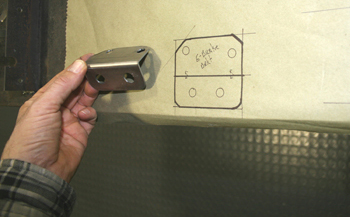
As is often the case on a Custom Street Rod project, the Emergency brake must be installed in a different location because the factory emergency foot brake located on the kick panel and or the hand pull out E-brake just under the dash are in the way of other items that have to be installed under the dash. Therefore a suitable alternative must be chosen. On our project we chose a floor mounted E-brake unit from Lokar Mfg.
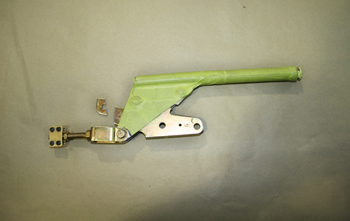
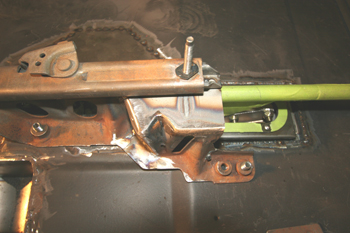
We cut off a small tab from the rear of the bracket. We did this to allow clearance for the bezel retainer bracket we will be fabricating
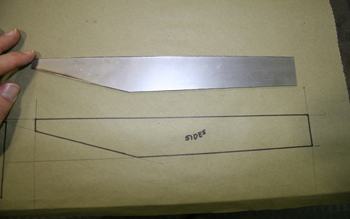
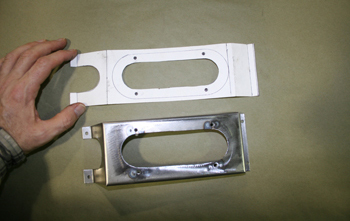
Next we are building a pocket or "tray" to enable us to drop the unit lower then the stock brackets will allow. We want it to clear the seat track. As with any fabrication we always lay out a pattern and build off of that. Two pieces were cut out of 20 gauge for the sides.
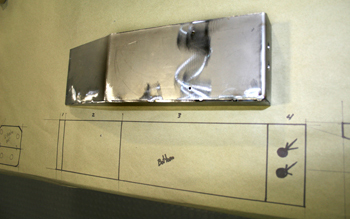
We laid out our patterns and cut the 20 gauge to fit then paid a visit to the box / pan brake to whip it in to shape. Notice the black holes. This is for the cable ends to insert and bolt up in to.
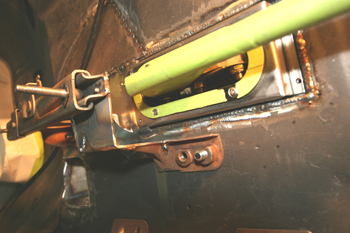
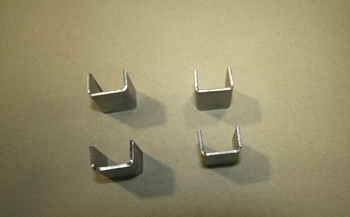
These baby braces will attach the emergency brake unit factory holes to the bottom of our fabricated pan.
We built a bezel trim bracket to surround the brake handle and allow dyna mat sound deadener to clear and still add carpet with the bezel fitting level to the surface of the floor.
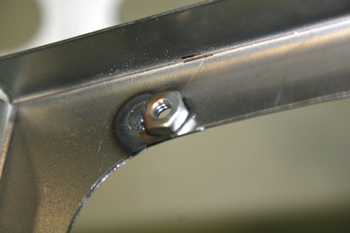
Louie tack welded some 10-24 nuts to the back side for a more stable securing system of the bezel
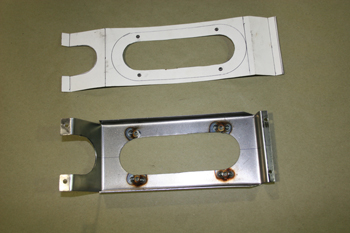
We flipped it over for a better view on the back side!
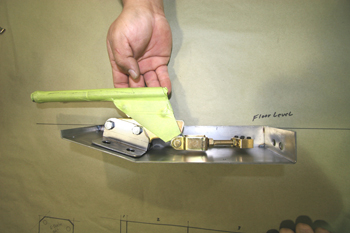
As seen the brackets allow the unit to sit in the tray level to the floor line. Note the 2 inches of space between the handle and floor for a low sleek look but just enough quick grab space.
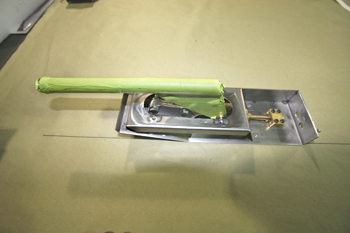
Another view shows the bezel retainer bracket in place and the cable attachment block is ready to go. As seen, this is why we snipped the end off the factory bracket in caption # 2. To clear this bezel retainer when in the upright position.

This angle shows the bezel retainer from the side allowing ample clearance while covering the complete width of the tray.
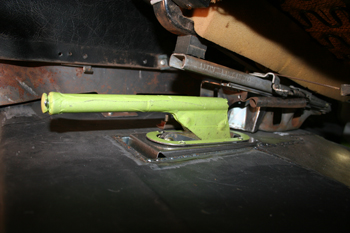
As seen Louie cut off the seat track bracket then cut the floor to accommodate the tray we first built.
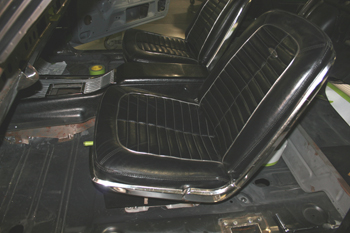
With the seat pulled out we take a look at the brake from the out side of the car. The seat track is in its rear ward position. It will move forward with out touching the brake. This gives the look and feel of a brake mounted next to the console. As seen the console flares out wide and would not accommodate the unit between the seat and console!
The factory bracket was "joggled" to clear the tray, We simply added some metal to the top and sides to move it over for clearance.
This front view shows the clearance.
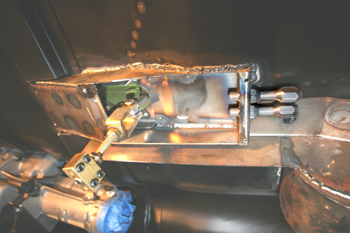
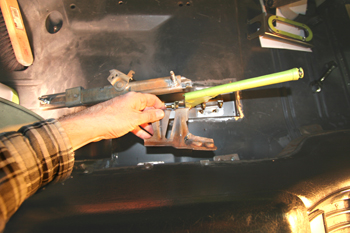
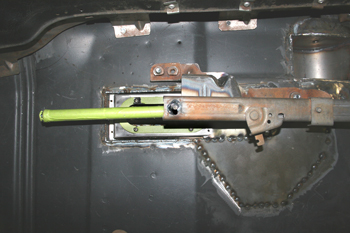
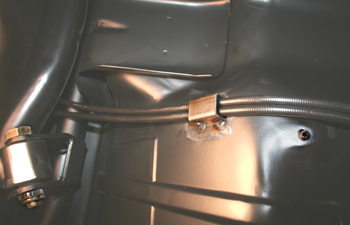
We go under the car and you can see the tray installed. Note the cable retainers mounted in the back of the tray. The brass cable retainer awaits its turn to be hooked up.
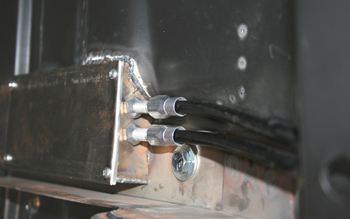
We also built a cover to protect the cable from debris and allow access to adjust the brake from the handle end when needed from under the car.
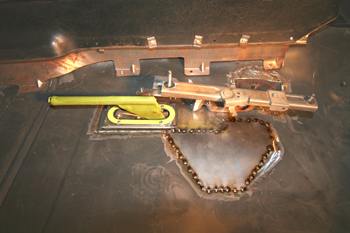
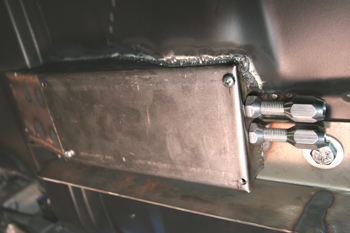
Louie fabbed some simple channels to hold the cable in place up against the floor for a clean cable routed look
This aerial view shows the brake handle lining up directly under the seat track.
We attached the cables to the handle and ran the cables back to the calipers
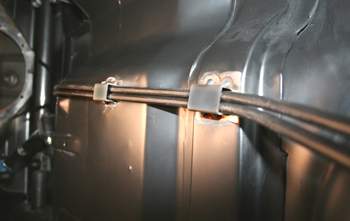
The channel retainers were tacked in place to run them back. This is a much cleaner setup then the factory had with the cable anchor system.
Snaking to the back we go over the rear suspension.
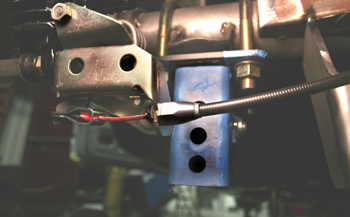
With the cables attached to the calipers we are ready to hold this 5 speed 4000 lbs beast in place on a deep sloped hill if need be.
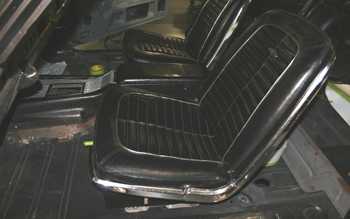
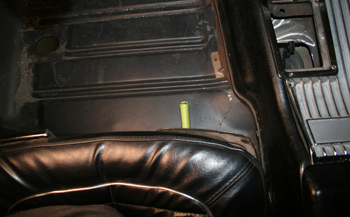
With the bucket seat in the forward position sitting at a show you can barely see the end of the recessed brake system. Keep in mind that once it is black chromed and up against the black carpet it will camouflaged.

You move the seat back in the driving position and its an easy grab if needed.
You can see the clearance when down and no problem in the up either.
The handle assembly will have a Black Chrome finish when completed which will blend out in to the black carpet and interior nicely. This is the forward position when showing the vehicle. Slid back in the driving position there is plenty of handle to grab.