Disc Drum Convert
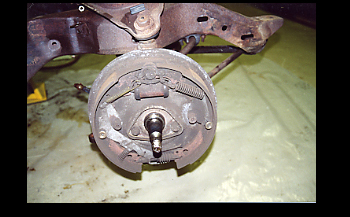
We start with the disassembly of the old drum brakes which have made it hard to stop the 6,000 lb plus Caddy its entire life.
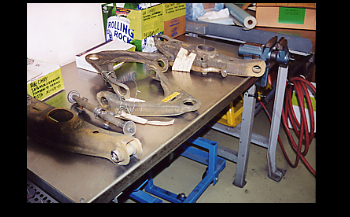
We cleaned up the old parts we will be using in the dip tank and are ready to prep them for our conversion to disc brakes.
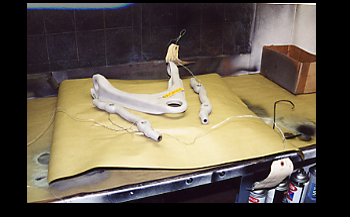
The parts are then blasted and primed before fit.
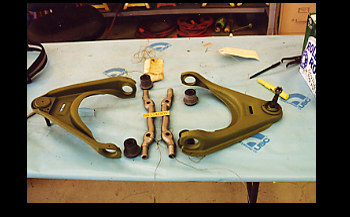
Once primed and painted we reattach all the suspension components to be used such as upper and lower control arms, control arm shafts, spindle etc. We then design on paper a mock up disc brake caliper bracket to hold the caliper in place at the proper angle.
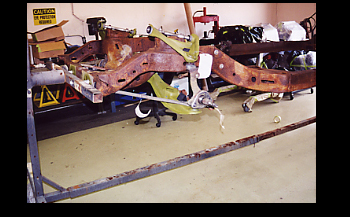
Drum Disc Convert brackets
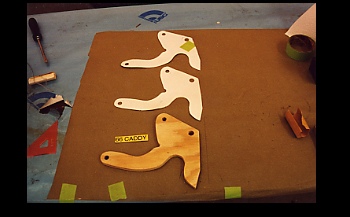
As seen Bob mocked up the caliper bracket on paper board then transferred to plywood to get a better idea of exact fit and clearances by holding the caliper in place over the rotor assembly. This will also enable easy shaving on the wood for a perfect bracket fitting.

Now that he has fitted the caliper with bracket on to the rotor and spindle assembly he is happy with the fit and transfers the template to 1/4 plate steel for cutting out the new caliper bracket support.
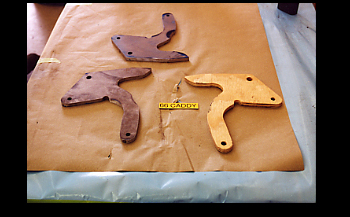
After cutting out the brackets they will need all the edges rounded and de-burred.
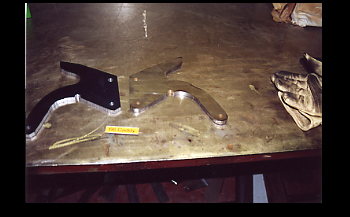
Once de-burred they are ready for final assembly and fit.
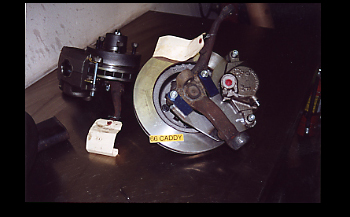
We have assembled the complete unit and after checking the fit with the tire and wheel installed we are happy with every thing. The new disc brake system will now be taken back apart and final detailed, painted and then installed back on to the car when the complete project including the body is painted and ready to be completely reassembled. This big Caddy will now stop much better then she ever has before.

