

Build Tips
Dent Removal
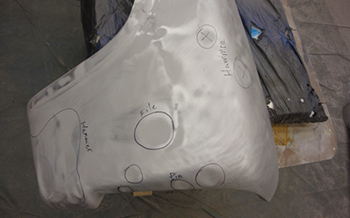
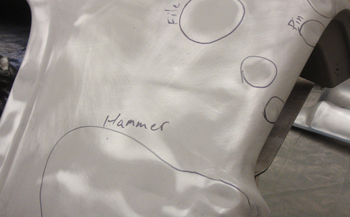
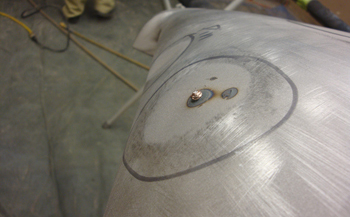
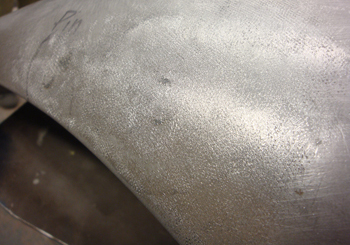
A familiar foe. 1954 Ford F100 front fender. The mega dents make it a perfect example to demonstrate all of our favorite techniques. The average person might think that this fender is too rough to use but we know how hard it is to get good sheet metal. This particular fender is rust free for the most part and being that dents are easily repaired by our Metal Meister Mani the decision is clear. Fix-Her. As seen we marked it out for hammer work, slap file and pin dent removal.
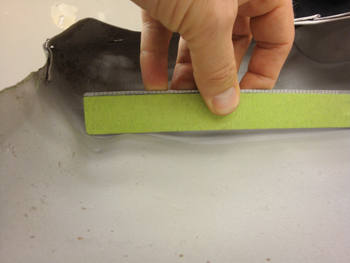
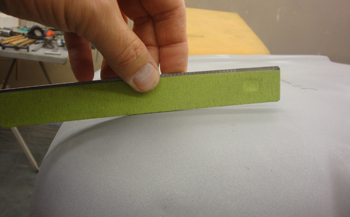
Using a straight edge we determine the depth of each dent to decide on which dolly and hammer to use. Hammer weight and how much the metal needs to be moved along with gauge thickness are very important.
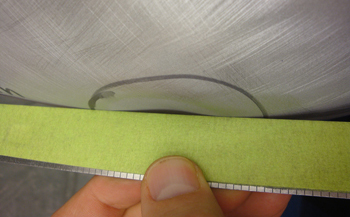
This one is shallow so a lighter hammer and / or less strike force can be used.
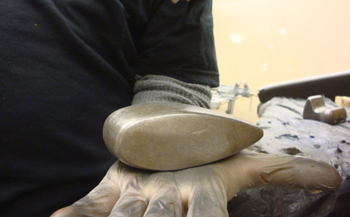
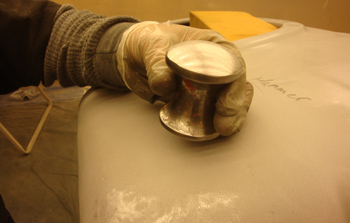
The back side of the fender where we marked "hammer" is where we will start. A high crown dolly and medium weight hammer will be used. We have the fender flipped upside down for demonstration purposes to show the exact location.
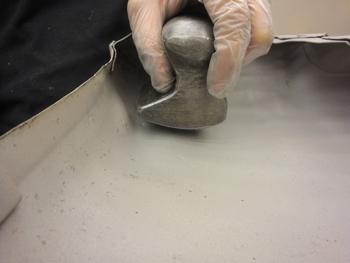
Using the high crown dolly we place it directly on the highest point to demonstrate. We will now flip the fender back over to perform the techniques.
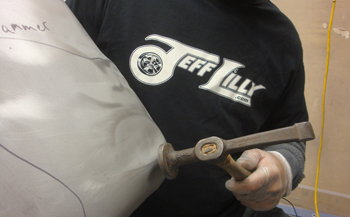
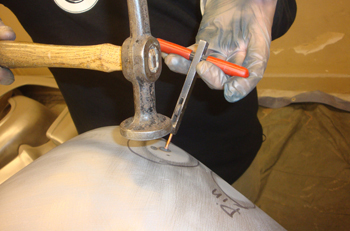
Mani holds the dolly as instructed in the last caption. We begin tapping with medium pressure being sure to make square contact with each blow. We perform a circle all around the perimeter on the outer edge of the dent. While holding the dolly on the backside of the center it starts to release the metal allowing it to go back to its original shape.
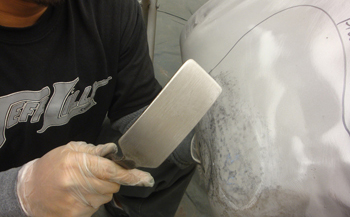
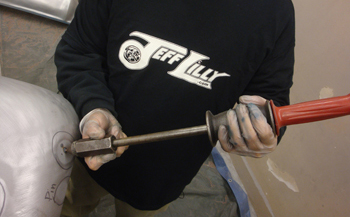
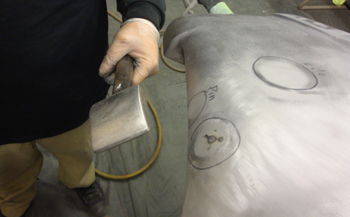
Once he gets it roughed out he uses a slapping spoon and repeats the process. This tool allows more surface contact then the hammer but less strike force so it is great for finishing off the smaller imperfections.
Again working from the outer perimeter in a circle toward the center with the same method the spoon slapper takes it to the next level.
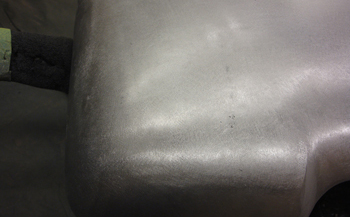
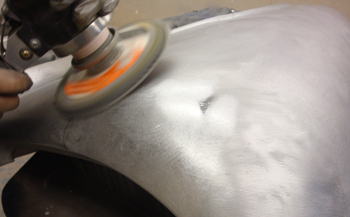
Once all the dents are worked out he blasts the surface then block sands it with 80 grit for any last spots. He is checking for the right contour and as seen she has a nice shape.
Using an oval shaped dolly he can work out the little details.
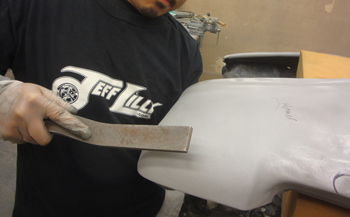
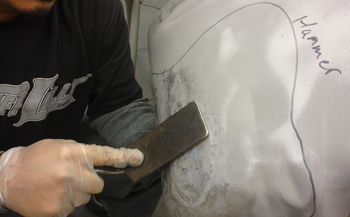
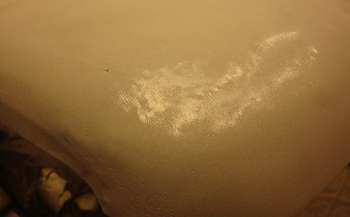
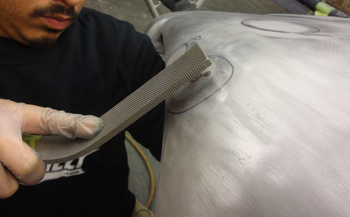
On to the slapping file. This tool actually pulls the dent out by allowing the metal to release in to the file teeth as it strikes the surface. "Reverse Shrinking" is what the old timers call it. This is a slow but sure method that can be learned with a little time.
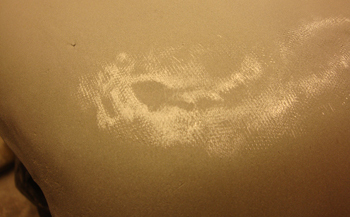
A close up shows the serrated teeth are making contact on the high/level spots and the low untouched areas are needing more attention. The key is to hold the dolly in the low untouched section as you tap it with the file and it will pull the dent out.
The spot is smaller now so Mani uses a round dome dolly which is excellent for placement in tight areas and small imperfections.
She is about there and coming around.
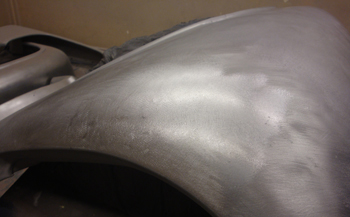
The final step is to DA sand it to check one last time. She is primer ready with no filler needed.
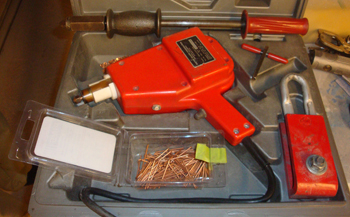
Another dent removal technique is the stud welder which works great when you do not have access to the back side.
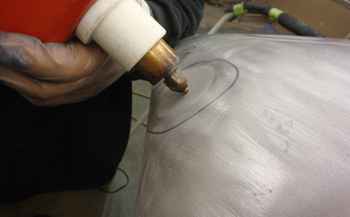
We find the center and weld a stud on to start the process.
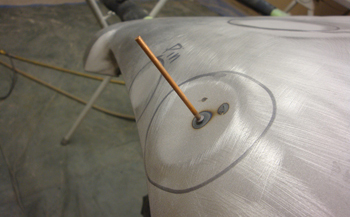
She is ready for a pull.
The baby slide hammer makes short work of it.
Now using the hand tool he taps around the perimeter while pulling 5 lbs of pressure and she starts to work out.
Once it is the best you can get it simply cut off the pin and grind it flush.
We also use a long handled dolly for hard to reach areas.
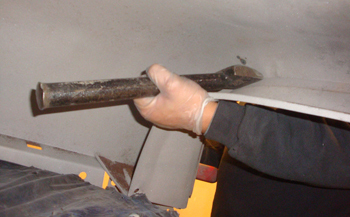
Placed in the right area he starts to tap it out.
Slap file again to raise the surface.
Looking good. Fully touched by the serrated file teeth.
Sand it smooth to check it.
Ready to rock.