

Build Tips
Custom Seat Build
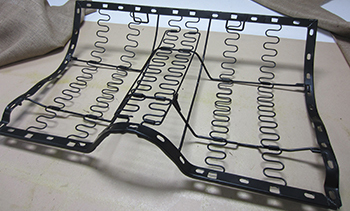
We start out by cleaning up the original fold down base. We dipped it to remove any oily residues then media blasted and painted it black.

The next step is to wrap the base with burlap weave to tighten it all up and help stiffen the springs in order to lay a good foundation.
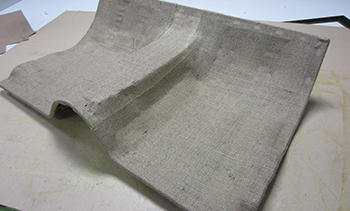
All wrapped up and a great place to go. Forward.

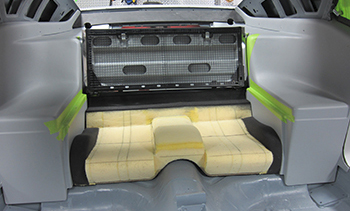
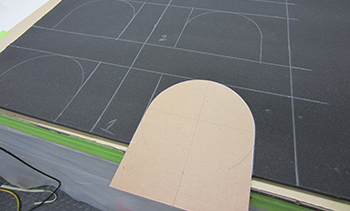
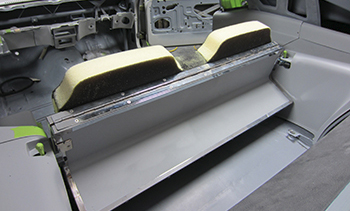
Next we fit the upper and lower sections in to make adjustments side to side while folding the seat up and down to be sure there were are issues for clearance and ease of operation. Keep in mind this build had the wheel houses narrowed seven inches total to stuff some big tire in the car so this makes it even harder to achieve what we are after.
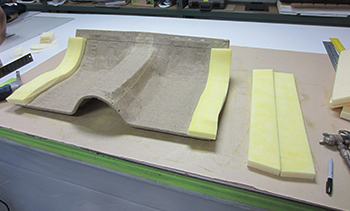
Everything looks good so it is time to foam at the mouth, I mean foam the seat. Ha ha humor me. What we are after is to do what has never been done in a classic Mustang to date. We have Cobra Misano $2500 a piece buckets seats in the front. They have a pretty wide wing width and a tall headrest. So we want the rear fold down to simulate the front and or match it reasonably well.
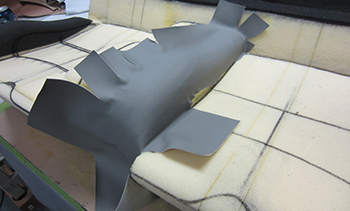
Additional foam goes down and we are on our way. Using one inch thick foam and landau top DAP adhesive which is permanent by the way, we stack some foam.
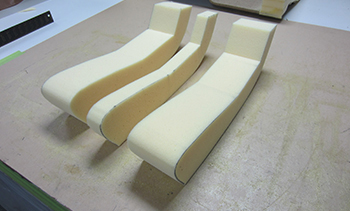
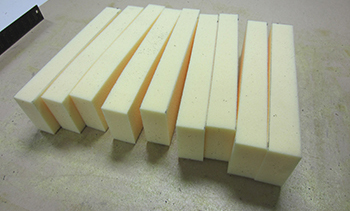
Next we cut out one three inch and two eight inch wide pieces for the actual seat section width on one side then we will repeat it for the other side.
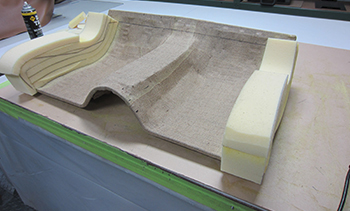
Glued in place she is starting to take on a personality
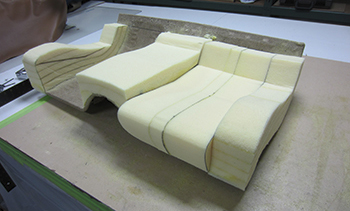
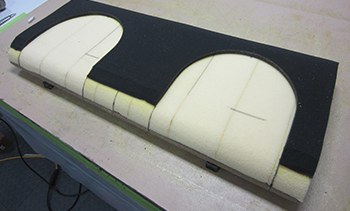
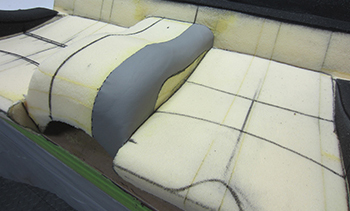
This foam comes from Ronco and is shapeable to a point which you have to have. As seen the center hump is being rounded, by using a grinder with 36 and 40 grit we shave the rough part then finish it out by hand using 50 grit. Notice the black foam we installed in thin layers after the outer section was formed pretty close.
This black foam allows super sanding and shaping while stiffening it up a bit. As seen the outer sections are really taking on a nice shape.
All roughed in and time for a fit to be sure the fold down still works properly.
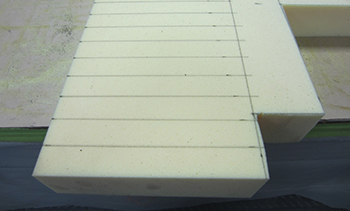
Top side is next, simply slice on the foam using our Bosch foam saw with specific size squares to get you close to the desired shape.
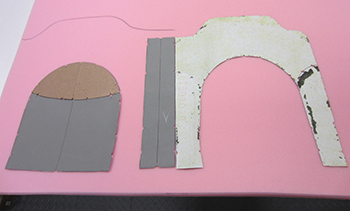
These will now be trimmed to round off the corners then glued together.
All glued together its shaping out nice.
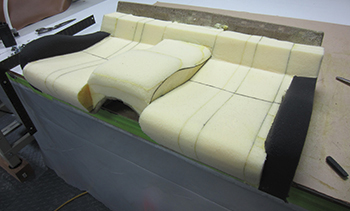
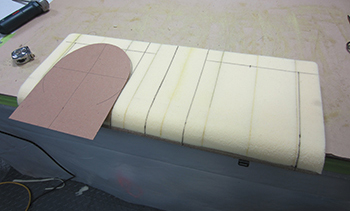
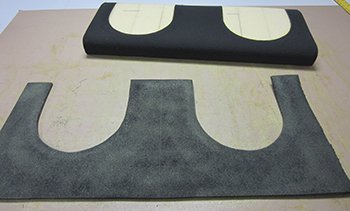
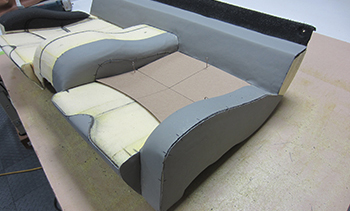
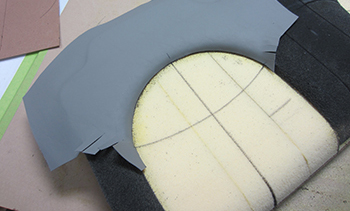
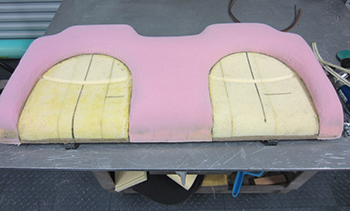
Inserts are now traced out from our mock up on to the surface and are ready to be cut out. This black foam is one inch thick.

Arched design is pretty cool the black foam is call Volare and makes for a nice crisp line.
All glued down we are ready for the next phase. Notice the bevel or angle cut at the bottom to allow the fold down to clear the lower seat section when folding.
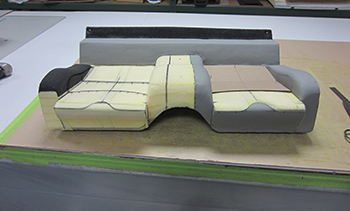
We want a deeper shape so we add the other section layer for more depth.
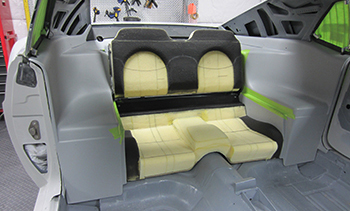
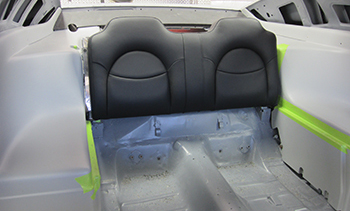
Installed you can see the headrest is starting to come along but we want it to mimic the front buckets so some trimming is needed.
Back side shows them to be pretty wide so we need to narrow them for the "look" I want.
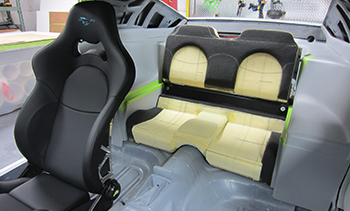
We installed the big dollar Cobra seats that came from England. I also ordered some extra matching leather for the rear seat. As seen we have started chalk marking the rear seat for a similar pleat style. Given the limited room we have with a narrowed seat it is a chore to make this happen. As mentioned I want the headrest to be a tad narrower to give it the same pop the front seat has.
Time to cut them down. Its easier to start a little bigger as you can always trim them down bit by bit until you nail it. Its much harder and wrong to add little pieces to make it bigger.
Now it has the look I was wanting. Time to proceed.
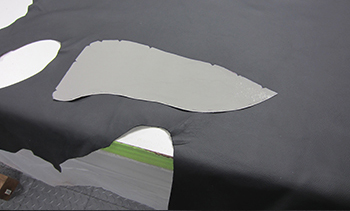
We start by mocking up some vinyl in order to fabricate a template for a seat that has never had a cover before. I only ordered two extra hides from the MFG from England. We flew them in Overseas with the seats so we have to be exact as we only get one shot.
Tight and right, we tack them in place one by one using super glue and pins. This is Taxidermy to a whole nuther level with some precise surgeon stitching if you will.
Notice the voo doo holding pins as we knock this bad boy down.

Same goes for the center insert we need to figure every thing at the same time.
She is a lot of work but anything worth having is.
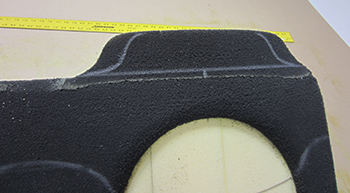
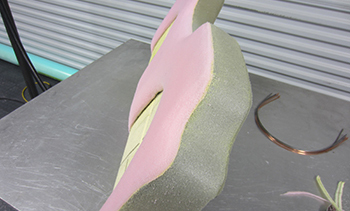
This section is harder to build, as you can see the rolled edge around the perimeter of the base is smooth.
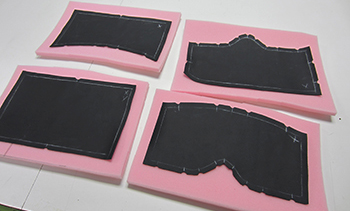
We pull off the templates from the seat then turn them around and lay them out on foam. In order to push the leather really tight we use this pink foam 1/2 thick for a final covering before installing the new leather covers.

English cows are big to say it mildly, must be all that tea and crumpets have fattened them up for the kill.
Now that we have some nice fitting templates out comes the English leather to cut. I say old chap, jolly good show !
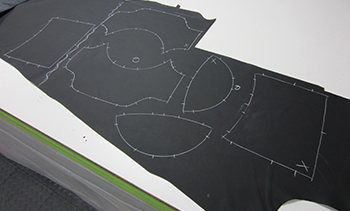
Some more pieces chalked out and ready for the scissors.
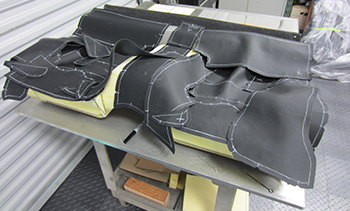
Oh yea mega patterns, this is one cut up cow who never knew it was coming.
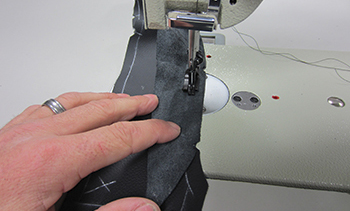
Stitch it, stitch it. This long arm machine can be set very slow so precision can take place.
A few of the smaller pieces with be sewn to the foam to support the cover properly.
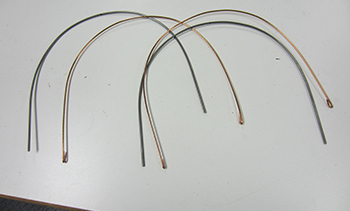
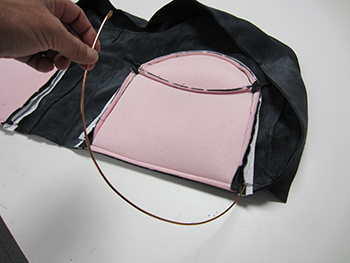
We built support rings for around the circles. We will simply insert, then sew them in to place. We took 1/8th rod and bent them precisely to the size needed.
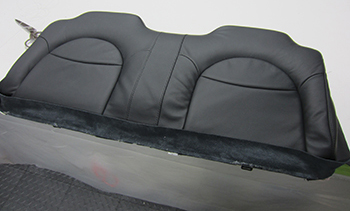
Covers look wrinkled and disheveled but not after they are stretched across a base.
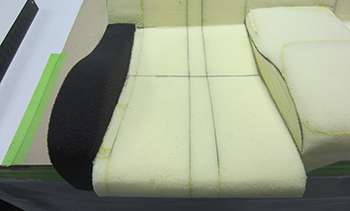
Now we glue the final pieces on the seats and shave all the edges nice and round.
Side profile shows a slice and contoured foam job ready for our new covers.
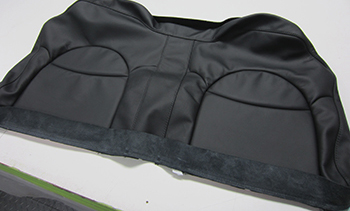
New covers get the wires installed then sewn up on the edges to keep them intact.
First stretch time for a little steam and massage.
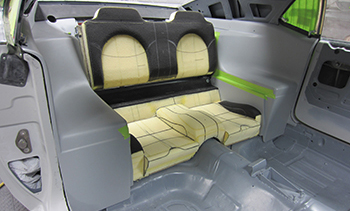
Stretched out and in place.
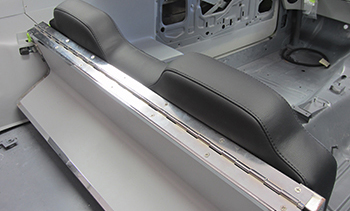
Looks great from all angles.
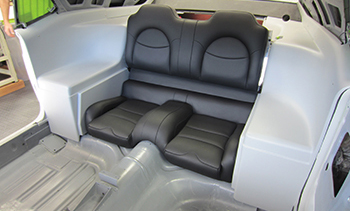
We performed the same steps on the bottom section. It looks great folds down and clears everything. Pretty Sweeeet to say the least!