Custom Roll Pan
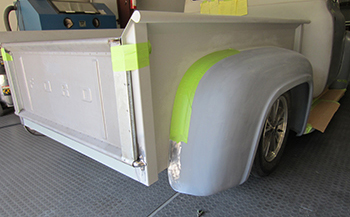
In the 1950's Truck MFG's were building pickups for business use and for farms and such so they were not super concerned with the look of each part of the body. In order to give this truck a smoother more subtle transition from panel to panel a roll pan is needed. This angle shows how much the fender sits below the bed. Let's take a look at what it took to fix this problem.
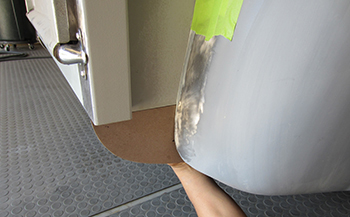
Once we decided on the initial design we made a chip board mock up to see what the side panel would look like. This angle looks pretty good but lets take a look from the side.
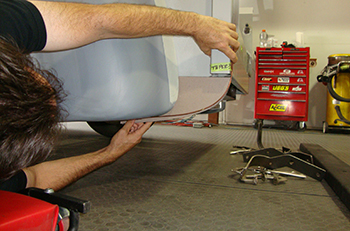
I like panels to flow in and out of each other as if they were seamless transitions. We often use chip board and 1/8th wire for a different perspective in order to get the "look" we are after. We scrutinize from 3 foot - 6 foot and from a 10-20 foot distance. In my opinion the chip board drops down under the fender a bit too much. The wire is much closer to what I want but needs just a bit of tweaking to be perfect.
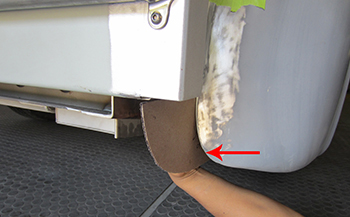
We cut out our final mockup and held it in place for a final fit. As seen there is a large gap between our mock up and the fender. We will add a section to the fender to close this gap.
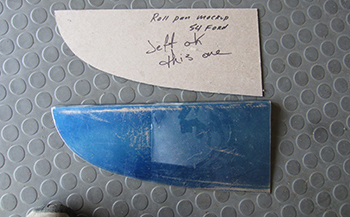
We then laid out the template on some 18 gauge steel and cut it out to duplicate our mock up. We also allowed enough material to bend a 90 degree lip on the top for welding it to the bottom of the bed.
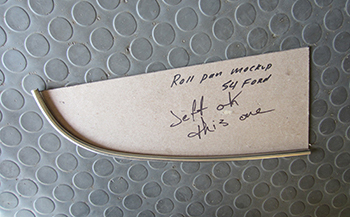
We then took 3/8 rod and bent it to match the outside edge of our side panel.
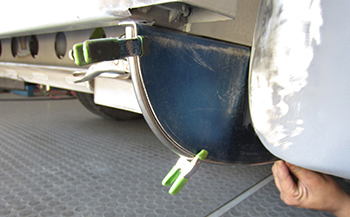
This wire size gives us the smooth transition look we are after.
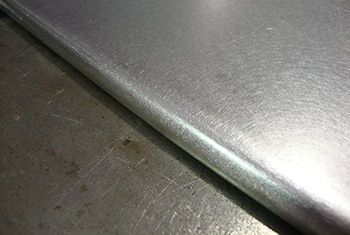
This close up shows how it looks once welded and ground. We will duplicate this for the opposite side and then we will clamp/fit them to the sides of the bed and then fab the center section.
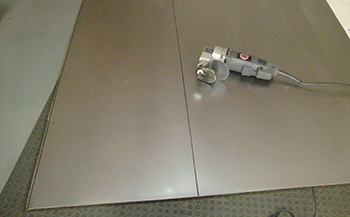
Okee Dokee, it is time for the center roll pan to be fabbed. We clamped the end pieces to the body then simply measured between our ends and marked the metal accordingly. Once this metal is cut we will roll the panel until it matches up to the same shape as the end panels we just fabbed. In general we always allow 4 inches extra at the bottom to be trimmed later. We will be using 20 gauge steel for this part and the Black and Decker nibbler will be used for this operation.
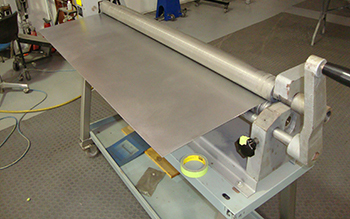
We then place it in the roller until it matches the same radius of the side sections just completed.
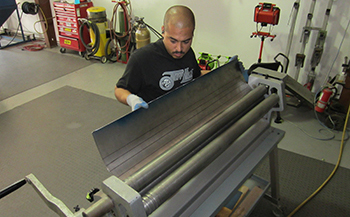
As seen we marked the panel with a few reference " sharpie marker " lines to keep us on track of how much radius we want between the lines. This way we do not have to check it up against the truck as often.
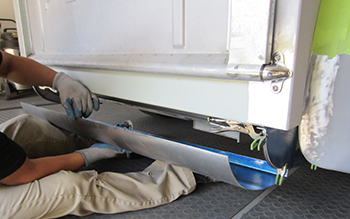
Initial fit looks pretty good. We sprayed some blue dykem on the back side to mark any close fit areas and to allow a nice sharp trim line when final scribing it with a carbide tip. We also bent a 90 degree lip on the end to finish off the panel.
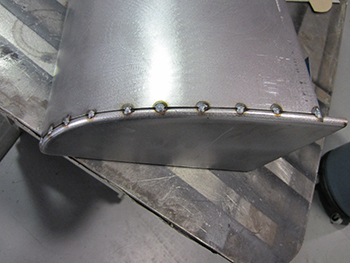
Once we marked it we then trimmed the roll pan center section, un-clamped the end pieces and tack welded them together on a fab table for easy access.
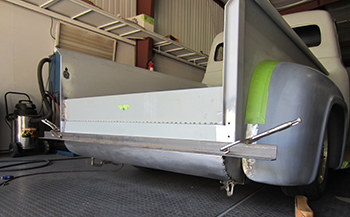
We step back and take a look at it in place and we like what we see so now we can fully weld it on to the truck.
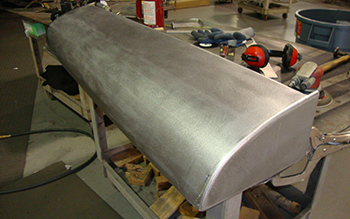
Fully welded and ground smooth with a nice transition she is ready to rock. Time to attach it permanently, lets do it.
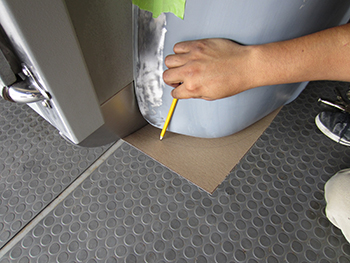
As mentioned in the beginning we need to add some metal to the fender to blend it in to the new roll pan so we marked some chip board to change the bottom of the rear fender so it will flow smoothly.
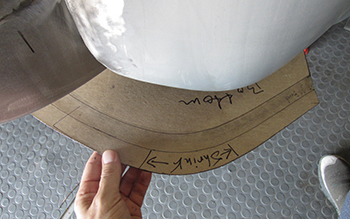
A template was finalized to show us the radius we are after. We are going to fab the bottom section radius first.
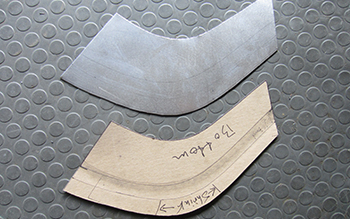
Some metal was cut and we are ready to form it on the machines. It only takes a few minutes to form but it is a tricky radius. We will add the side section later.
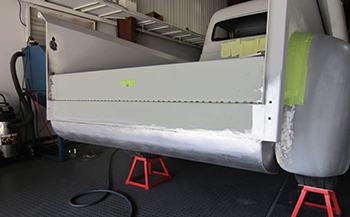
We final welded the pan in place so we will have an exact fit on the lower fenders.
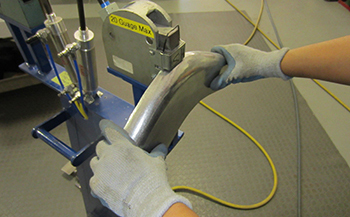
The lower part is formed on the plannishing hammer and the shrinker to get the right radius and angle we like.
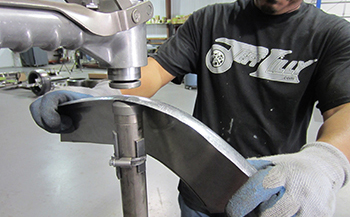
A tap or two here and a hammer or three there and viola she comes to life.
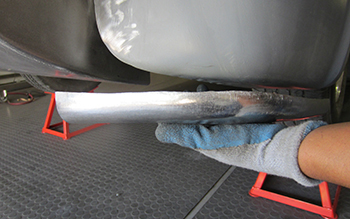
Roughed out she has a nice taper. Now we can fabb the upper side section then weld them together.
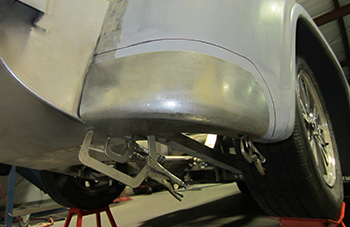
As seen we fabbed the side section then welded them together and it is coming along nicely.
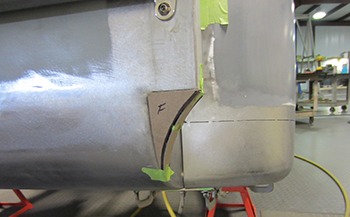
After trimming, fitting and tack welding the fender section in place we wanted the bed rail to blend in to the roll pan also so I mocked up a chip board template and came up with this little number.
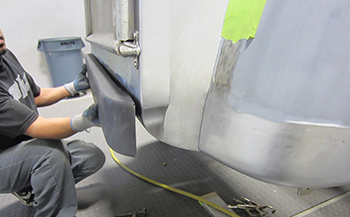
After some fitment and a bit of welding she looks great. We hung the bumper in its position and then built some custom brackets to mount at just the right height. A little weld touch up along with some smooth grinding and we will be finished.

