Convertible Top
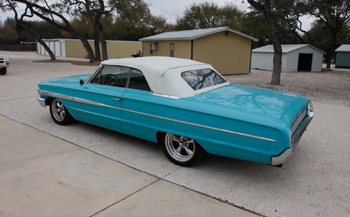
They all look good from 20 foot but you can see the soft top is showing major signs of wear and tear. This will be a very detailed step by step story on how to install a top correctly. This specific top is one of the hardest with many obstacles to overcome making it a perfect candidate to learn the art of soft top installation.
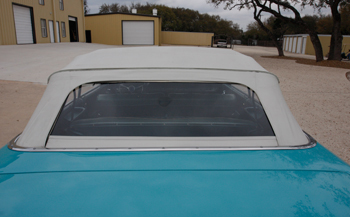
As seen the rear window is closer to the chrome molding on the passenger side which indicates alignment problems.
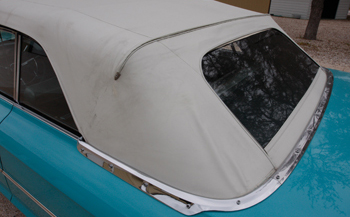
Wrinkles showing up in many places
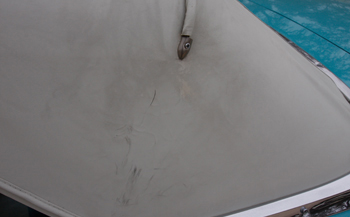
There are many tears and the wire-on is pulling away from the end cap.
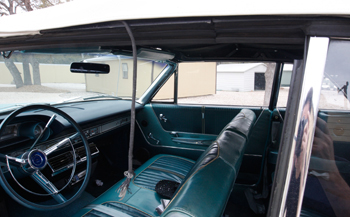
The tension cord has snapped and is hanging down. This is why the sides of the top have started to lift up as seen.
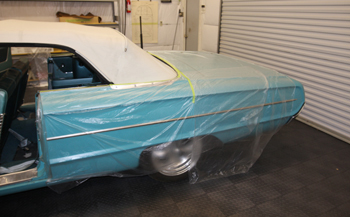
The first step is to inspect the top for fit problems then make a note of all the repairs needed and mask the project off with plastic to protect the paint. Same goes with the interior front seat and carpet. The rear seat must be removed.
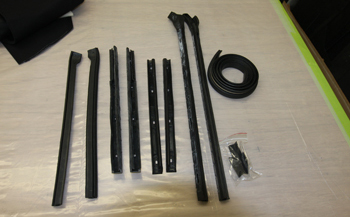
Be sure and order new seals and have them ready before hand.
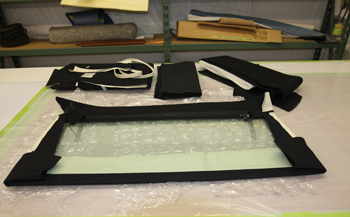
Whenever possible we order the top with a glass back window instead of the cheaper plastic rear window. Some cars only come with plastic if the MFG. had limited room in the well for the mechanisms to fold.
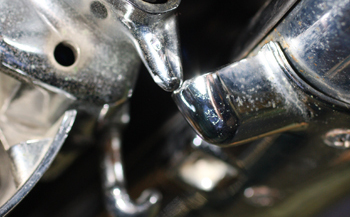
The alignment pins are located at the front header above the sun visors and as seen on the passenger side it does not line up. Analyzing before removal and making adjustments as soon as possible is important.
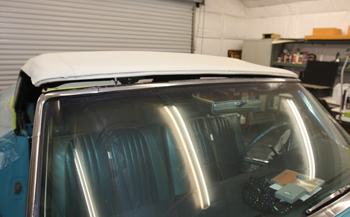
The top is coming down and just before touching it reveals a twist of 3 inches side to side which contributes to the bad pin alignment. In the next few steps we usually adjust the top, but it can be done just before fitting the new top.
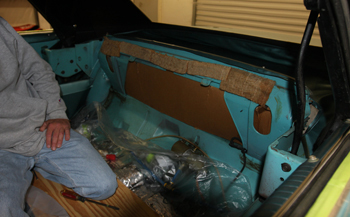
The first disassembly step is to remove the back seat for room to work and allow access to the hydraulic system.
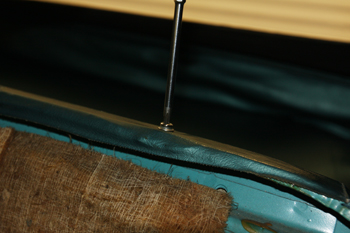
The well liner is next in line. First we remove the snap studs from the rear seat panel. Be sure and bag and tag all fasteners to location as they are taken off the project. Once this is removed it is time to inspect all the hydraulic lines and motor to see about replacement. We always change them out to a brand new system to be sure we are starting fresh.
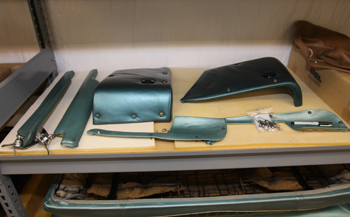
Lay all the parts out in an organized fashion
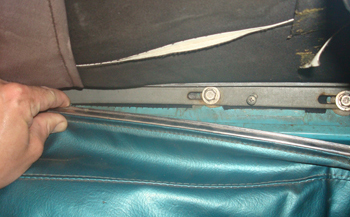
The well liner then snaps out of the channeling by pulling on it.
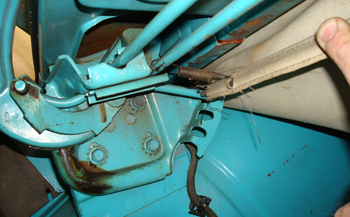
Under the liner at the trunk spring we find and remove the spring tension on the well liner rod.
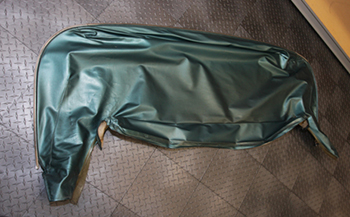
She is out of our way and will be replaced with another one
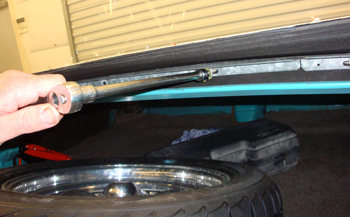
The next step is removing the tack strip at the drain well just below the rear window. Be sure and Unzip the rear window first.
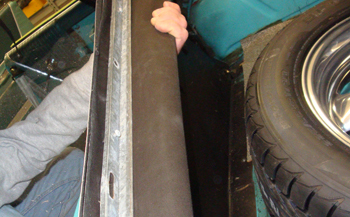
On this particular car the rear glass has its own section of top and is independent from the main top. This makes installation a much more time intensive project. Eric unzipped the window at the top then removed it from the car. As seen at the red arrows the rear curtain tack strips are in three pieces.
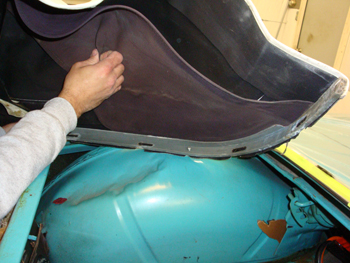
The " sail panels " and or qter panel stay pad tack strips are now pulled up and sat inside the well while we remove the listing screws on the first bow.
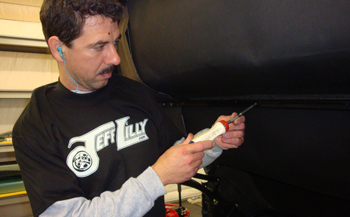
Eric lifts the top up half way up to get easy access to the listing screws and starts removing them.
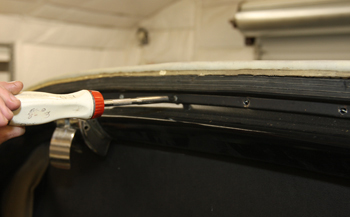
On the very front header he is removing the weather strip seal and metal retainer. He will also remove the center and rear side seals.
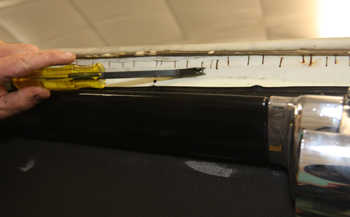
The header wind lace and top screws come out by removing the staples first.
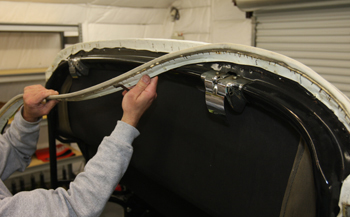
The wind lace is removed and put to the side for reference later. The remaining top materials are glued on and are peeled back to remove.
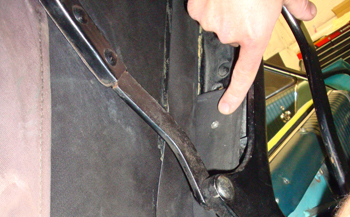
Just behind the qter window glass in the interior are the side flaps. Eric is pointing to the Qter flap screws that need to be removed next.
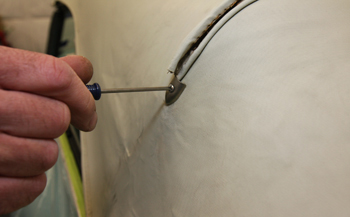
Up on top of the last bow that is just above the rear glass there is a "wire on" that covers the seam. He is removing the chrome end with a Phillips.
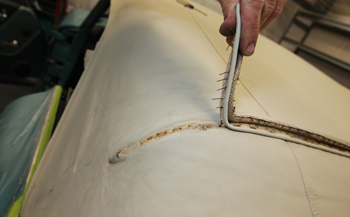
Next we simply pull out the staples and pull off the "wire on" trim piece.
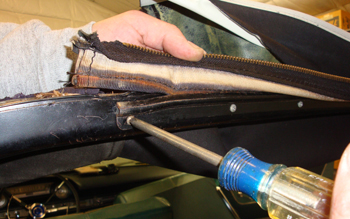
On the same bow where the rear glass was you can see the rear curtain zipper retainer. Time to remove the screws.
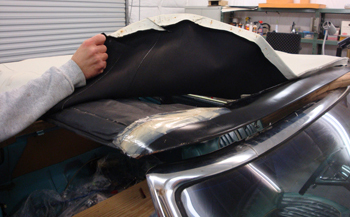
Eric pulls the top material away from the frame and uncovers some bogus past repairs.
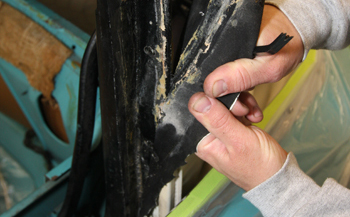
At the sail panel behind the rear qter glass he pulls the flap away from the channel. The old glue will usually release but may need to be cut away.
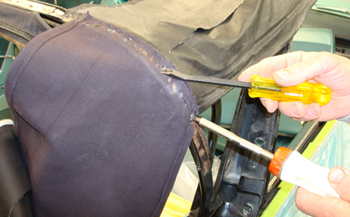
Now that the top materials are out of the way it is time to remove the old stay pads. The staple removal tool is brought back in to action. As seen the Phillips screw on the very end at the bottom gets removed also.
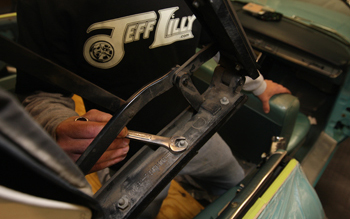
It is also easier to remove the side seals with the top removed. Although we will reinstall the new ones once the top is closer to being finished.
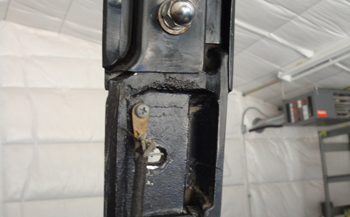
The original tension cable had worn through which was seen hanging in the first pictures. This cable assists in pulling the top sides down. Note this is the time to restore the top frame and repaint it black. You can either remove the entire frame to media blast, prep and paint or at the very least cover the interior with plastic and prep it on the car by cleaning with wax and grease remover then scuff padding for adhesion prior to paint.
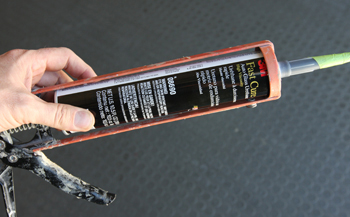
It is time to install the new tack strips. This material is available from any interior supply house. We use 3M fast cure urethane # 8690 to adhere the new plastic retaining strips in to the channels.
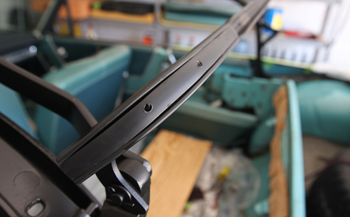
After we removed the old tack strip materials and cleaned the frame up, new plastic tack strips were installed. Depending on your channels you can use two pieces to fill the channel if needed. The goal is to have it level with the edge of the channel. As seen it is only installed on the outer edges of this back #3 bow as the listing materials go in to the center section. Simply take pictures of where the tack strips were on your top and install in the same locations.
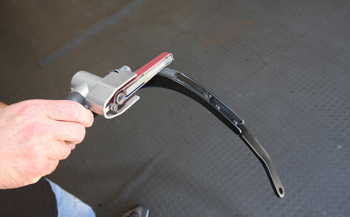
If need be you can trim the channel materials down to level. We use a belt sander to make short work of it.
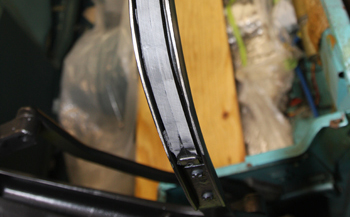
In general the channels are not consistent as far as depth goes so a bit of trimming will usually be needed.
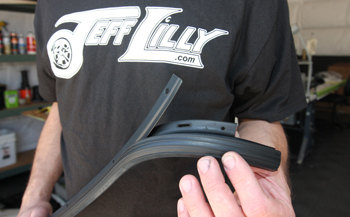
Next Eric takes the new front header seal and wraps it around the retainer strip before installation.
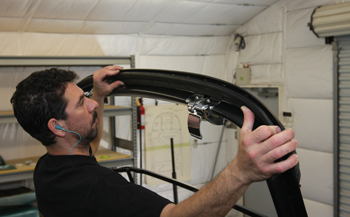
For fitting purposes he only attaches it with a few screws. This will let the top sit in its proper height while adjusting and tweaking the top materials.
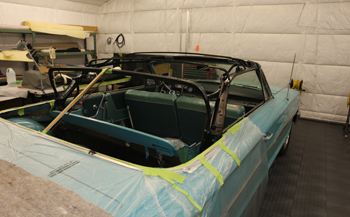
The back bow has a height measurement that the top mfg will provide. We make a spacer out of 1x1 hard wood to keep it exactly in that position for every top we do.
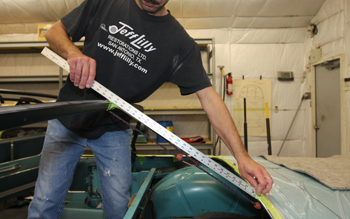
The spacer is kept in place using a bungee cord for no movement.
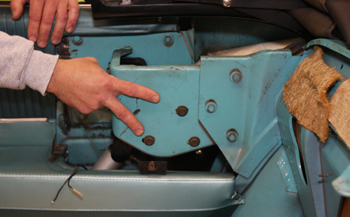
Here are the balance link adjustment bolts. We will mark the current location then loosen and adjust them counter clock wise to pull the top forward and allow the pin to drop in on the passenger side.
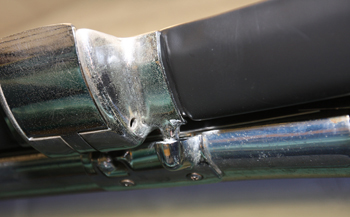
After adjustment we have the alignment pin going in straight and true.
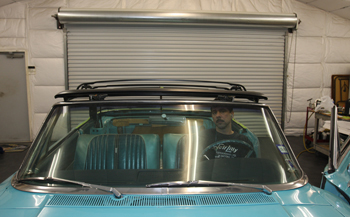
Correct adjustment is everything, as seen the top is coming down nice and even side to side.
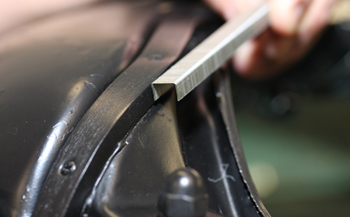
Choosing the correct staples to fully penetrate the channel but not hit bottom is crucial, so be sure you make the right choice.
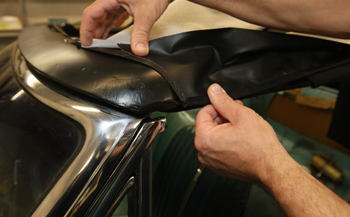
We start the install with the side stay pad materials first. These keep the top tight and somewhat aligned front to back so precise alignment is important.
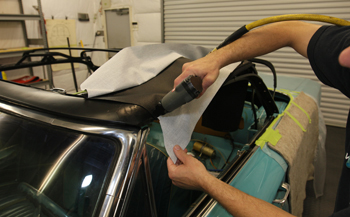
Staple a few tacks and then check.
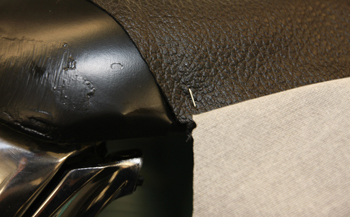
As seen the bottom of the vinyl is even with the edge of the header.
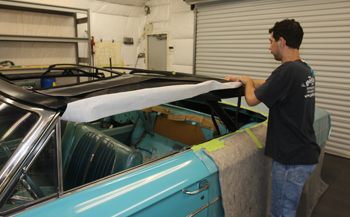
Next we pull it tight to the back and stretch to remove all the wrinkles. Note the front header is latched down in place.
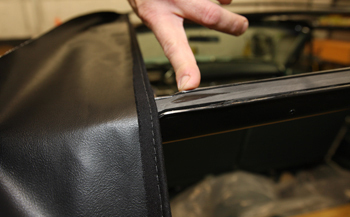
At the rear bow you can see where it steps down for the materials to lay just below this drop off. This keeps the stay pad positioned correctly.
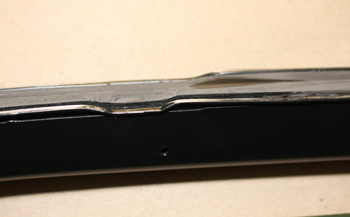
A close up of the bow shows the step down where the edges of the qter panel and side panel stay pads are positioned.
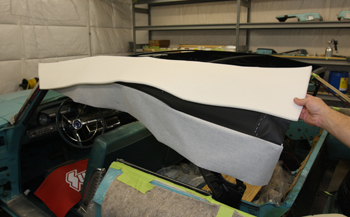
Now it is time to insert the foam pads.
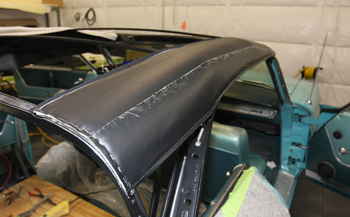
Glued down it is taught and tight as it should be.
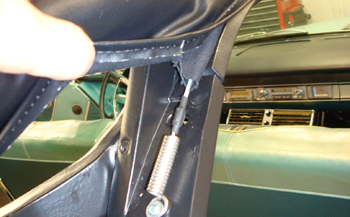
The cable was installed with the spring retainer before the flaps were glued down. They need to be ordered as they do not come with the top.
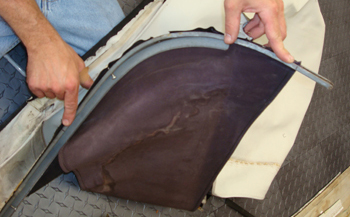
Next we go to the sail panel stay pad tack strip and we take a look at the old top to see the factory marks and how they lined up to compare with the new top material.
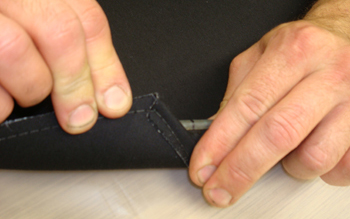
The factory line has to be matched against the tops binding edge.
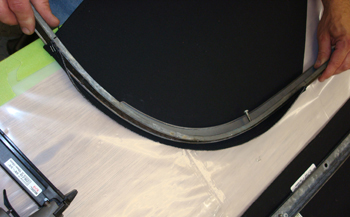
As seen the edge of the sail panel stay pad is lined up to the black marks on the tack strip next to his fingers.
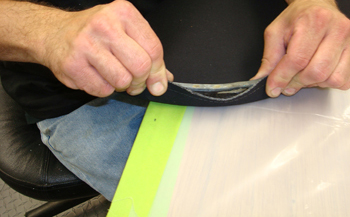
Eric folds the material right against the line and is ready to start stapling.
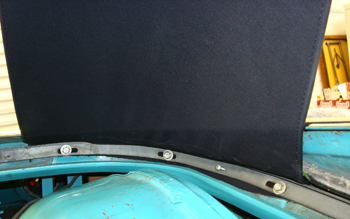
Once stapled we take the sail panel along with the tack strip and bolt it back in place. As seen just below the retainer some material is hanging. In general there is usually extra material that hangs below the retainer that can be pulled to remove wrinkles if needed. This can be trimmed after all is satisfactory.
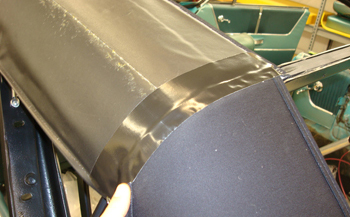
After we installed both sides and were satisfied we then taped the seams. It is time to start the top install. All of the preparation we just did will make the difference in the final product.
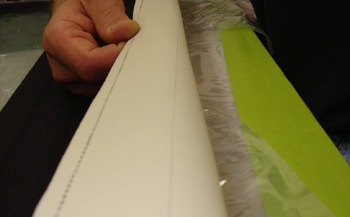
The rear window along with its top material will be fitted next and as mentioned before it is separate from the main top. As seen the MFG. has the reference line marked on the top.
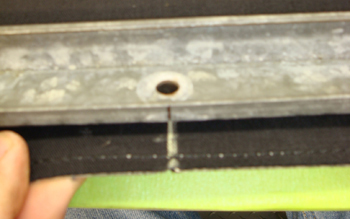
The next step shows us lining up the factory lines on the top material and the metal tack strip. Now we will mark where each hole lays over the top. On those marks we will then cut a small hole in the material to clear the mounting screws. Once we install and check for fit we can make alterations if needed.
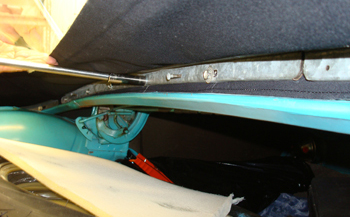
Eric cut a hole in all the locations and is starting to mount the rear window.
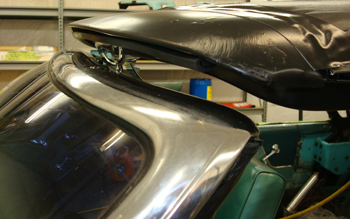
It is time to relieve the pressure on the frame by unhooking the top to make it easier to install the rear window upper channel. Once he has the rear window stapled in place he will re-latch which will pull the materials around the glass tight and hopefully wrinkle free.
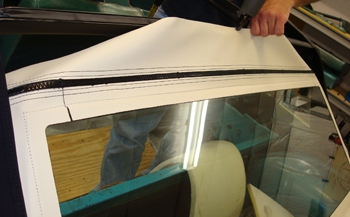
Pulling the glass/materials up tight he starts to staple in to place, working from the center out to each side.
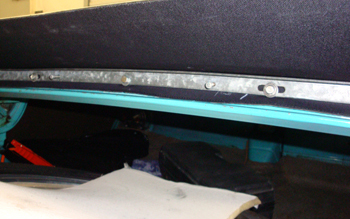
As seen some of the material hangs below the tack strip. Occasionally we have to remove the screws and elongate the holes in the top to stretch the material down even farther in order to remove more wrinkles.
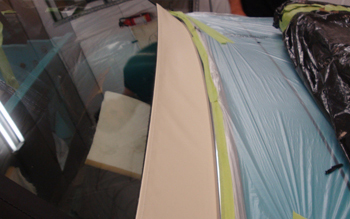
First time out it still has a small wrinkle so we will make a few adjustments. The sun combined with a bit of steaming will remove most of this but we want to have it stretched very tight.
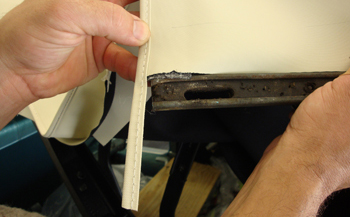
An important point to remember is to match the side binding edge even with the tack strip retainer.
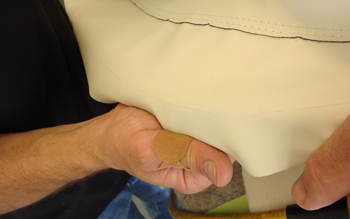
Eric pulls the materials over the top of the tack strip until the factory line is right on the edge then he staples it in place.
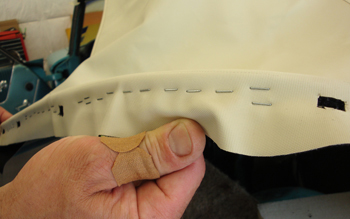
A few staples to hold it and reinstall to check fit is all that is needed. Once all is well we will fully staple many times.
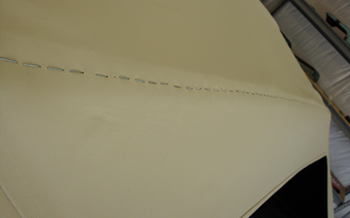
It looks good so he went ahead and stapled across the top bow of which will be covered with the wire on welting.
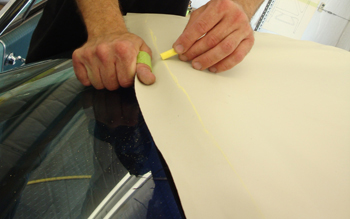
Marking the front header so he knows where the fold will take place.
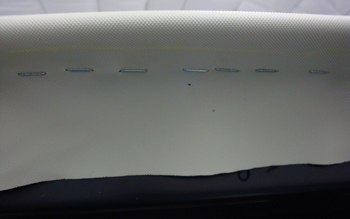
As seen about 1/2 inch of the yellow chalk mark is folded under the edge.
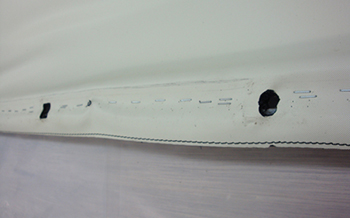
Simple circle cut outs work well where the screws protrude through.
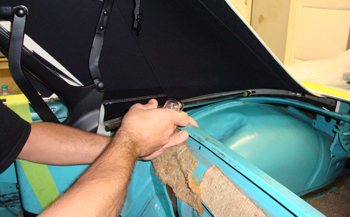
Sail panel tack strip is now screwed back in place to check fit.
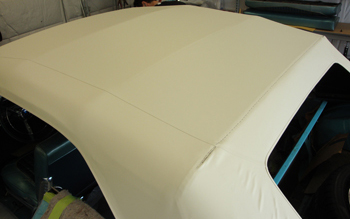
Sail panel tack strip is now screwed back in place to check fit.
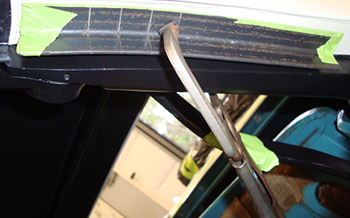
We fabbed some curved angle iron that we clamp in place to hold the quarter flaps after we stretch them. Once the sides are pulled and fitted to remove all the wrinkles we glue them in place. It is time to install the new side rubber and check the seal to the door and qter glass.
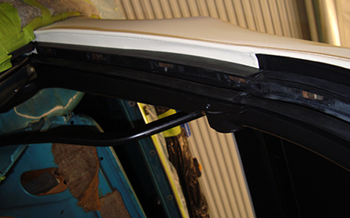
Once we glue it in place we clean every thing up to install the rubber weather strips
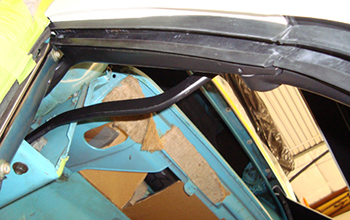
Rubber installed.
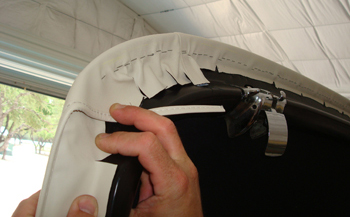
Now we need to get a bit more detailed by folding and cutting the excess materials.
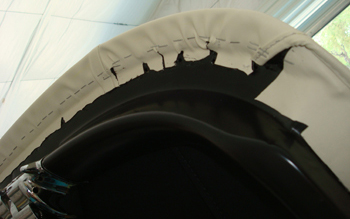
Once cut, folded and fitted to our desired specs we staple and glue it in place.
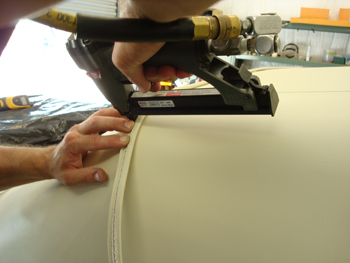
The wire on goes on the back bow next. Being sure to align straight from side to side.
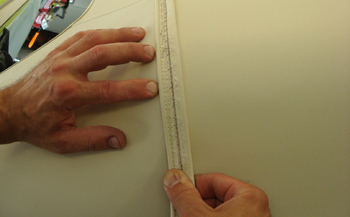
Looks good and ready to fold over.
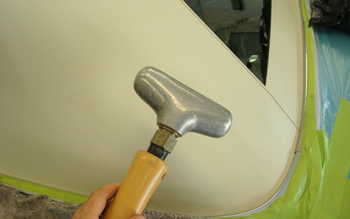
A tiny bit of steaming the small irregularities and we are wrinkle free.
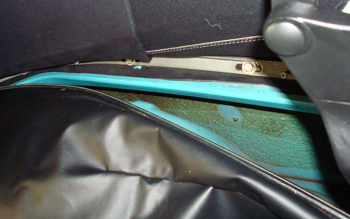
We snap in the well liner and we are about done.
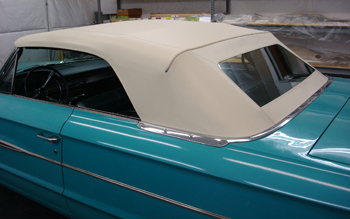
She came out nice. Time to reinstall the back seat and we are ready for some cruising.
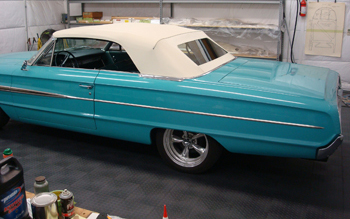
This is one of those tops that is shaped pretty decent to match the car. So we stepped back to look at the fruits of our labor and there you have it step by step like it should be, tight and taunt.

