

Build Tips
Chrome Trim
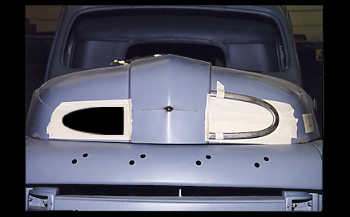
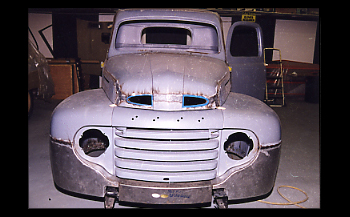
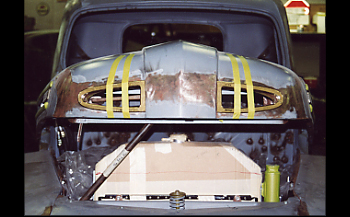
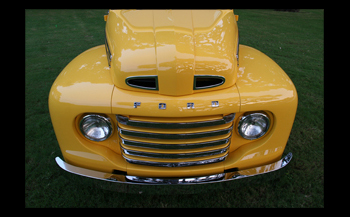
We will be building trim for the hood openings on this 50 Ford Truck. The hood was shaved 3 inches lower than stock and will not look good with the huge nostrils Ford built it with as seen on the right. On the left it shows a smaller, sleeker mock up comparison.
We mocked up a few pieces in thin gauge steel and covered them with tape for visual purposes. We are pleased with the size and are now ready to build the new trim!
We purchased brass stock 1/2 inch thick to start our new project. Brass works well because it is easy to machine and tweak. Brass also accepts copper plating very well from an adhesion standpoint and copper accepts Nickel and Chrome so you have a natural metal plating match.
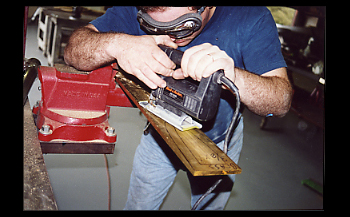
We traced the brass plates with our templates then used a skil saw with a metal blade to rough cut the pieces.
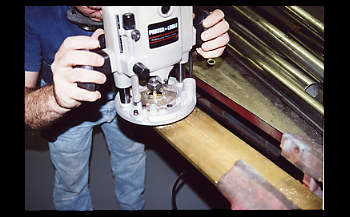
We then took a router with a carbide bit and cut out the centers. The soft brass trims easily with this tool.
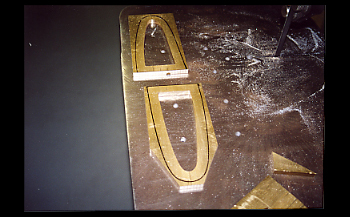
They are roughed out and taking shape as seen. The band saw will be used to trim a bit closer to the lines.
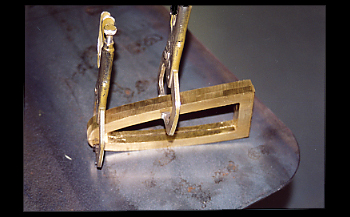
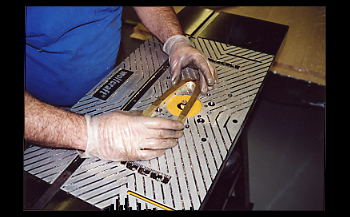
Clamped together we will now make each piece identical by filing them simultaneously, inside the opening and the outer perimeter.
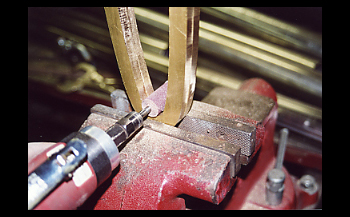
A die grinder with a porting cone grind disc works great to rough it out at first.
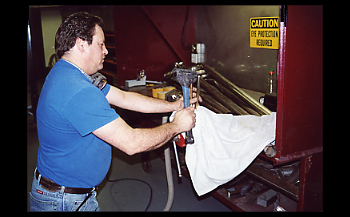
The Dyna brade belt sander with 80 grit works out more angles.

We switched to hand filing for the final flat tolerance. The right file with correct teeth per inch is important to keep from loading up when filing soft materials like brass. 10 to 14 teeth per inch works great.
The round file works great for all corners.
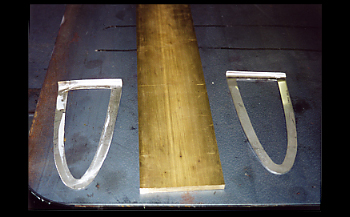
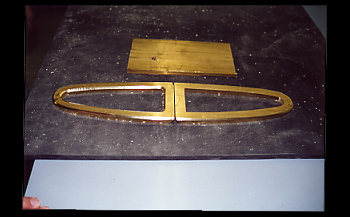
Filed to a dead set match she is starting to take shape!
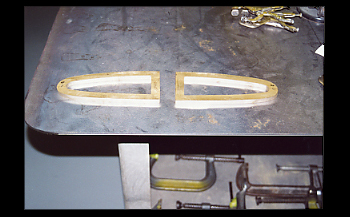
Filed to a dead set match she is starting to take shape!
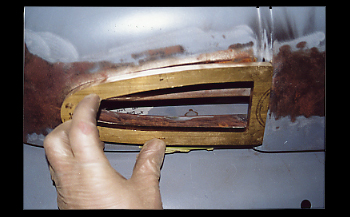
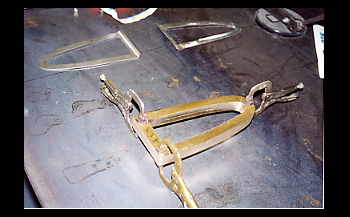
Initial fit to the hood opening shows they need tweaking to match the hoods contour.
We taped them up to check the opening size and angle before tweaking.
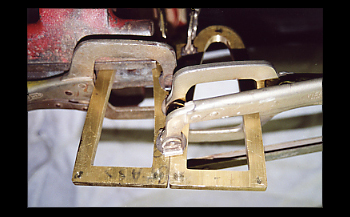
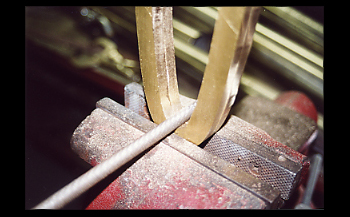
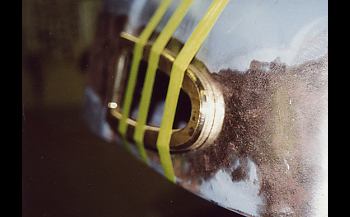
Before removing them we marked the back side where the threads will be for attaching to the vehicle. We then clamped them in place and pilot drilled them for future thread tapping.
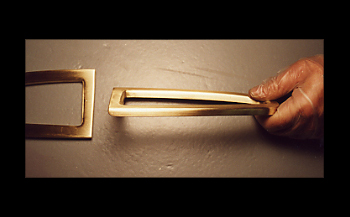
To take it the next level the router and bit is placed upside down in the table and with two hands on the part. This is to round the corners over for a smooth rounded part.
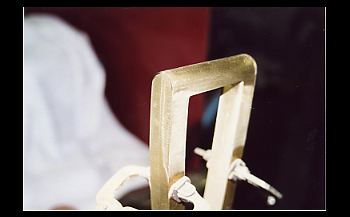
Rounded and taking shape she is coming a"round" nicely. He He Ha Ha
On the left you can see the shape taking place on the inside and outside edges compared to the right one that still needs run through the router.
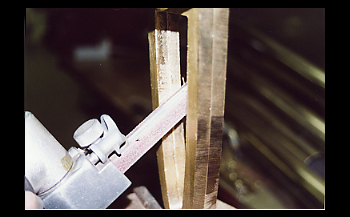
We wrapped them in clean cloth and inserted soft jaws in the vice. We then lightly tap them to fit the hood radius exactly. We use a soft faced dead blow hammer to do the job.
Just like an isotoner glove, the fit is right. We tapped for threads on the back side and installed 10-24 screws to hold them in tight.

They are about 90% finished and have been hand sanded a bit with 80 grit. Once the body is in final primer we will finish the fit and start the Copper Nickel and Chrome plating process.
Copper will be sanded with 400 grit then polished to a mirror finish. We will then nickle and chrome plate for a final product.
They came out nice and look like Ford made them but to the trained eye they are smaller then Henry ever built them.