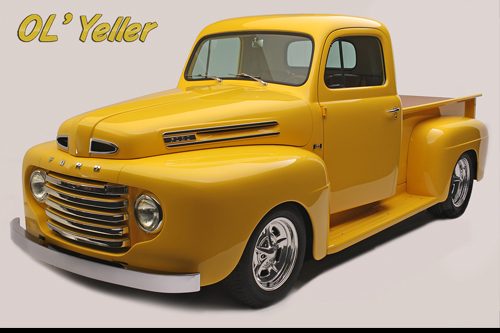
Chop Roof
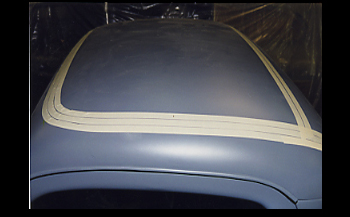
When chopping a roof or modifying any panel it is vital to lay out a template or guide. As seen we have three strips of masking tape to show the reference points of the crown in the original style roof.
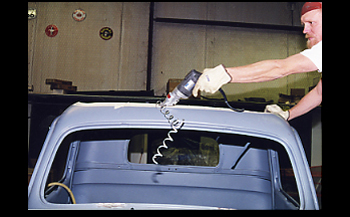
Rodney is cutting the roof panel out with electric Kett shears on the inside reference line to start with.
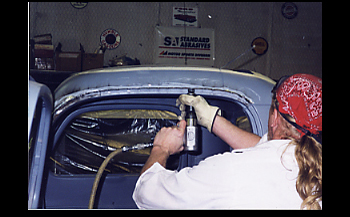
With the center roof panel removed the remaining structure is a bit weaker so now is an excellent time to stretch the door opening area to the gap that we want. Using an air hammer with a flat tip the opening moves easily into place giving us the gap we want.
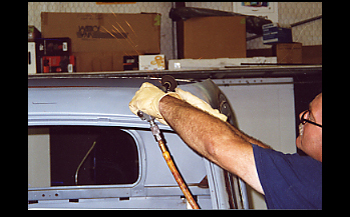
Doc is slicing the roof sides with a cut off wheel to enable the sides to slightly fold inward. This will give us the look we want for this particular project.
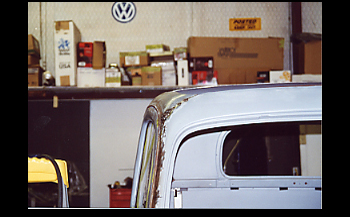
The sides are moved inward and tack welded in place. As seen they are taking on a more subtle transition which will get us away from the stock "cone head" look that Ford had designed in to this 50 body style.
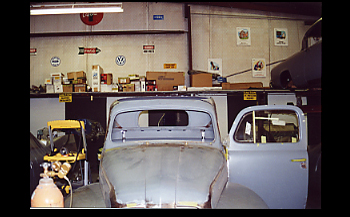
Both sides are tack welded in place and starting to look good.
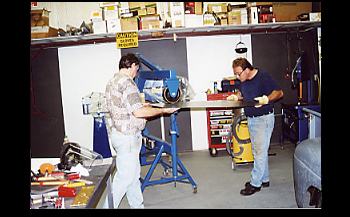
The next step is to roll out some steel on the "English Wheel" to form the shape of our future roof. This large of a panel requires two craftsmen to perform. One controls the angle and speed but the assistant must be equally skilled as they can not fight each other. The wheel is the ultimate team player tool as they must flow together to achieve the results. Here the"DOCTOR" and the "New Zealand Panel Beater" get it done.
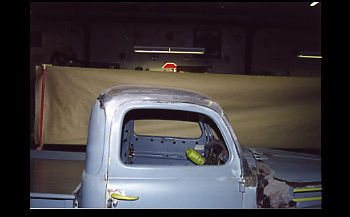
After smoothing out the shape and welding in solid you can see the new roof took on a new meaning in style. Compare to an original 50 roof below to see the difference.
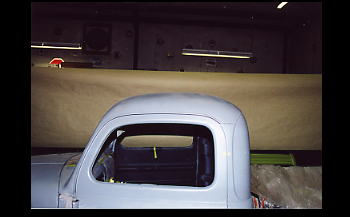
This original 50 roof is more Cone head shaped and not as attractive.
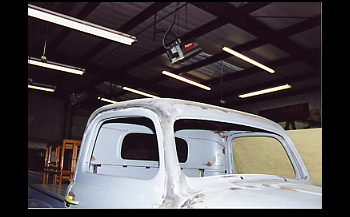
Our new custom roof from the front /side view shows a different angle with smooth transition.
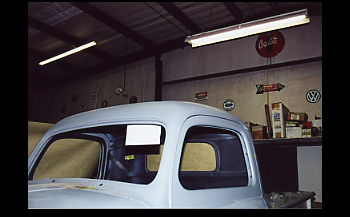
The original roof from the same angle shows a puffy look that needs to go on a diet.
