Carpet Installation
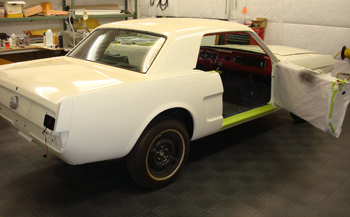
Pristang awaits her red rug. Carpet installation done right.
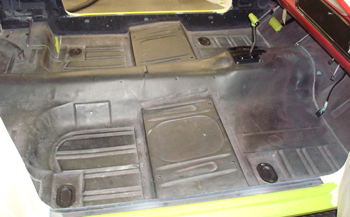
The floor is clean and epoxy primed. Drain plugs inserted.
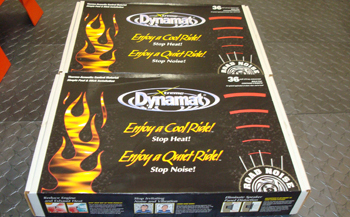
We start off with Dyna Mat sound deadener. The ultimate choice.
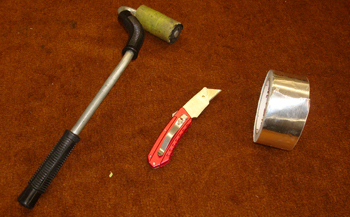
A roller, xacto knife and aluminum tape are the main item - tools needed.
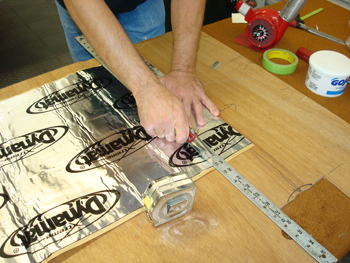
Using a straight edge Eric cuts some pieces to fit in to the Stang floor.
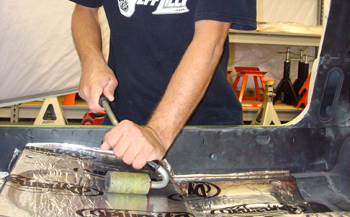
After he peels back the paper and adheres the pieces he rolls out the dyna mat until it is flat with no wrinkles.
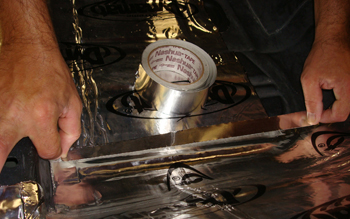
Where ever there is a seam we apply aluminum tape. This keeps the sticky black butyl from getting on clothing during installation and to allow the dyna liner or foam padding to adhere the best it can.
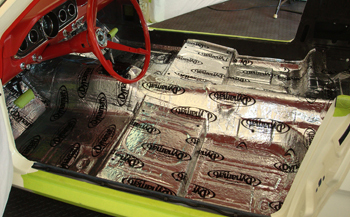
The Dyna Mat is installed and looks great.
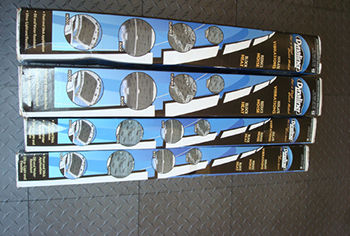
Dyna liner comes in several thicknesses.
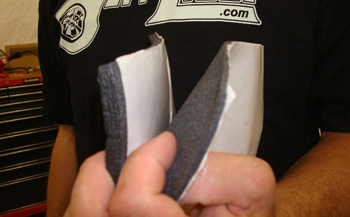
We chose 3/8th and 1/8th thickness to achieve our desired results.
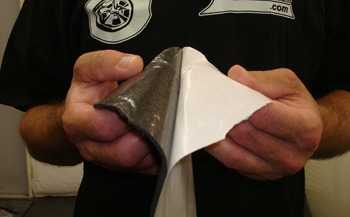
Cut to fit and peel back the paper to expose the adhesive.
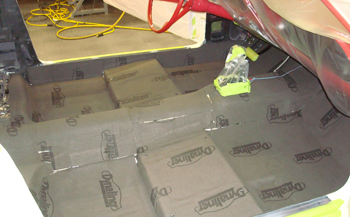
Once installed it is time to adjust any low spots and fill in the voids.
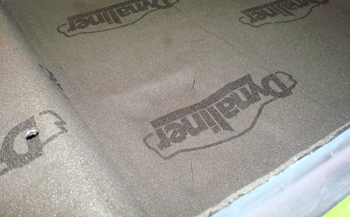
As seen there are many low spots in a Mustang floor that need to be filled in order for the Carpet to lay smoothly in to the floor with no dips and dives.
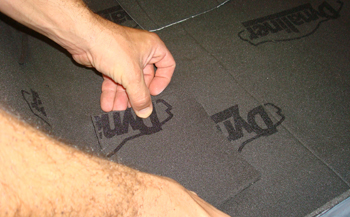
Simply insert a section or two to fill up the low spots.
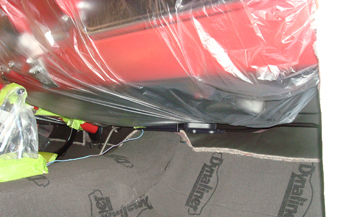
Mask off the dash with plastic including the door panels to keep off the dyna liner debris during grinding and protect from any glue spray during the carpet install.
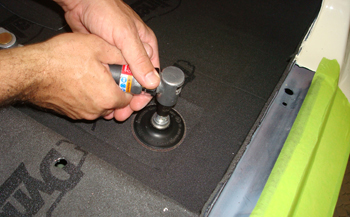
Using a small angle grinder with 40 grit disc simply bring the edges down to a level surface.
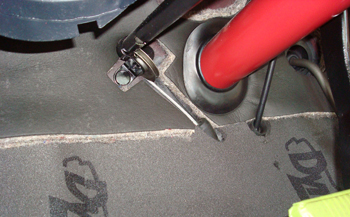
Cut and fit around the emergency brake and speedo cable etc.
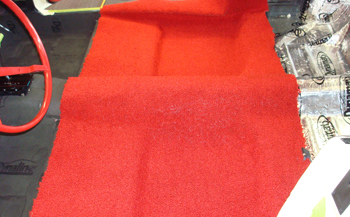
We start off with the rear section to see how it fits. We chose original loop style carpet.
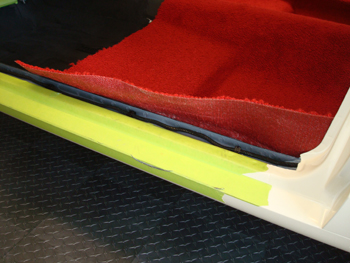
As seen we always get it " untrimmed" so we have enough to move it around and get it to fit to our liking.
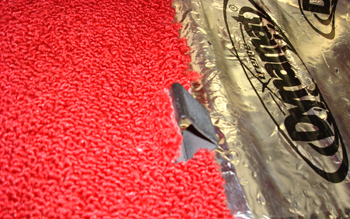
Cut and fit around the rear bottom seat catch.
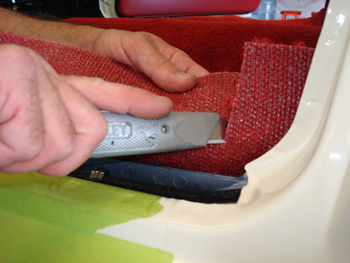
Xacto cut until it fits even with the inside rocker edge.
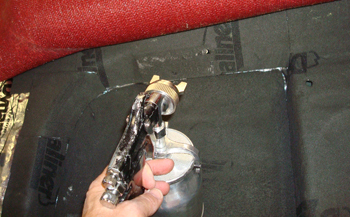
Starting from the rear fold the carpet up and spray 2-4 inches at a time lightly without soaking it with glue. We use Dap heavy duty landau top adhesive.
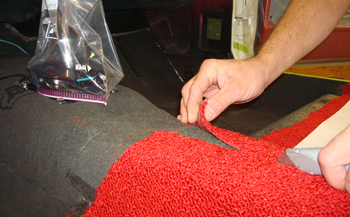
Our pony has a center console so we have extra room to cut the carpet on the trans tunnel for a better fit. We slice at the center a maximum of one inch from the edge of where the console ends.
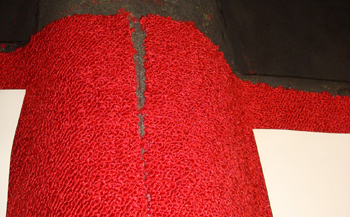
Glued down tight this allowed the sides and on into the rear foot wells to fit tighter.
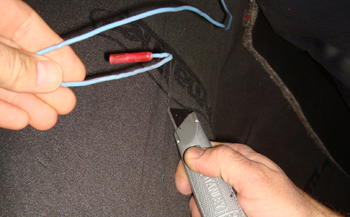
We cut the dyna liner and peel out a 1/8 wide section to allow the wire for the shifter select to be flush.
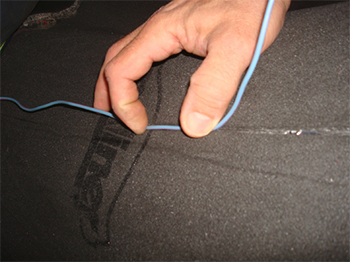
As seen this will work out great. Next we tape it down flat.
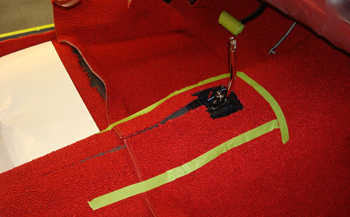
We sat the front carpet in and as seen cut a slit in the front up to the shifter to allow a better fit like the rear carpet. The tape is where the console fits so we we know its confines.
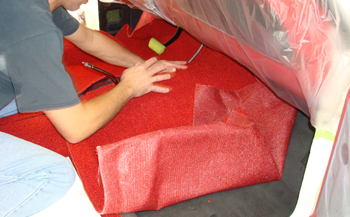
Eric fits the trans hump section and is about ready to start gluing it down. He is determining where it naturally lays down the best.
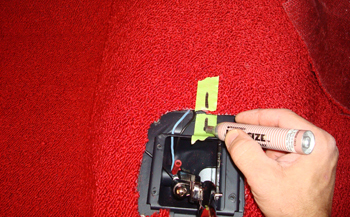
Next he marks the center as a reference point.
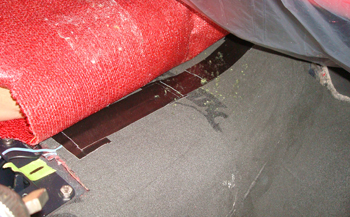
The duct tape holds the wire in place and time to start gluing.
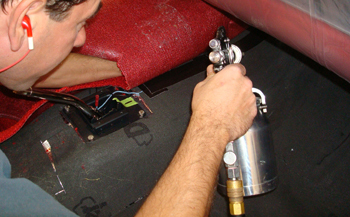
He sprays just a bit 4 inches down at a time lets it sit and get tacky then adheres it together. Spraying both the carpet and liner.
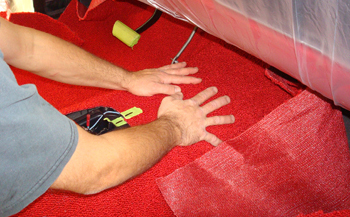
He lines lines up the marks and presses it in to place.
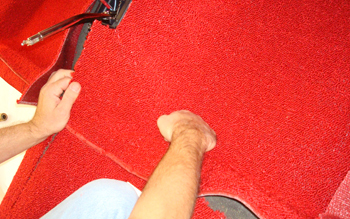
Using an expensive tool. "The fist of his hand" he works the corners nearest the tunnel first.
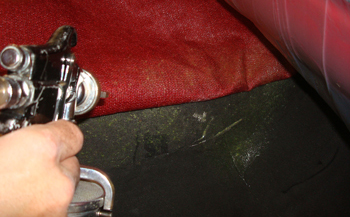
A little more till she is all applied.
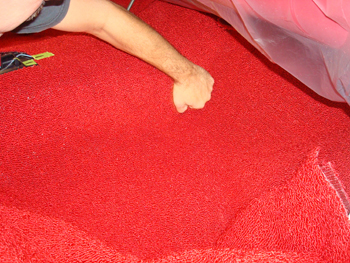
Pushing and tacking in to place.
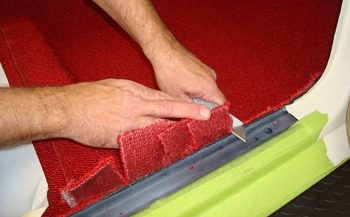
As he works it toward the outside he trims off the excess to the inner rockers edge.
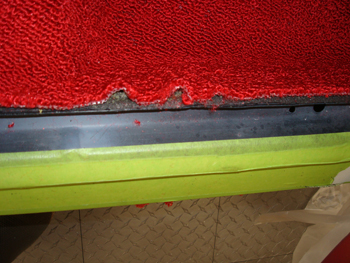
Puckers, they must be removed.
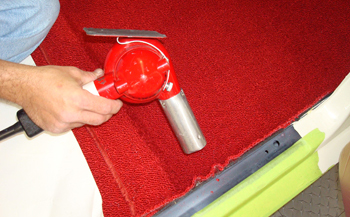
Heat gun till it becomes a little soft
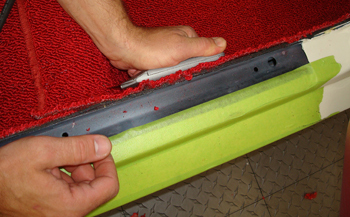
Push it in and let it cool and it will hold.
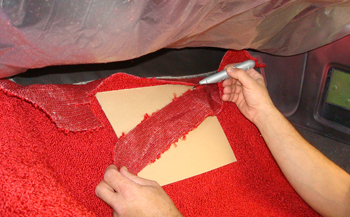
Using cardboard, trim the carpet to go under the fire wall pad two inches max.
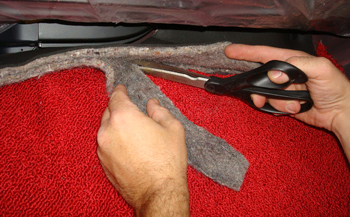
Cut back some of the jute padding from the fire wall pad next using sharp scissors.
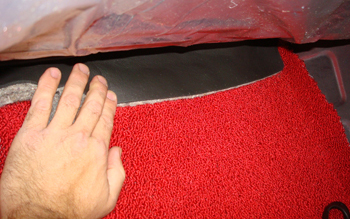
This way it fits tighter.
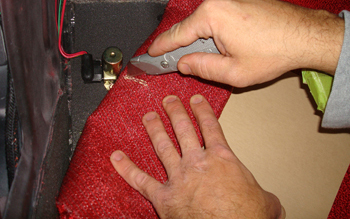
Next we mark the dimmer switch then placing the card board under the fold we slice a 3/4 inch hole for clearance.
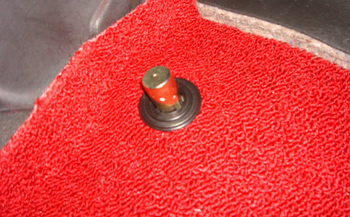
Next we push the grommet over and under after the fit is acceptable.
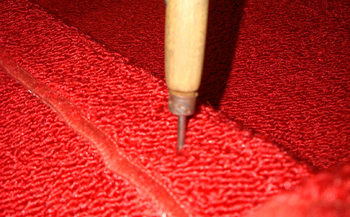
Locate seat track holes with a punch.
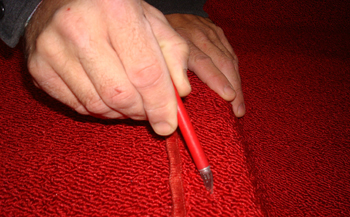
Then cut out a small bit of material to get access to the nuts.
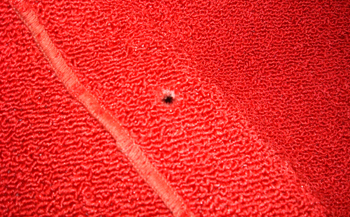
Just enough to start the bolt by hand with no fibers getting in to the threads.
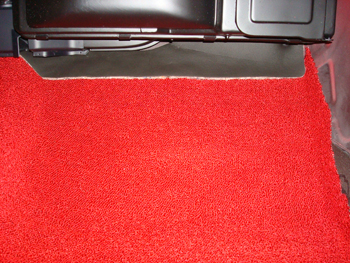
Trim back a straight line on the fire wall pad and she is looking good.
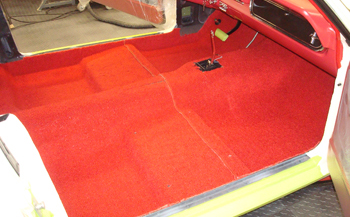
Ready for the seats and console to be installed.

