Build Tips
Carpet Install
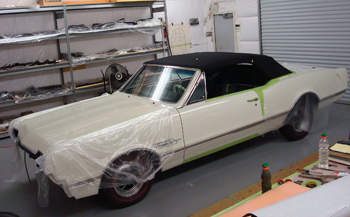
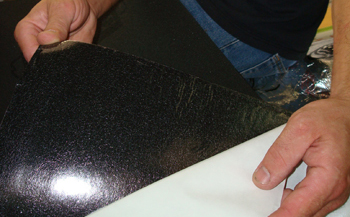
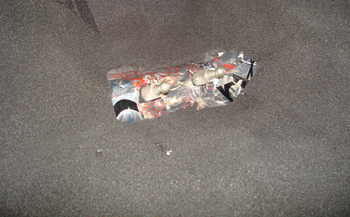
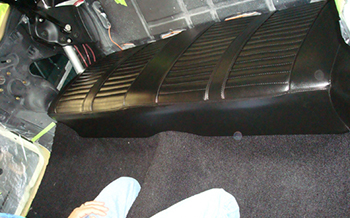
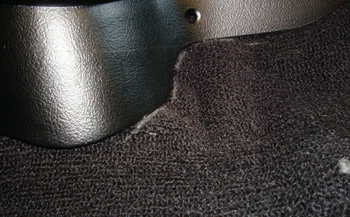
" The Project " 1966 442 Tri-Power convertible. Mid Sixties Muscle at its best waiting to have pad and carpet correctly installed with a wrinkle free layout.
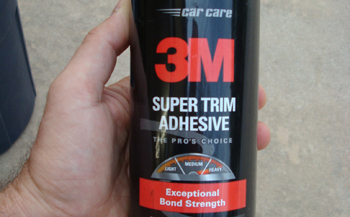
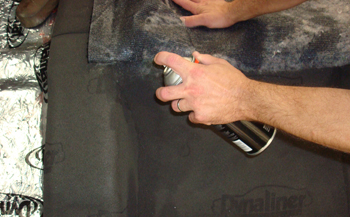
When putting down carpet and or foam we always use 08090 super trim adhesive. This glue gives you ample time to work the materials before a permanent bond takes place.
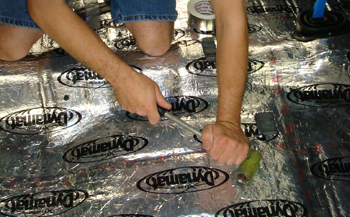
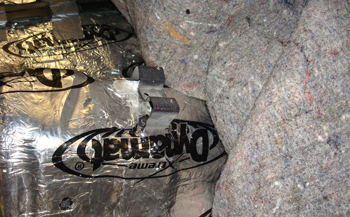
As with all our projects we start off by installing dynamat sound deadener on the bare floor. Eric rolls out the material to take out any humps and presses out the overlaps of dynamat to make them as flat as possible.
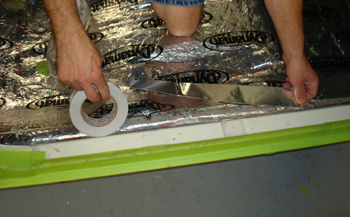
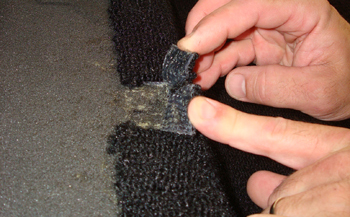
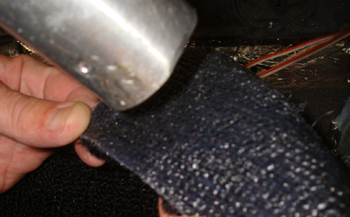
He applies aluminum tape to all the edges and seams to keep from getting the butly on his skin and clothing while working the carpet in to shape.
Auto Custom Carpet has the factory press molded set available for most cars, but they do not drop in very easily as we will see. We always order it untrimmed so it is usually six inches wider and longer. This allows us to cover more area, especially higher up on the fire wall so you can not see the edge standing outside of the car. We often order the carpet without the jute padding as we prefer to do our own padding. On some projects we use a combo by removing the jute where we do want it and adding more pad on the areas we need it.
A few preliminary fits will help diagnose the troublesome areas and where he needs to add extra foam to give the carpet a smooth rolling fit without puckers or wrinkles.
The sides of the drive shaft tunnel at the back is a common area needing extra attention.
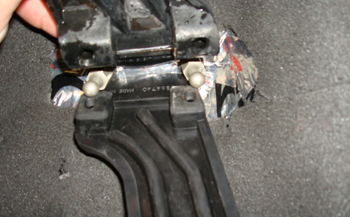
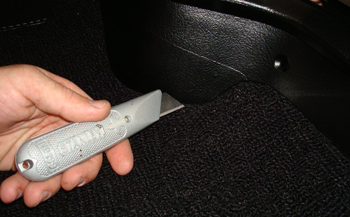
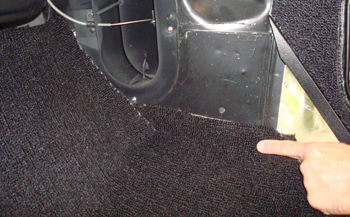
Knowing how to cut around brackets for the seats and this console mounting bracket toward the rear seat are important. Small X shaped slices work best.
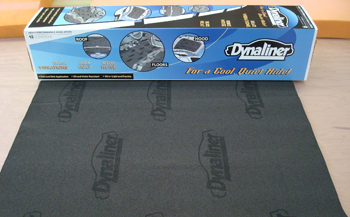
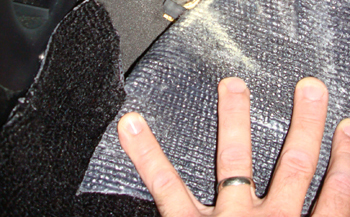
The next step is Dynaliner. The pressure sensitive adhesive backing allows it to stick to the aluminum cover of the Dynamat well.
The rear tail light wiring harness is taped down as flat as possible to minimize problems during foam work. We use 3M high temp duct tape for this to assure adhesion when the exhaust heats up the floor during driving.
The rear tail light wiring harness is taped down as flat as possible to minimize problems during foam work. We use 3M high temp duct tape for this to assure adhesion when the exhaust heats up the floor during driving.
Eric peels back the paper from the adhesive, it is very sticky, so be careful when placing it down as it is hard to pick back up.
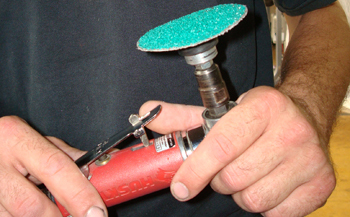
A tool of the trade is this angle grinder with a 40 grit disc Roloc 3M. This files the foam down nicely in high areas with excellent control.
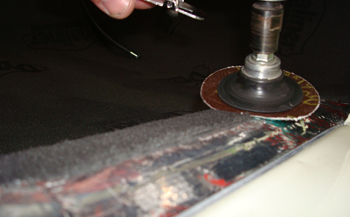
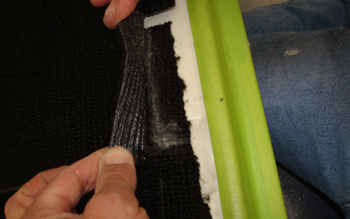
As seen this is the foam edge near the step plate. This area needs to be as thin as possible to allow the step plate to lay down with out being on an angle once installed. This is very important because you already have to deal with the carpet which has a bit of thickness to take in to consideration.
Often you have to put a thin piece of foam " dynaliner" next to a thicker piece to fill in any voids and the grinder levels the two down within seconds.
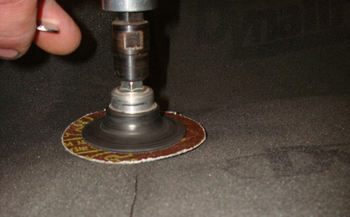
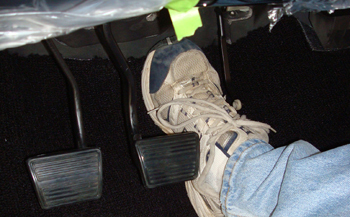
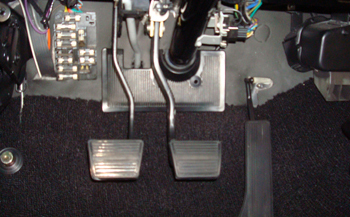
Foam areas like around the gas pedal studs need to be flat and tapered out gradually to allow free movement of the pedal to keep from wearing a spot in the carpet, so the grinder thins it out in this area well.
As seen by the gas pedal the new repro pedal did not line up to the studs : "Top Pedal ". Typical import part. So we will have to restore our original pedal. "Bottom" Thankfully it is good shape so it will not take much work.
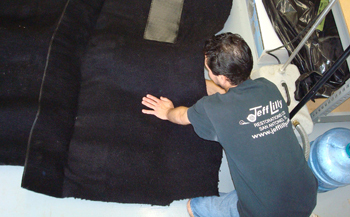
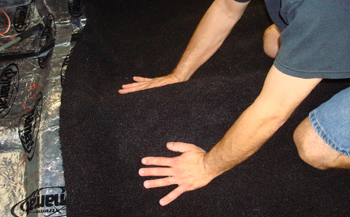
The foam is down, leveled out and it is time to start installing the carpet, Eric likes to work from the center out to all 4 corners for best results. He is applying some glue at the rear center floor over the drive shaft tunnel to hold a small section in place while working it down the line outward.

As seen under the console he needs to cut a section out to allow working in to the console and take out a gathering of extra carpet to help it lay down flat. This is a good place to seam, as it will never start to fray or wear under the console.

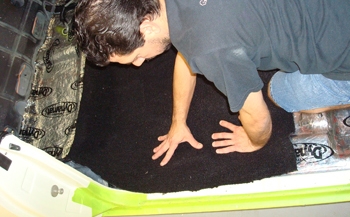
To the left and right of the drive shaft tunnel he works his hands in and around to see where a fit problem may be, as seen he has a gathering of extra material where the rear passengers feet or heal would touch, so an adjustment is needed.
He cuts a small notch under where the seat will be and glues it down. This will be undetectable once the seat is installed, so no wear can take place on the splice. The same problem exist on the other side so he will knock it out before we proceed.
It is time to pre fit the rear seat in place to check the fit around the tunnel, the foam work helped it lay down well as seen " red arrow" with no gaps and not to tight to snap the seat in place.
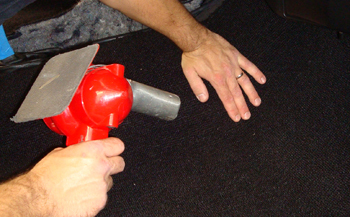
Using a heat gun 12-18 inches away you can get the carpet hot enough without distortion, then simply press it in place to form the plastic backing. When your hands start to feel uncomfortably hot is about the right time to start forming.
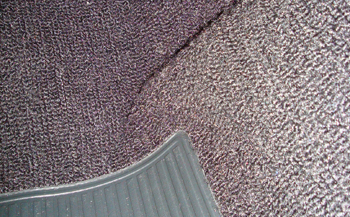
We encountered a very large gathering or pucker of material right along side the console from the floor up just below the gas pedal linkage so this is a good time to show you some other techniques.
Eric begins to heat the carpet and then lays a dolly weight against the gathering, he works his way up outward on the carpet 1-2 inches at a time.
Once he got up to the top edge it was a bit more stubborn to move, so more action was needed. He pulled back the carpet and heated the plastic backing directly to make it move easier.
At that point he used a state of the art tool, "his foot"! At the precise spot he works out the wrinkle toward the top edge of the carpet.
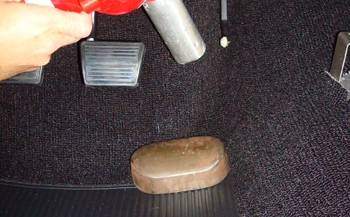
He installed the gas pedal to check clearance and is pretty happy with it but it needs a bit more massaging so he will simply heat it up a bit more and continue forming it.
On the dimmer switch he pulls back the carpet and marks the spot where he will x slice to allow the carpet to go over it and then install a factory grommet.
Right below the console next to where the seat will be he encountered a short gathering he wants to work out. He marked it with chalk and is ready to do the same.
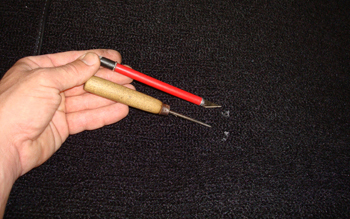
He pokes a few tiny holes through the carpet being care full not to slice a loop to keep it from un-ravelling.
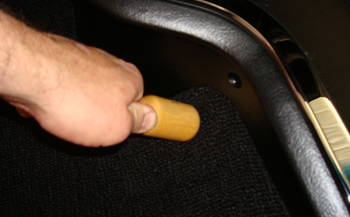
He then heats it up a bit and using a round handle tool he pushes it in to shape.
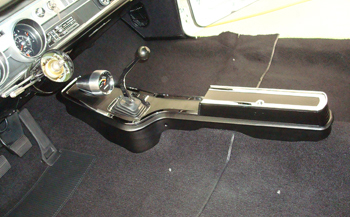
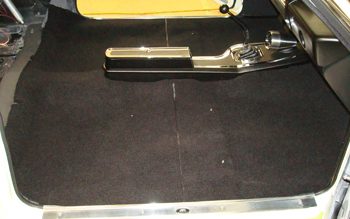
She is starting to come together and looking good maybe we can even take a cruise in it today and try out that 4 speed.
He is ready to trim up next to the vent at the kick panel about 1/2 inch away from the edge. He will then tuck the carpet in to the seam to hide the raw edge.
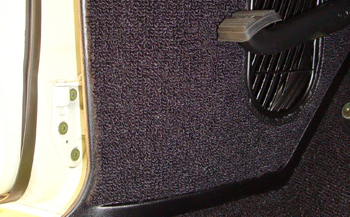
The kick panel fits tight and looks right.
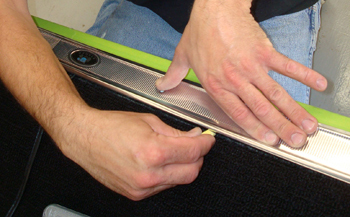
Last but not least he sets the step plate in place and chalk marks its location.
He trims the carpet back so it will rest in the middle of the step plate, just inside the holes in the rocker for mounting the plate.
The steering column pad is secure and the carpet is tucked up nicely.
Final tweaking is needed by locating the seat base studs. By using an exact-o knife he sliced small relief cuts to allow the seat base studs to come up through. A pick is used to find holes where nuts are recessed in to the floor to be sure of location before any cuts are made.
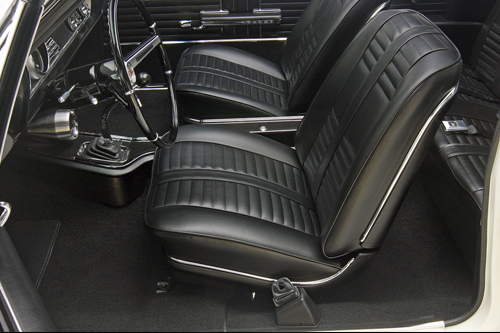
She looks good and ready to install the bucket seats.