

Build Tips
Camaro Mouth Opening #8

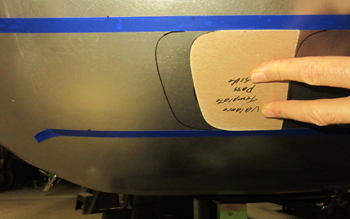
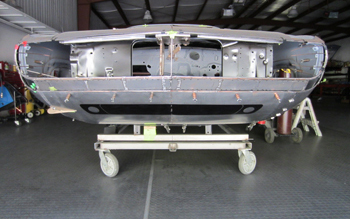
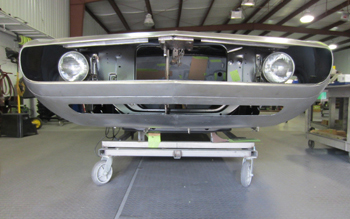
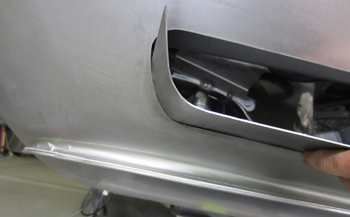
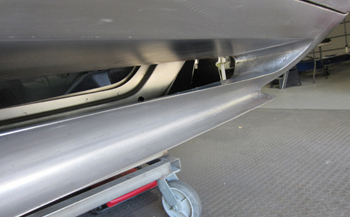
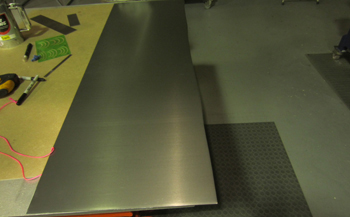
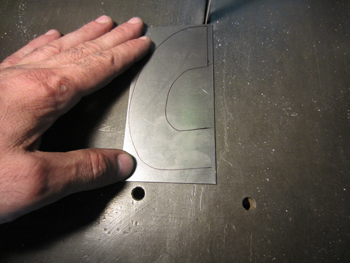
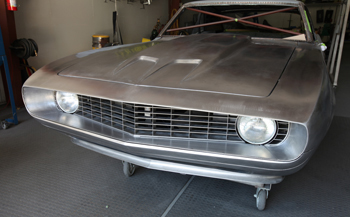
As seen at the arrows we looked at different size openings before choosing the shorter and lower one on the right side. Lets take a look at what it took to make it happen.
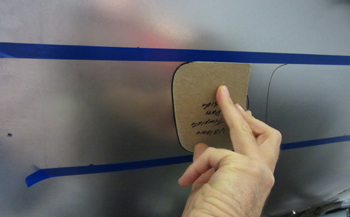
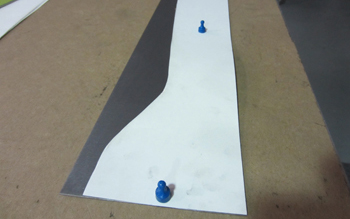
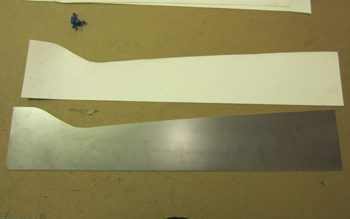
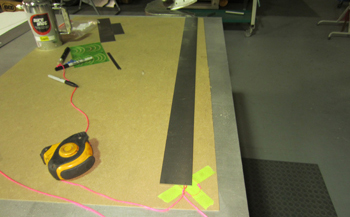
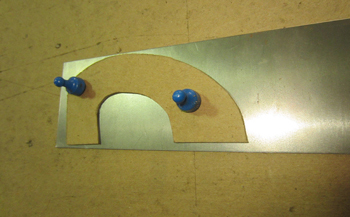
I have been looking at the sizing and such for a few weeks and decided on what will look best so it is time to get after it. I came up with this curved style to match the outer fenders and to compliment the rest of the body. As seen I made a template and simply traced it out. Note the 3M blue tape which I placed level side to side to be sure fitment was exact.
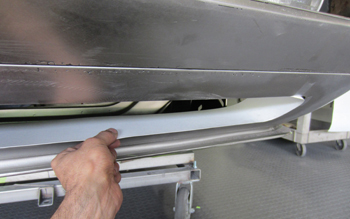
I pulled back the template and you can see the shape which fits the car well.
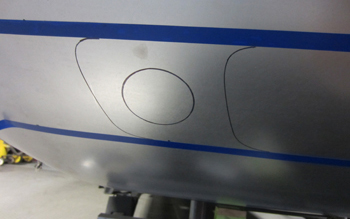
The other marks inside are only for reference for some potential shapes such as turn signal etc. I usually like to put some thing down to get sizing and an idea or two to start with. It is better to start early with designs so you have time to look at it as you go in and out of the shop while other areas are being built. This way there is no wasting time. When building cars by the hour the way we do you have to think way ahead.
Using a sharpie marker helps black out and color in sections to give the cut out a deep set look in helping with a design idea.
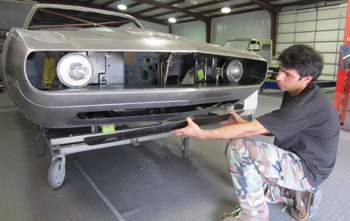
Stepping back I like the overall width as far as the main cut out. I can deal with the turn signals and other things later, but for now the overall width and height in correlation to the body is most important.
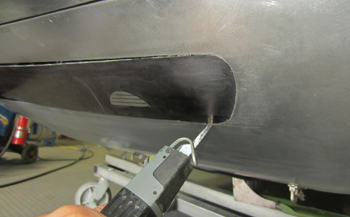
Sam starts out by cutting on the outer edge using an air saw.
He removes it, We can not go back now !
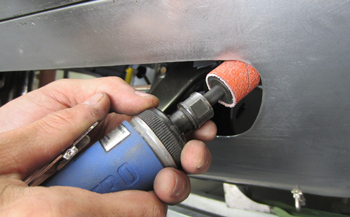
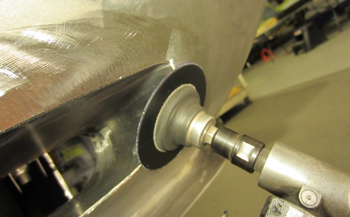
Using a round grinding drum he finishes it off in the corners to a precise and pretty surface.
Looks just right so time to fill in the insides.
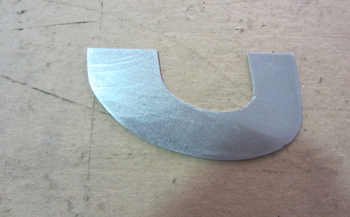
This is a very hard angled shape, so we are going to make it in 2 sections and also the top and bottom sections will be separate. Then we will weld it all together. This will make it easier to work with.
It looks a bit weird off the car but that is what templates are for. It takes the guess work out of it. Remember measure twice cut once.
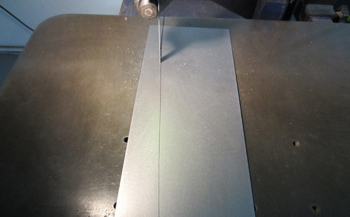
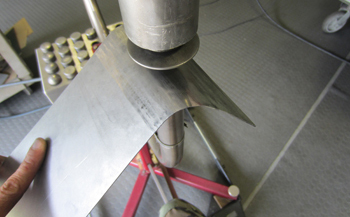
Band Saw cutting precisely on the line.
Exact matches. Perfection is a sickness of which I feed all my guys with every day.
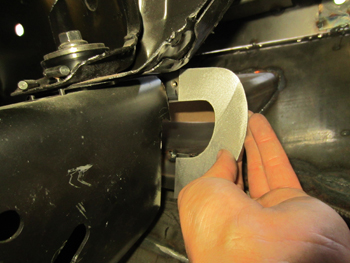
Sam fits it in and marks it to trim.
He simply repeats the other side.
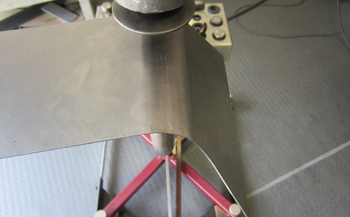
First He wheeled it some then He planishes it.
Now he planishes it using the big dome.
Fitting better.
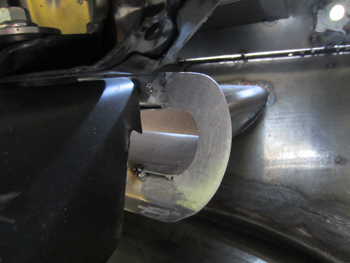
Time to weld it in. Small beads bit by bit no warping accepted.
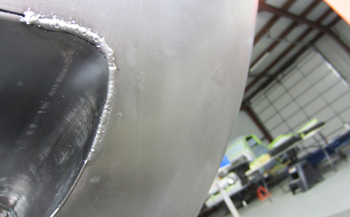
Small tacks joined up then ground smooth to perfection.

Killer grinding makes the difference.
Smoothed up and coming around.
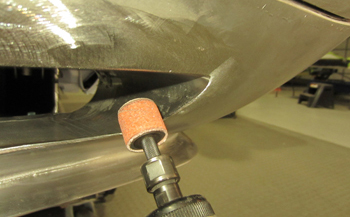
Using the round drum grinding wheels he smooths it nice on the inside edge.
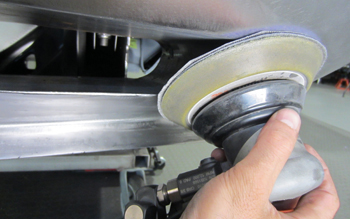
DA with 80 grit to a smooth finish.
Nice, what can I say.
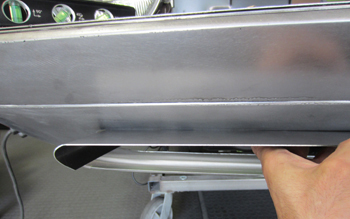
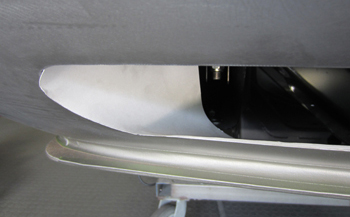
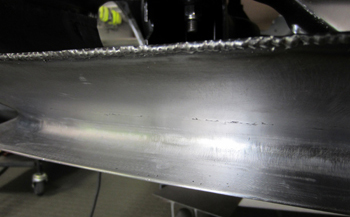
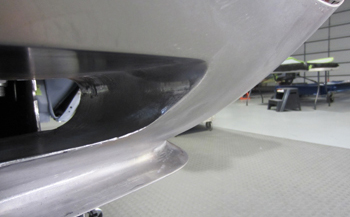
Long angle shows it well too.
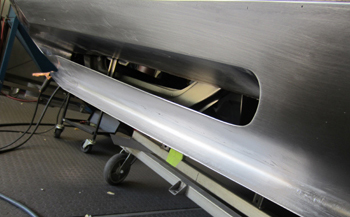
Side view also looks excellent.
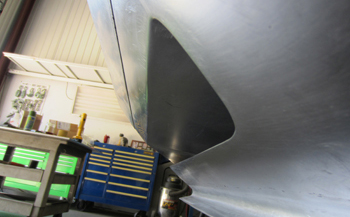
Up view just as precise. Bring it man.
The center came out just as nice.
OK the parts you do not see are just as important. We have to back up the rear to support the whole depth of the opening so we want to add a removable and or serviceable screen to also keep insects off the radiator.
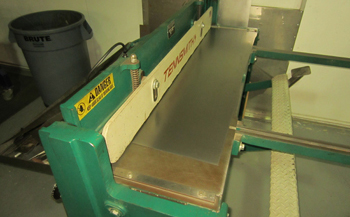
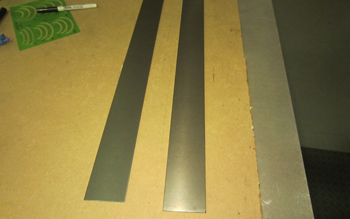
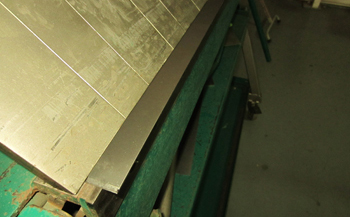
Over to the shear to cut some strips.
Approx 3 inches wide.

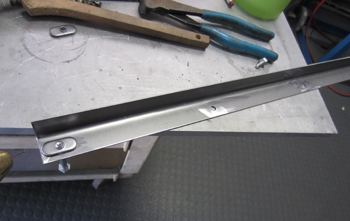
Sam then bent some angle pieces for heavy duty support.
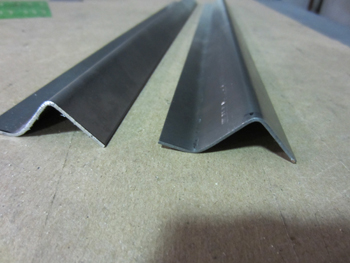
As seen very unique in shape.
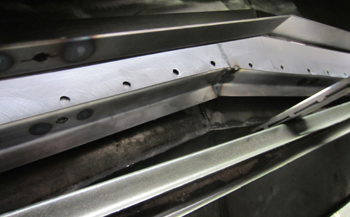
A few more for the top section
A simple bend on the brake.
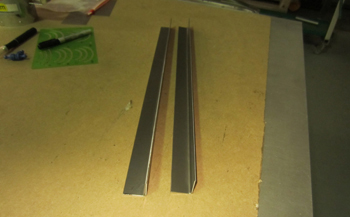
A couple of 90 degree bends will do it.
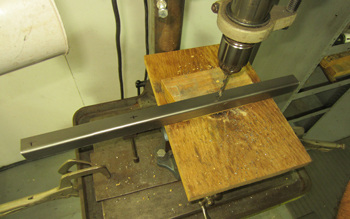
Pre drill where the screen will bolt to.
Add tabs for fasteners on the back side.
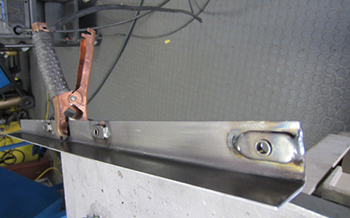
Weld those tabs in place.
As seen it reinforces the mouth opening.
Corners get little C channels to hold it all up.
Cut them out.
Smooth it up and ready to insert
Finish off back corners.
The flat screen will mount across and still slip out to service and clean.
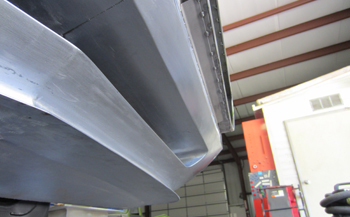
The car sits proud and is ready for some serious action.