

Build Tips
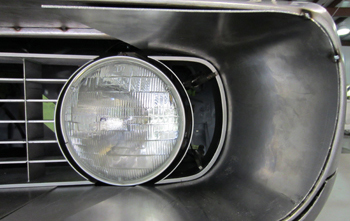
Camaro Grille Surround #5
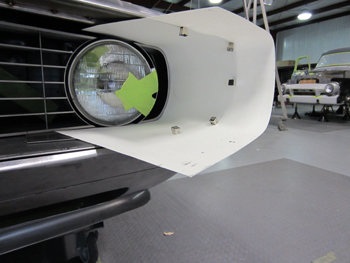
Okee Dokee here we go. Sam installs some paper for a mock up, using magnets he holds it in place.
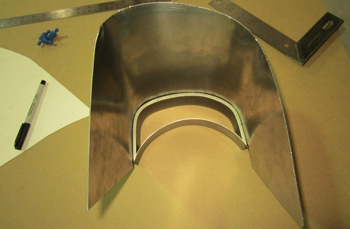
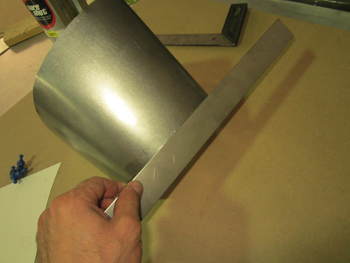
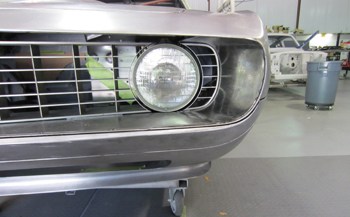
This picture shows the radical angle it is shaped in.
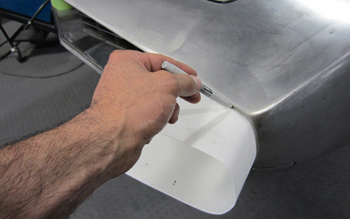
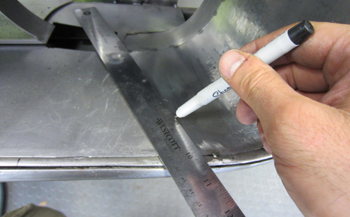
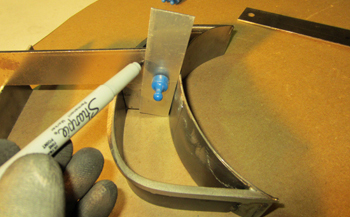
Mark it up and getting it ready.
Precise fine line sharpies help get everything exact.
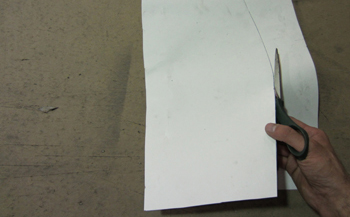
Cut on the line.

Put it on Metal its time to get serious. We use magnets a lot.
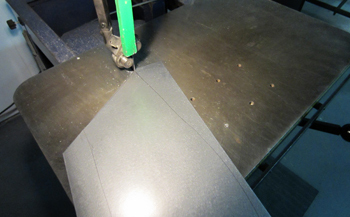
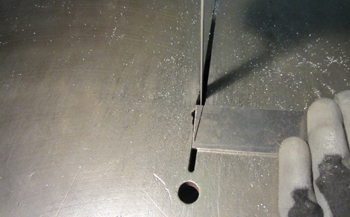
Cut it out on the band saw.
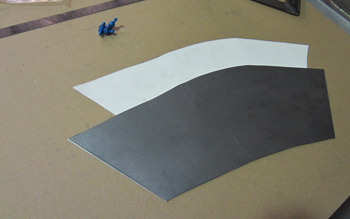
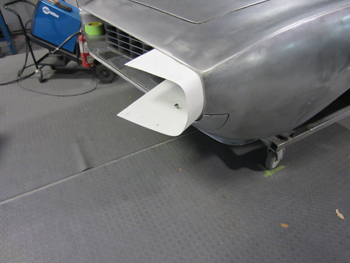
OK we are ready to bend and tweak.
Roughed out taking shape. Sam bent it over a round tube by hand.
Looking better.
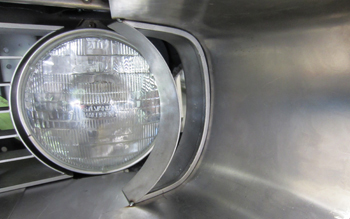
Fitting even closer.
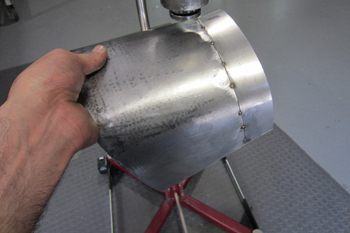
We removed it and put it on the table to add a few tweaks.
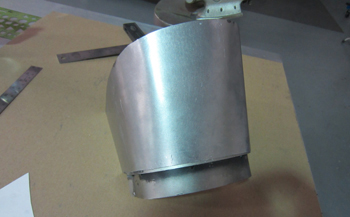
It helps to remove then weld a bit and finish it off before installing it permanently.
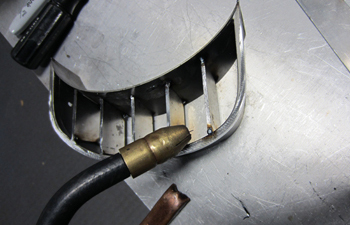
The inner grille extension fits at the very back edge and has to have a band to support it, but on a very different angle.
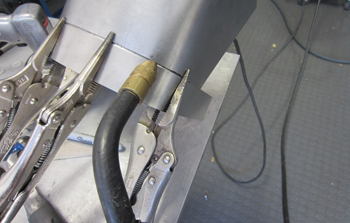
Clamped in to fit the angle, then tack welded.
Planish it a bit.
Looking good.
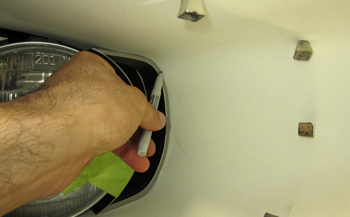
Mark to trim.
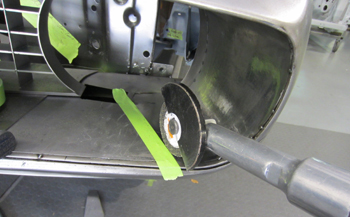
Sam likes this extended cut off tool. Long reach gets in many places. Its called a wild cat !
Tack it to the main section.
Welded up and eventually we will do the upper but not until we do some other mods. Never get the cart before the horse.

Measure the distance to install the horizontal sections to match the same consistency as our main grille
Angle noted, marked and ready.
Metal is sliced. Dishes are done man.
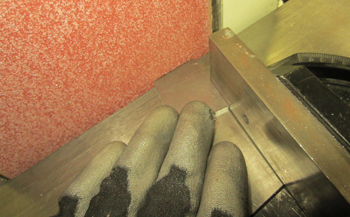
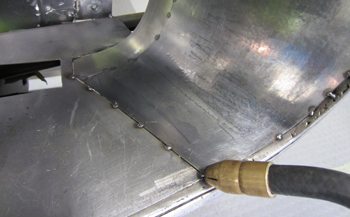
Ground at the precise angle.

Inserted and checked for accuracy.
Tacked on the back side.
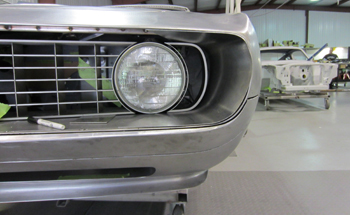
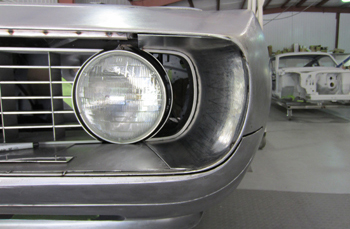
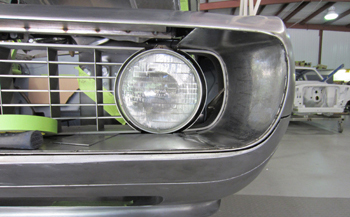
Installed and looking great.