

Build Tips
Camaro Chin Spoiler #9
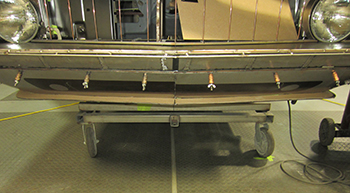
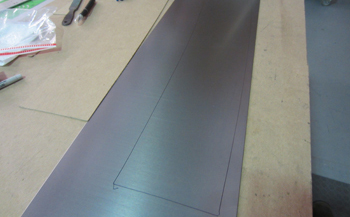
As seen Sam mocked up it up in chip board and it looks good. The baby chin strap awaits fabrication.
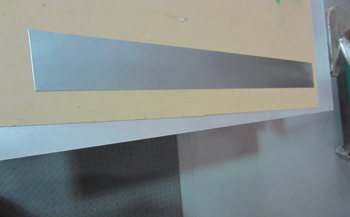
18 gauge will be used on this part as we will be stretching it quite a bit to get the shape we want. Tight is right on this one.
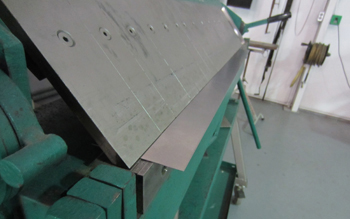
Brake time, a couple of folds to get it started.
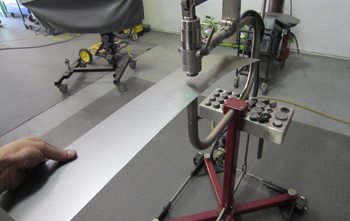
A vague sort of U channel to start with.
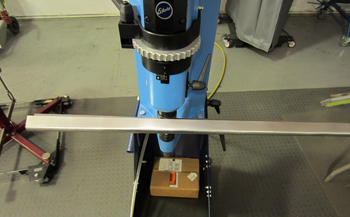
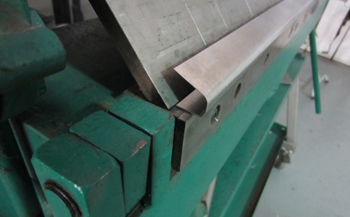
The Kraft Former is ready to get busy
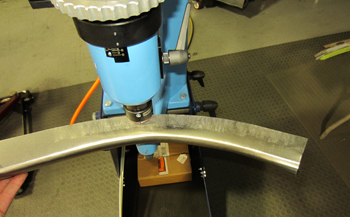
As seen moving heavy metal with a tight radius is no match for the Swedish blue brute.
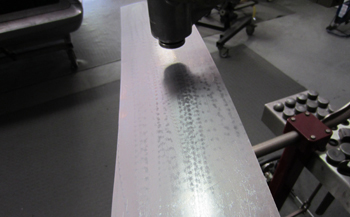
It is roughed in right now as they always are the first time around. Checking things regularly is the only way to do it.

Planish a bit to get the curve right after fitting.
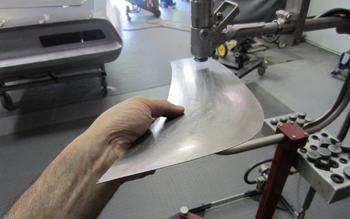
Coming around and looking good.
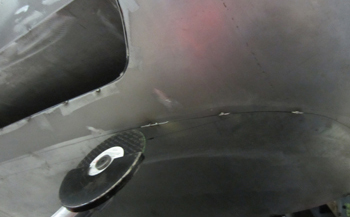
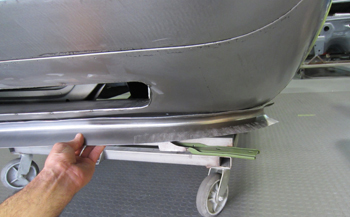
Time to cut out the lower valance and start fitting it. Being that it is such a tight sturdy piece it will not just lay on the surface with a perfect fit on its own. It will take some holding power from fitting then tacking etc
Sam cut out the valance, inserted the spoiler in to the opening and tacked it in place.
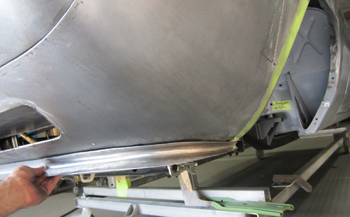
Now it is time to cut out the bottom valance section, make a template then fab and fit the lower portion of the spoiler in to it.
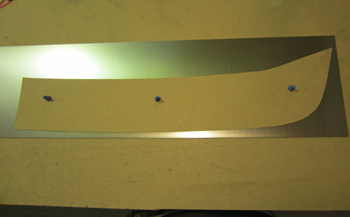
Basically the bottom section is simply a flat panel with a small concave shape.
On to some mild steel.
The planishing hammer does most of the work.
A tap here and there, not all that much as mentioned just a slight curve.
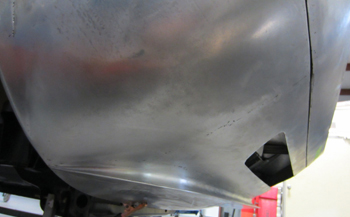
This angle shows the shape just a bit better.

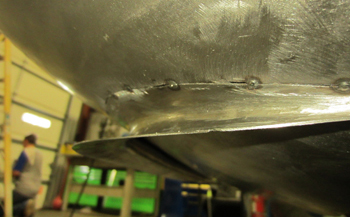
Tack in she is coming around. Now it will be stout enough to tap on it and get an exact fit.
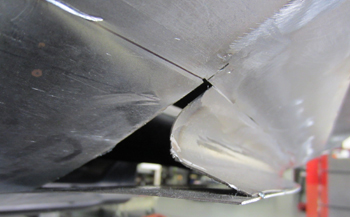
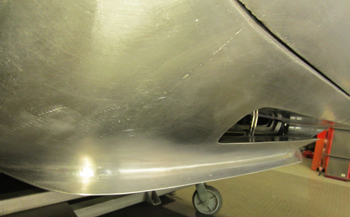
This angle shows the profile cut out at he center of the first side to show how they meet.
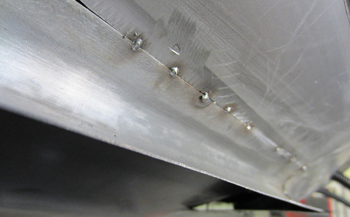
A few more tacks on the passenger side and on we go.
In order to make the edge of the spoiler a bit thicker so it will have the shape I am looking for Sam is going to install a shim sort of like a sandwich if you will.

The cut out shim will not be seen but will do its job.
Time to insert the shim then weld.
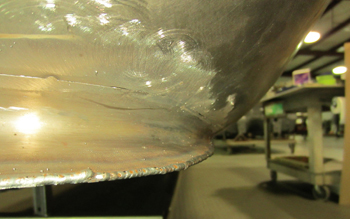
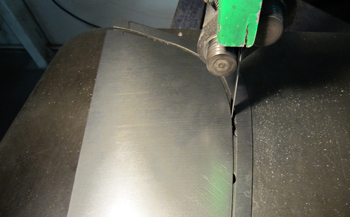
Weld the perimeter carefully. This thickens up the edge a bit once welded.
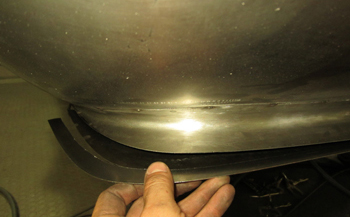
Ground smooth you can see the attractive 1/8 thick edge for that just the right look.
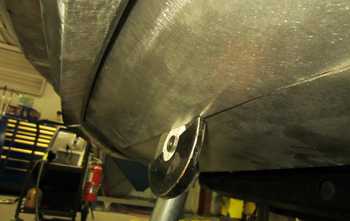
This angle shows the finished part, well done Sammy.
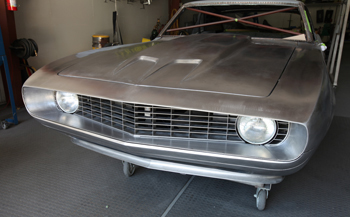
Front end looks complete and stylish.