Build Tips
Bumpers
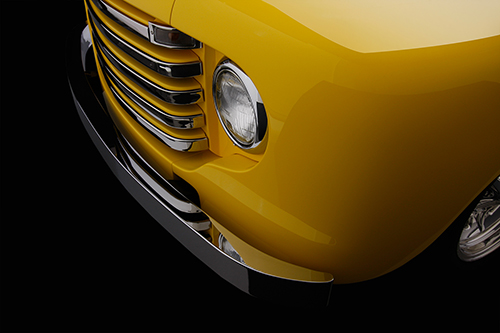
The original style 50 Ford Bumper was uglier then sin and stuck out away from the body on the ends really bad. So we are going to come up with something more stylish!
Custom bumper fabrication starts with cardboard mock ups, Our first concern is how the inside perimeter fits to the body. We are looking to build a bumper that looks symmetrical in size. The original bumper was quite homely as Ford did not have a better idea when it was designed so we will do our part to give it style.
After mockups are accepted we trace out on to a sheet of 14 gauge steel. We are cutting the patterns just outside of our marks using a BD nibbler capable of cutting 3/16 with ease.
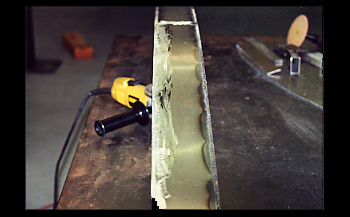
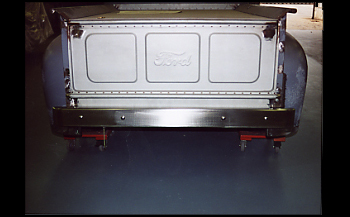
After trimming right on the mark we fit, tack weld and grind the edges smooth for a bumper that is looking good.

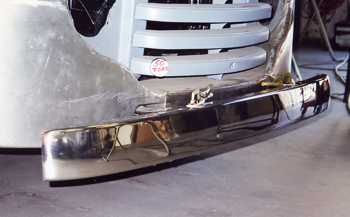
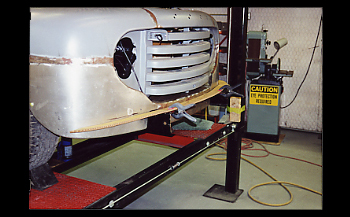
The frame needed to be trimmed a bit for the narrower bumper to fit correctly.
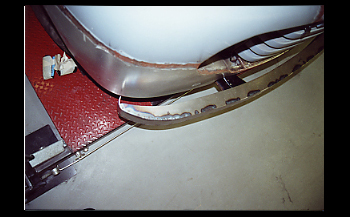
As seen the new bumper fits well to the body as they compliment each other nicely.
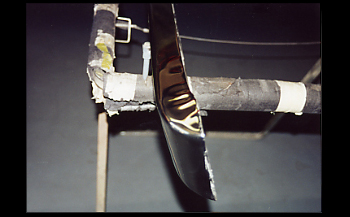
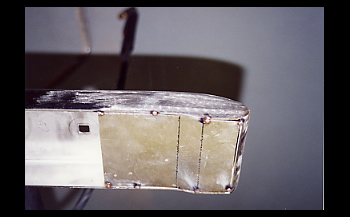
Many times we will get a new bumper that looks decent but needs some fabrication changes from stock. As seen on this rear bumper the edge is wrinkled and rough. This is about to change as Kenny will implement his skills and change the beast to beauty.
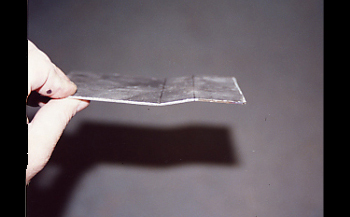
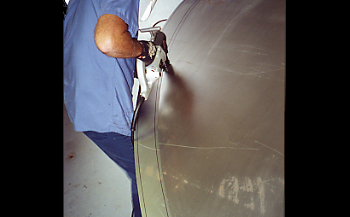
Keep in mind this is an exact duplicate of the original bumper in stainless steel. Shown here Kenny cuts out a section of stainless steel and bends it in the brake with a joggle to fit our bumper and make it look right.
As seen it has been fitted and tack welded in place.
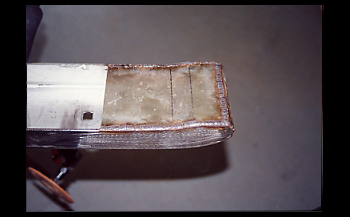
We welded it in solid with 0.23 stainless wire and ground it smooth.
Kenny removed all ripples and smoothed every imperfection out before sanding with 400 grit.
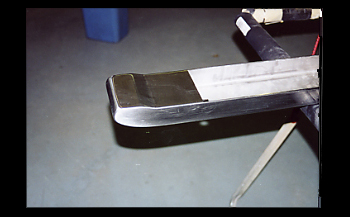
We cut the original brackets and raised the bumper which helped the looks of the reared dramatically.
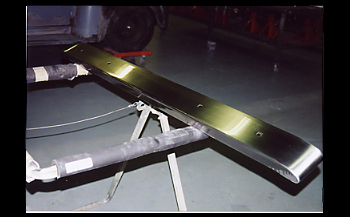
Another look from the backside shows a finished off look that is hard to beat.