

Build Tips
Bumper Prep
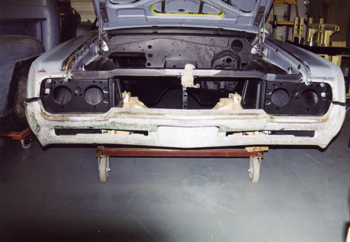
Our candidate is a 1966 442 bumper. Because of all the different shapes it allows us to show you all the techniques that are needed when restoring and refinishing bumpers or any part that is chrome plated. Starting with a good core is vital and checking for fit by being sure you have adjusted it for the best gaps and alignment is the first step.
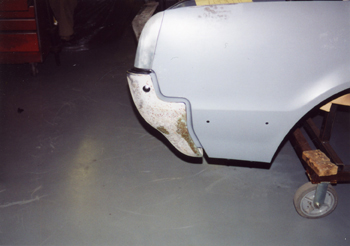
The side view of this bumper to fender fit is very even with a 1/2 inch gap from top to bottom including 3/4 of an inch away from the body. As seen we have all the old chrome and nickel stripped from the bumper down to the bare steel. There are still some remnants of old copper which is fine. The statement "Triple Chrome " means Copper, Nickel and Chrome. Copper is for adhesion and build layers. It can be built up and sanded to remove the scars and low spots. Nickel is next and gives you the brightness you see. Chrome is a protection coating to keep the nickel from tarnishing.
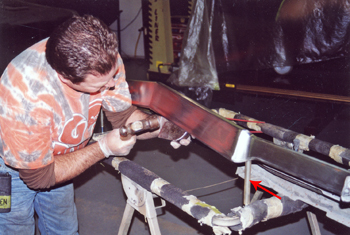
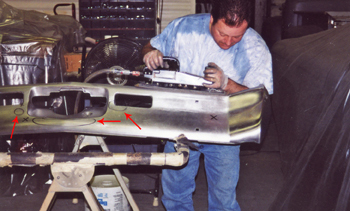
We start off by getting the bumper on a stand to work out flaws. We are tapping out high and low spots with a hammer and dolly. You can also achieve this while the bumper is attached to the car although the brackets will often be in the way of this procedure so it works best to remove it. Our particular 3M stand has posts "See Red Arrow" to keep it from moving while holding it on an angle.
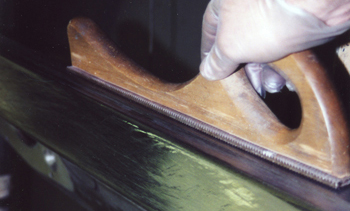
Once all the dents are removed we refine the metal using files. Bumpers are built with many different shapes so different files are needed. This concave file reaches this spot well.
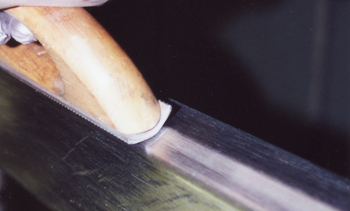
The most common flat areas are simply filed with a flat file to effectively remove the flaws.
A bull nose file reaches those hard to get corners of which are dipped in and unsightly from the factory. The nice thing about bumpers is the gauge of the metal is 4 times that of sheet metal so you have some room to perfect without cutting through. Tap and file, tap and file more until you are happy. As with anything in life the foundation is the key.
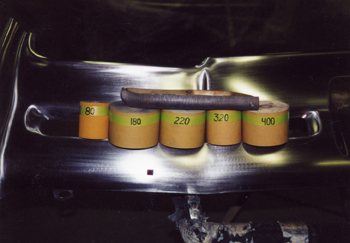
After all the dents are removed and all the metal filing is done we then block sand starting with 80 grit through 400 before copper.

Keep in mind that steel sands so much harder then primers so you need to use power sanders where you can initially. We start with 80 grit.
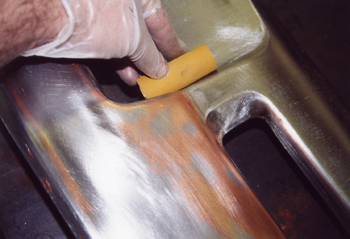
Round PVC blocks can achieve the contoured areas well. Note the copper in some areas from the factory still in place. There is nothing wrong with this as during the stripping process the copper does not always come off well, because its adhesion is so great we sand right over it and continue on.
Ken used the long power air board file to knock out a few more flaws. A seen he has circle marked with a sharpie some flaws he wants to remove.
After much work and 320 / 400 grit he wipes the bumper down using wax and grease remover to give it a shine thereby allowing him to visually inspect for any ripples he may want to continue working out. He is fine with the results so lets continue.

As mentioned before depending on the style and location of brackets you may prefer working the bumper on the car where it will stay put and steady. Here Nat works a contoured convex shaped bumper on a 55 Chevy to perfection.
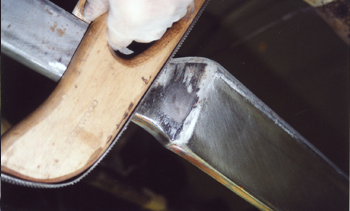
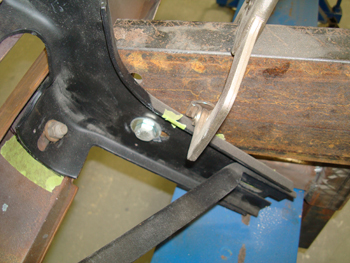
Many areas that need attention are items like bumper guards and how they fit to the bumper itself. As seen we added wire and welded it to the inside edge as it fit bad and had an unsightly gap between the bumper when tightened up.
Being able to weld and grind to a high degree is vital for a razor blade gap. Show car work is tedious and expensive when performed correctly.
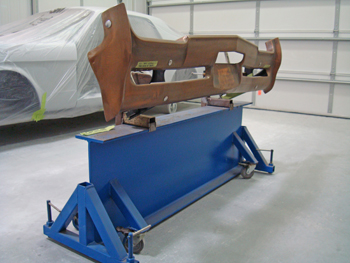
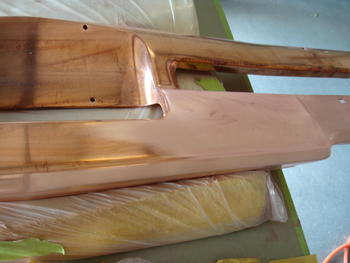
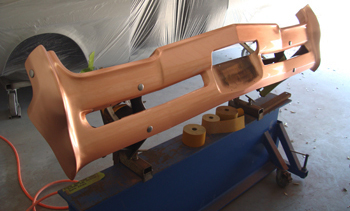
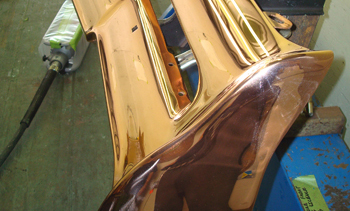
So we have everything fitting well and we had 3 hours worth of plating time in the Copper tank. We attached the 442 bumper on to our I-Beam bumper rack to enable angles on this ultimate work station.
This station allows adjustments of height and 180 degrees of rotation to inspect the bumper at any angle that is comfortable for the builder during refinement.
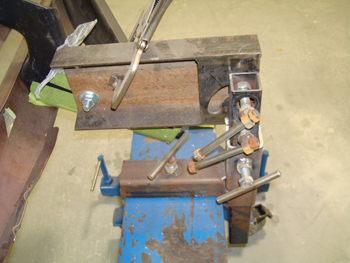
As seen we simply clamp against the brackets to hold it in any angle we desire. If you are in the business it is best to build something like this as it allows Max efficiency and speeds up the refining process while keeping the prepper in a comfortable position. Kill two birds with one heavy I-beam stone.
Nat starts the process with cutting the copper down in 180 grit, notice the vinyl gloves to keep the moisture from his hands off the copper. Cleanliness is important at this phase. He is merely hovering the complete bumper to try and "find low spots" Then he will decide how aggressive to take out the enemy of highs and lows.
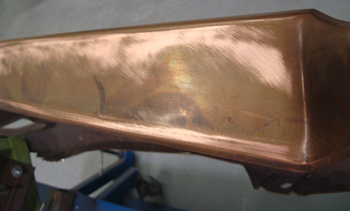
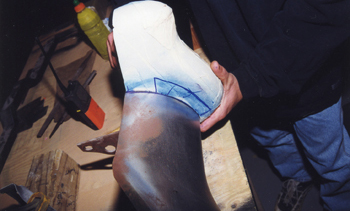
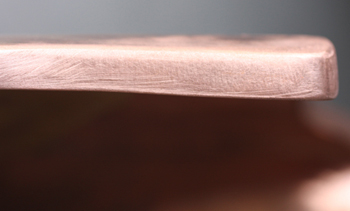
This top area has a low spot down the length of it. Because we know we had it straight during bare metal phase we know that this is in the copper plating itself. During plating and the electric process that takes place copper tends to build on the outer edges more then the center because of the different amperage draws of the metal closest to the anode. It helps to take photos in the bare metal stage and mark them so you can work out problem areas first. When using a straight edge we found it to only be 1/32 of an inch deep and we have plenty of copper to work with.
As we continue blocking the remaining highs and lows come to the surface.

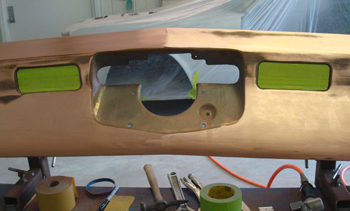
Unlike a car or trucks body where you can pull out a spray gun and apply more primer relatively easy the plating process is much more time consuming and costly, as seen we have a few cut throughs to the bare steel. This will have to be re-plated, but because it is barely through a "STRIKE" of copper can be applied which is a thin coating compared to a full plate and only takes 15 minutes in the tank.
Sometimes you will encounter a larger area like this top section that needs more then just a strike. Unfortunately you can not just plate a small area like using a primer gun as the whole bumper needs to be submerged in the tank thereby re coating the whole bumper and blocking it again. This is why it is so crucial to find the "enemy low spots" as soon as possible to eliminate sanding too much each phase.
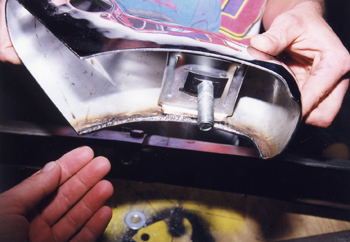
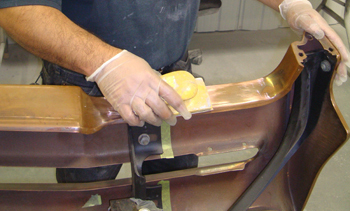
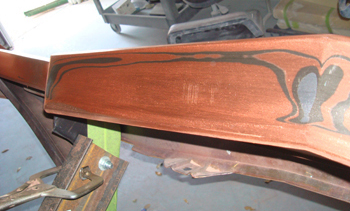
Wetting it down to inspect it much like we did in the bare steel stage is the only way to see flaws. If you have the bumper bolts still intact on your car this is a good place to check for dips, as the bolts when tightened too much or a bad fit on the bracket to the back side of the bumper will cause problems. Be sure and use "wave" washers that allow tightening but give some, so this can be minimized. We actually mate the brackets surface to the bumper for perfect contact to avoid these problems anywhere we can as perfection is our goal.

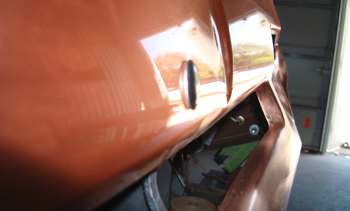
As noted copper builds on the edges more then the flat surfaces, and this orange peel grain shows what we are talking about.
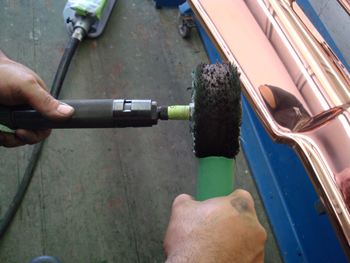
We use a smooth Dyna brade sander to knock it down and make good time, then hand sand to a finish state.

As seen the dyna brade sander leaves a very small curly cue surface.
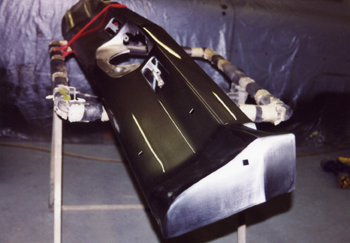
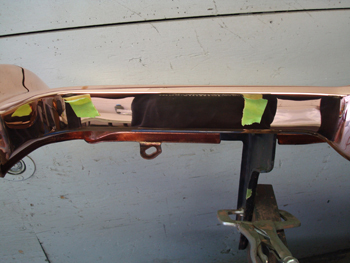
We had a strike put on the bumper and you can see how much smoother it plated next to where we started sanding with 320 grit right off the bat.
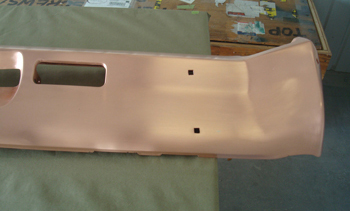
We 320 grit and 400 sanded now she is ready to Polish.
One final wet down to inspect and she looks great. Before we get the final plating process done in nickel and chrome the copper now has to be "polished" to a mirror finish. As mentioned earlier the nickel is for the bright silver color you see and chrome a protectorant for longevity but the real work is in the base metal and copper.
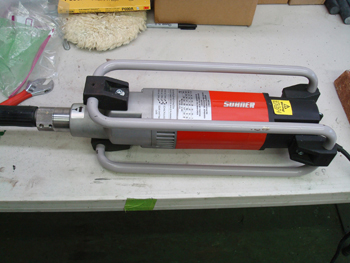
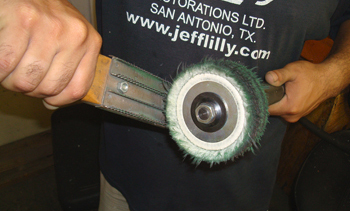
You can use a variety of tools but the Roto Star and RotoSet from Shuner is the ultimate tool. The Collett will accept different tools and quick changes are easy.
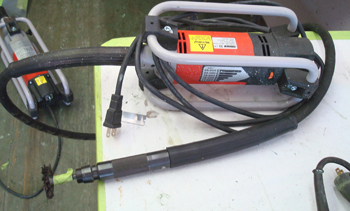
The smaller RotoSet does the small grooves and nooks and crannys.
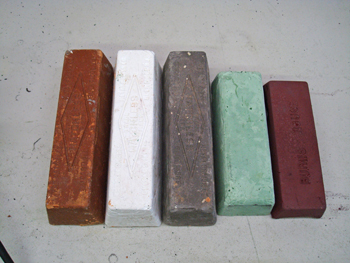
Many bars of compounds are used starting from left to right rough, medium, fine and final color.
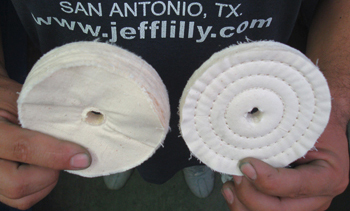
We use a variety of buffs most notably the final color buff on the left and the 3/8 spiral sewn on the right, The amount of space between the threads of the buff "stiffens" the wheel up making it more aggressive but less refined, 1/4 inch sewn would be more aggressive and 1/8th even more. Experiment for your self for the best results.
Never use different compounds on the same wheels as once they are coated with a certain grit it is ingrained in to the wheel . Always clean the buff between rounds.
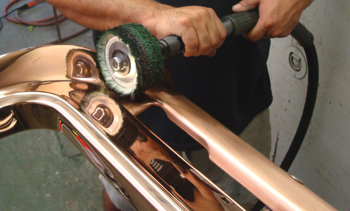
Nat finished off the bumper with a bit of 600 grit and is polishing it down now. As seen a mirror finish.
Applying compound at the right time allows Max efficiency and reduces fatigue on your hands.
As he buffs he wipes the copper down intermittently with wax and grease remover inspecting for scratches, He has the areas in question marked with tape for photographic reasons but a sharpie marker works best.
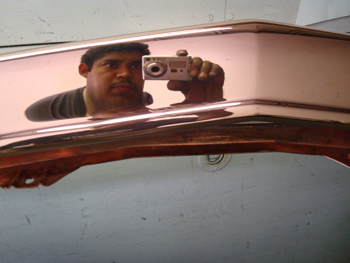
Things are looking good as he photos the bumper to show the customer what he has been doing. Nat could shave in that finish.
The finished part is ready to plate with the nickel and chrome then install. It is a tedious process but a vehicle must be finished off right so the "Finishing Touches" must take place.
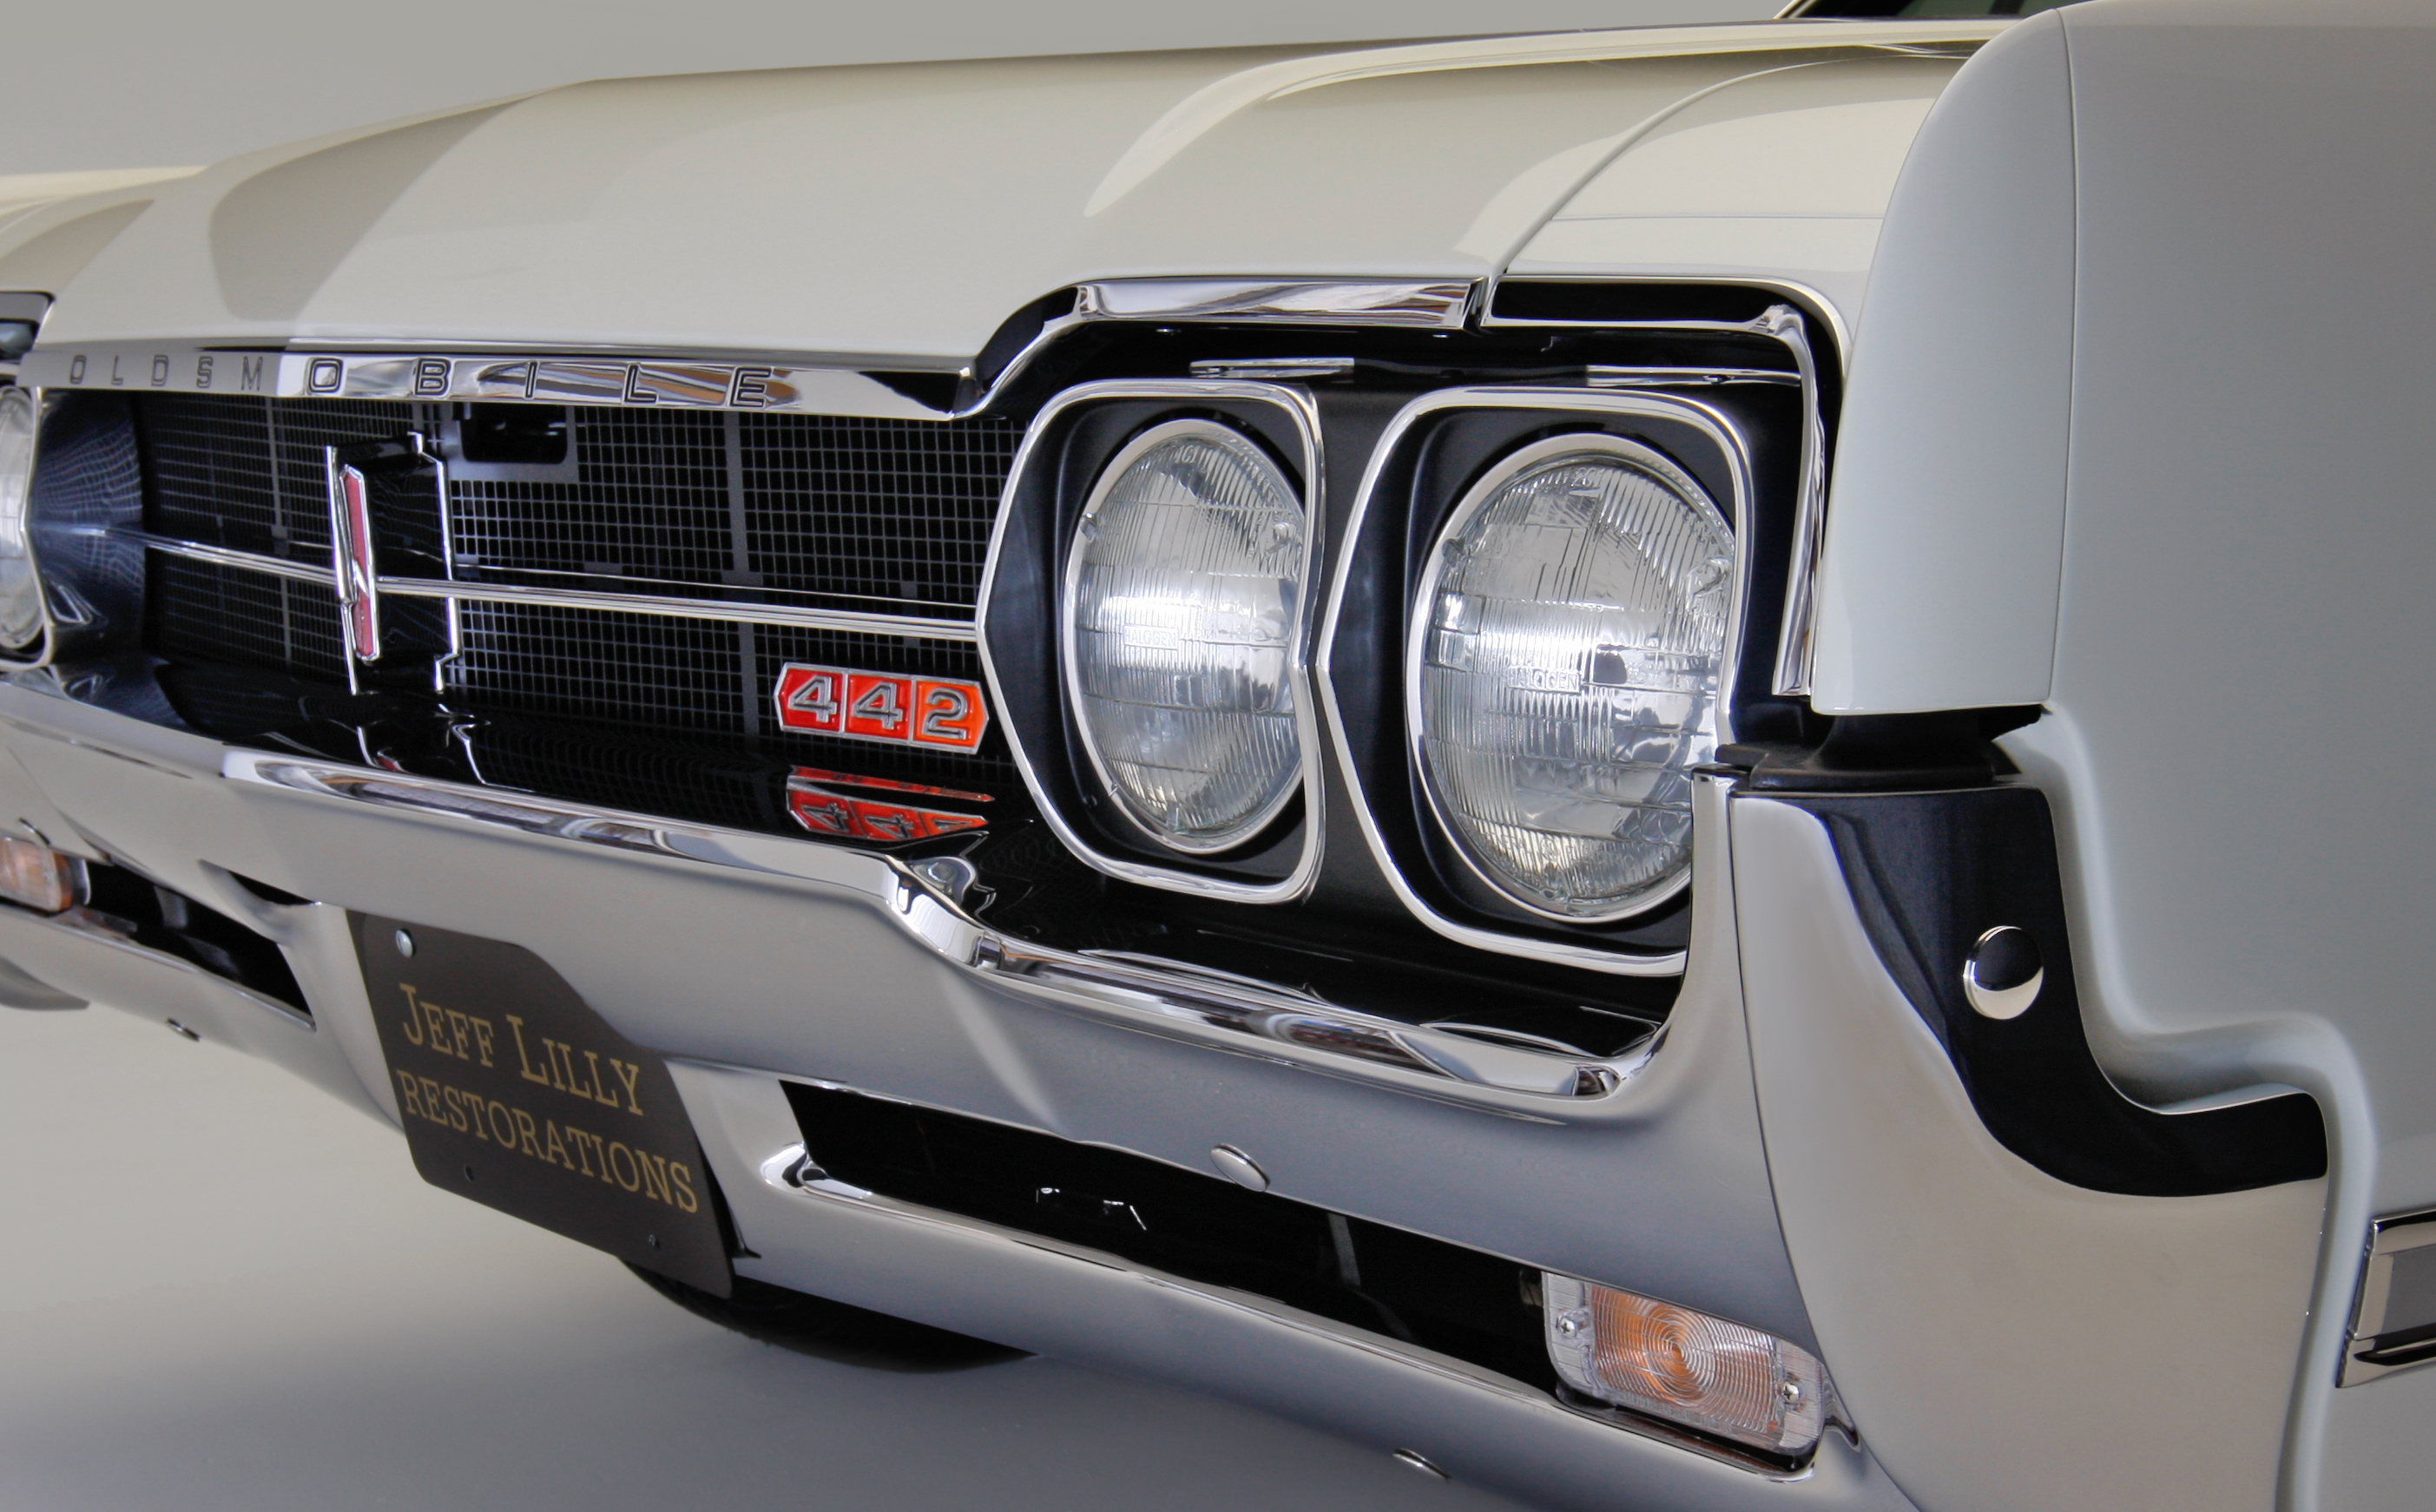
The finished bumper speaks for itself. It was worth all of the effort!