

Build Tips
Bumper Bracket Fabrication
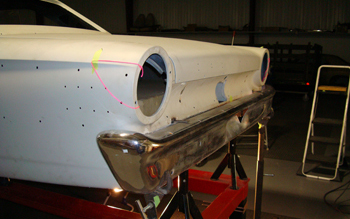
We start the build by lining up the bumpers to the body. We have fully adjustable stands to fit bumpers and they are a real time saver. It would be best to improvise some thing to stabilize the bumper during inspection. Be sure the cars body is level side to side and then check that the bumper is level to the body.
Our stands feature adjustable height tubing and a locking T-handle swivel pad with a C-clamp that attaches to the bumper for full control. The side to side gap between the bumper edges and qter panels are very important along with how much the bumper is tilted in correlation to the body. Standing back 3, 6 and 15 foot from the car to inspect for the best look and fit is imperative.

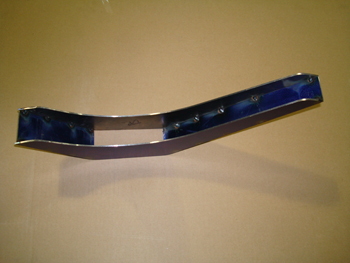
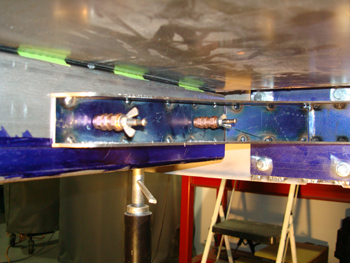
Once we have determined that our bumpers fit well and they are in good enough shape as far as dents and surface damage to use for our project we measure our clearances and take notes. We then remove the bumper from the car and flip it over back side up to get started. On our particular project we will have the bumper bolts still showing from the front side but they will not actually hold the bumper in place. Our first procedure is to run 1/8 thick flat bar in a vertical position across the deepest channel in the bumper as this is where it is the strongest and as seen a few stitch welds to hold it in place.
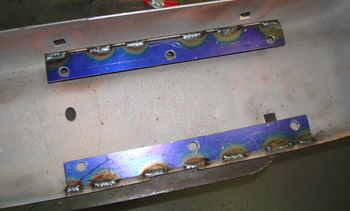
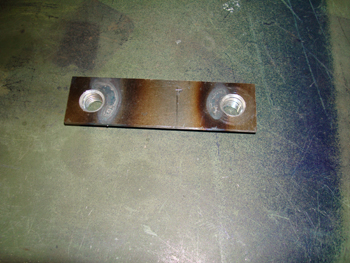
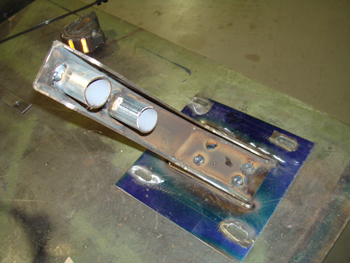
As seen on the lower section we ran a vertical strip of the same material on the edge and stitch welded it also. We then ran a matching flat bar horizontally on top of each section to form our foundation. Note the holes that were pre-drilled, we simply ran some bolts through the holes attached some nuts, tightened them then welded them in place as seen in the next caption.
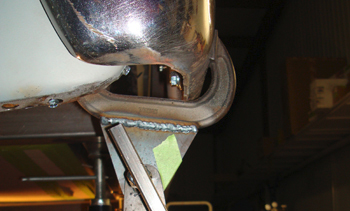
We flipped the bumper up on its side to show a better view of the nut and bolt we tightened before welding. This is how we will hold our brackets to the bumper.
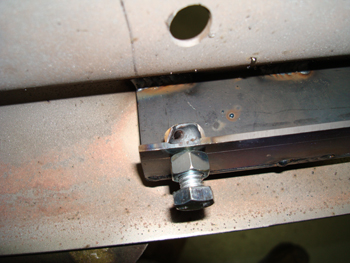
As seen in this close up we welded the inside nut after we tightened the outer nut to draw it up. Then we simply loosened the unwelded nut and removed the bolt.
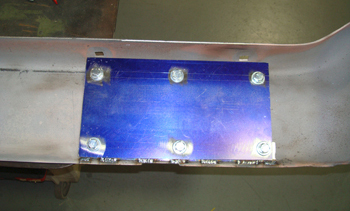
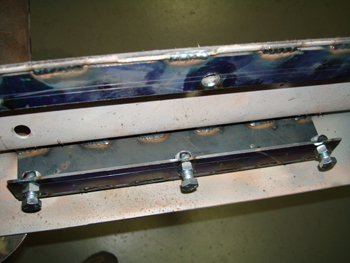
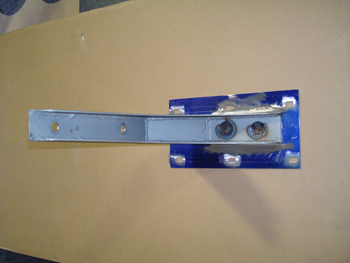
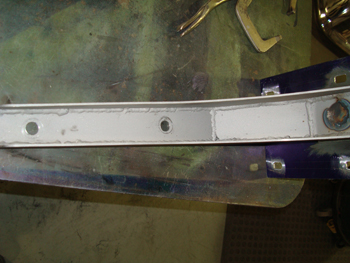
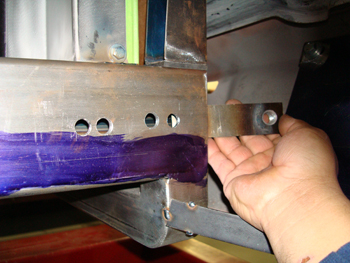
Next we measured and cut some 1/8th thick plate for our bumper bracket mounting flange. We drilled the holes accordingly and then mounted it. As seen there is still clearance for an original bumper bolt to be lightly attached giving the appearance of a stock mounted bumper. More often then not we simply fill those old holes and go bolt - less but the customer wants the original style " LOOK" to the exterior.
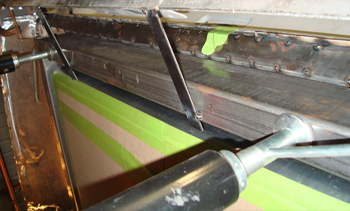
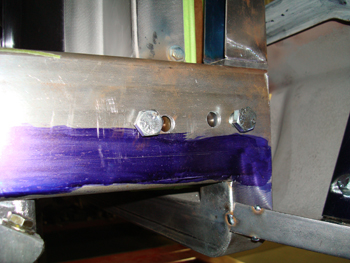
Time to put the bumper back in place using our measurements, we double checked the fit and are satisfied. Notice the small strips we tacked welded n place from the bumper to the frame. This holds it all in place while we fab and fit the new brackets.
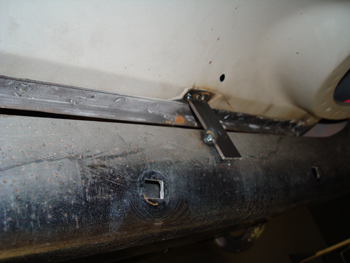
We did the same thing on the top edge to stabilize while we build the brackets.
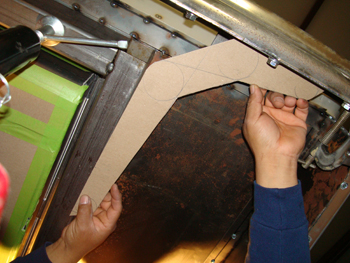
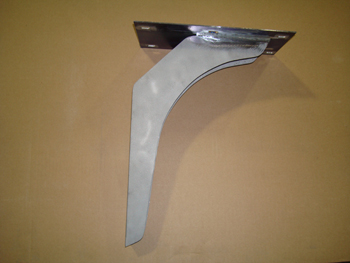
Louie designed some stylish looking brackets then mocked them up on chip board to see what they looked like. We like the style so it is time to proceed.
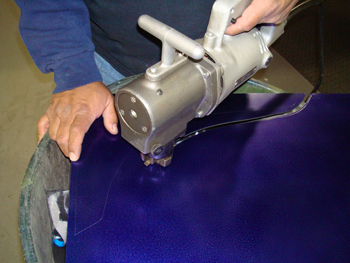
Using the "big mamma" nibbler he cut out the sides in 1/8th thick material from cold roll steel to match his mock up.
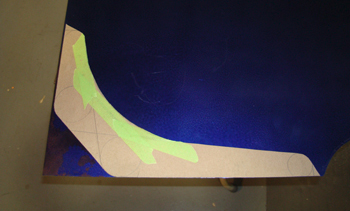
He lays the template out and scribes it on the sheet after spraying blue-dykem which dries fast and allows a precise scribe line for clear viewing when cutting out a part.
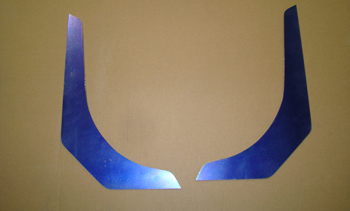
The upper and lower sections are ready to fit.
He turned over the driver side and cut a small section to match the angle of the bracket, using a 90 degree magnet holder he tack welded it in place.
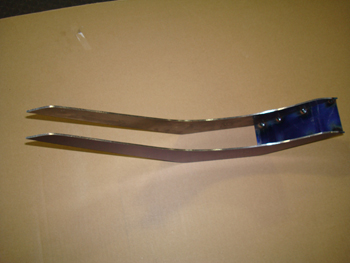
The same procedure was done on the other side and she is starting to take shape.
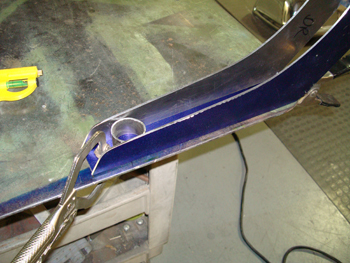
On the next step we cut another plate to fit the longer section. Notice the small round tubing next to the vise grip. These will be at the bolt locations to help hide the fasteners yet still retain maximum strength in the bracket.
Fully welded we are about ready for our first fit to the frame and bumper.
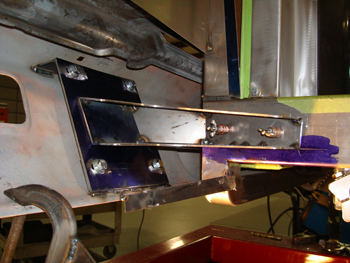
We drilled some mounting holes after measuring and then mounted the bracket using wing nut clecos.
Everything fit good so we marked the perimeter of the outer bracket on to our mounting plate then removed the assembly, clamped it down and then welded them together after drilling some larger holes to the bracket to allow good welding penetration to our plate.
We also welded the corners and ground them down.
As seen down in side the bracket we fully stitched the metal to make the unit as strong as possible.
Here is the finished tubing to hide the fasteners. Notice the angle cuts to allow the metal to be placed on the opposite side of the bracket and close them in flat.
Off to the front bumper for a few different techniques then we performed on the rear to this point.
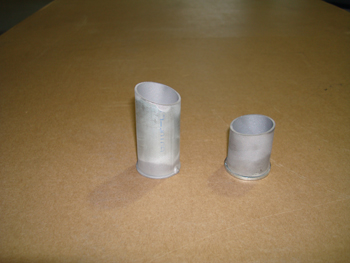
The front and rear frame horns are open on the ends so we will make a slide plate that will have nuts weld to it to attach the brackets and supporting the weight of the bumper.

Same as before we simply insert a bolt and tighten down the nut before welding which acts as a clamp.
Just a few stitches are needed.
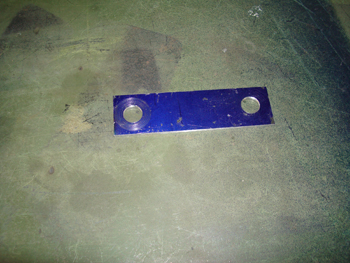
We slightly counter sunk the bolt holes for easy starting of the threads.
Luie slips the nut retainer inside the frame. Note the holes pre-drilled in the frame before-hand. Two for welding and 2 for attaching the bolts.
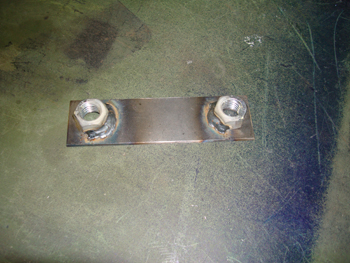
Ready to tighten down then weld in place.
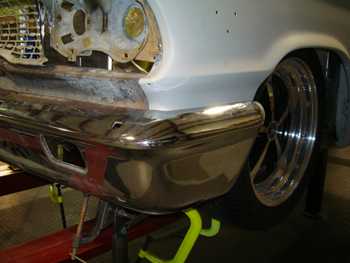
We have the fronts in to check placement. We are happy with the fit so we can finish them out.
The fastener - tubing spacers are tacked in place along with the newly formed bracket to the base plate.
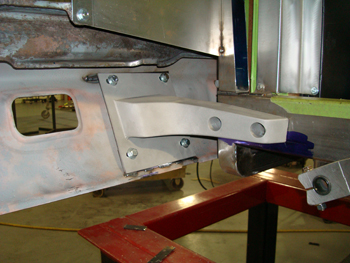
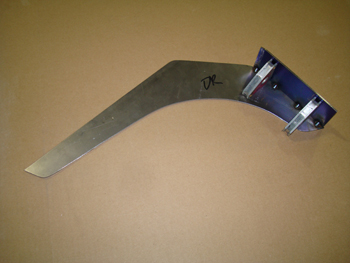
The metal was then wrapped around the fastener side of the brackets and welded in place. We then ground the welds smooth, bead blasted and installed.
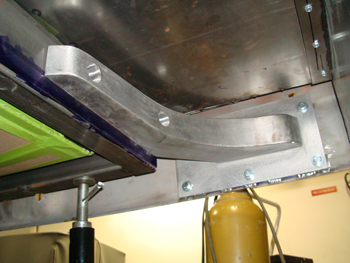
Same with the rear we finished wrapping the outer section and now have a nice looking sturdy bracket.

The bumper brackets are primed and looking good.