

Build Tips
Air Cleaner
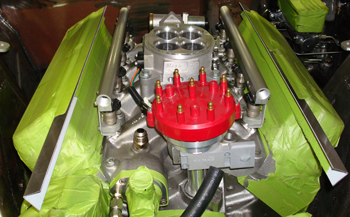
We start off by determining the minimum height needed above the throttle body, a minimum 2 inches is required for accuracy. Taking our base to hood clearance in to consideration we will use a 2.5 inch air filter high flow K&N. This will allow 1/2 inch between the bottom of the hood and the top of the new Air Cleaner we are going to fabricate.
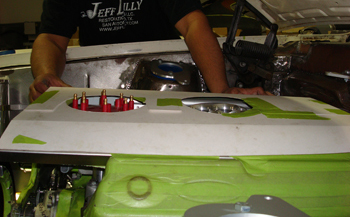
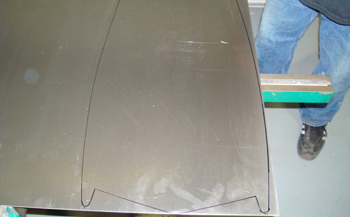
We paper mocked a base to ck a few clearances. Notice the cut out for the distributor cap and wires.
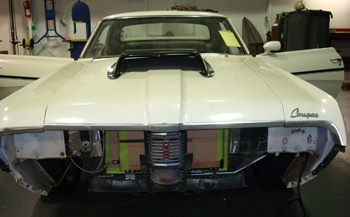
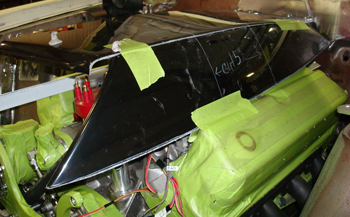
To start off with we purchased a repro fiberglass "Boss Mustang" hood scoop and laid it on the hood of our project car, a 69 Cougar. Obviously it is way to large to use as is, so we will scale it down to fit and look the way we want.
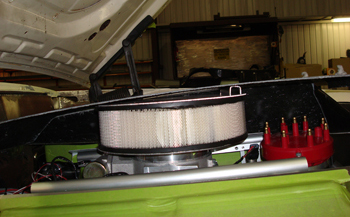
The mock up air filter is in place, notice the angle or pitch we have the mock up cover at. This will give us the look we believe to be best.
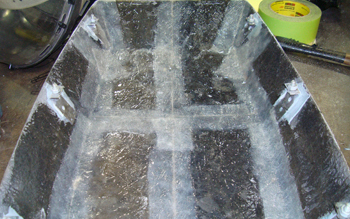
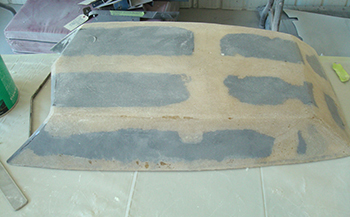
We sliced the fiberglass a bit, as you can see it is way too large to start off with. By down sizing it with the right cuts it will allow minimum body work later.
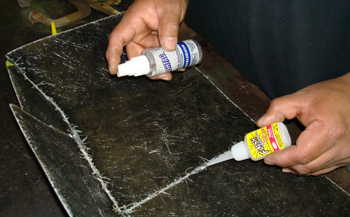
We sliced the unwanted sections out of it then crazy glued it together to keep it strong.
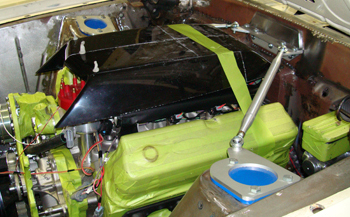
She is starting to take shape . Notice the hershey kisses of window caulk used for checking hood to air cleaner clearance height.
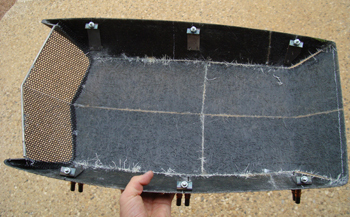
Luie has it looking good. We took some mesh and started to mock up a front screen to get the look we wanted. He then laid it on some 18 gauge sheet metal and traced out the perimeter to start working on the base to fit exact.
Looks a bit like a bat man cape. Time to trim it out.
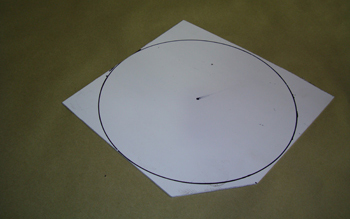
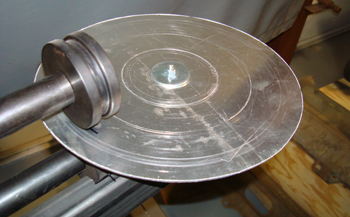
The side of the filter base is rolled out. This will keep it centered.
Installed on the same angle as we determined early on "see caption 4" to pitch it just right so it looks aggressive.
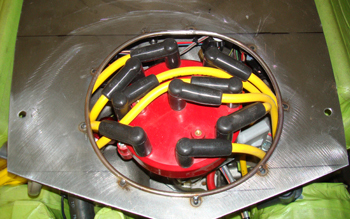
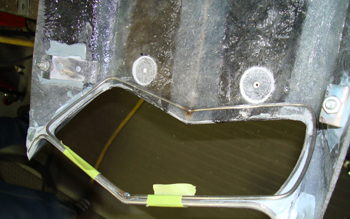
We have not cut out the distributor cap and wire hole yet because it is removed but that will be done shortly.
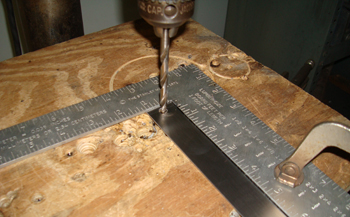
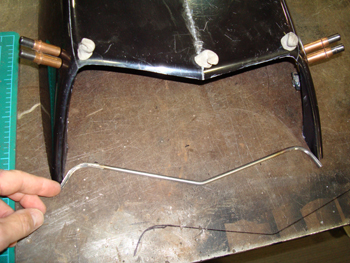
A few angle brackets to attach the fiberglass cover to the base are pre drilled before bending on the brake.
A little bend and we can mount them to the air cleaner
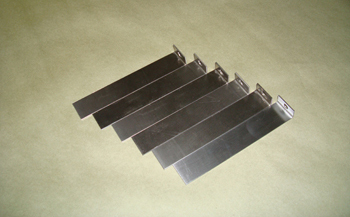
They are long and need to be trimmed to fit. The rear ones are going to be a bit shorter to compensate for the taper in the cover.
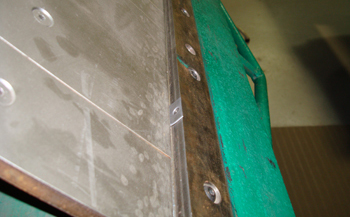
We mounted a 1/4 20 bolt in each bracket to mount it to the base. As seen we simply cleco'ed the sides in to check fit. Once all is well we will adhere them with Vette panel adhesive.
We have them all mocked in place and now it is time to trial fit.

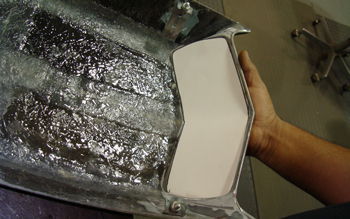
We have cut out the distributor cap and wire clearance and drilled the base for the cover bolts and are ready to check fit once we get a few other items made.
We also had to fab an air filter top to hold town the base.
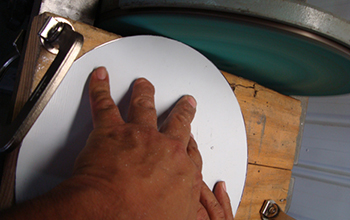
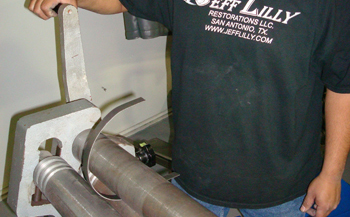
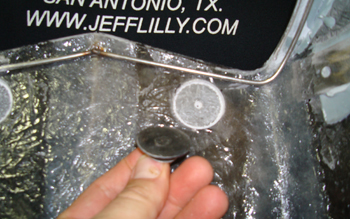
Louie simply drilled a hole in the center to roll it on the grinder for a perfect edge.
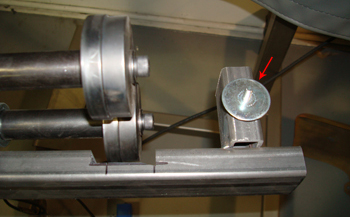
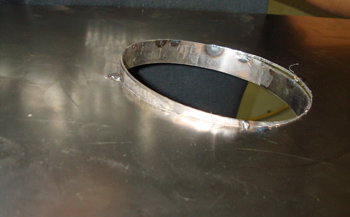
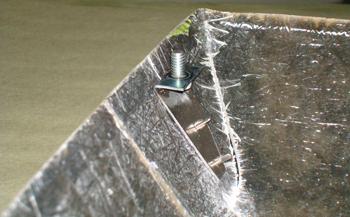
We will use the bead roller to recess the cover inside, this will allow the nut on top of the air cleaner lid to stay below the custom fiberglass cover and not hit or interfere. We fabbed a rotation stud with some tubing to keep it centered "See Red Arrow".
As seen she is looking good!
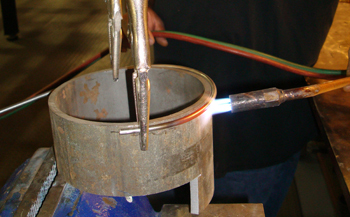
A wire needs to be formed to tack weld on the base at the distributor hole to eliminate rubbing on the spark plug wires. Louie simply bent it while heating against a piece of 6 inch round stock.
Tacked in place she protects from scuffs and stiffens the cover at the same time.

We decided to contour it a bit to allow a gradual step from the point of the cover to the mesh. This round hole mesh was only used for mock up as we are going to use a wire mesh screen laid out in a diamond shape as our final piece.
As seen we fabbed a stainless wire to encase our gradual step. This will also stabilize the mesh once installed.
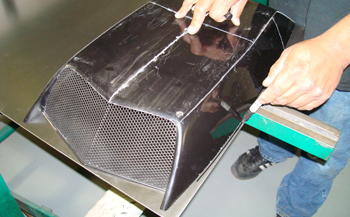
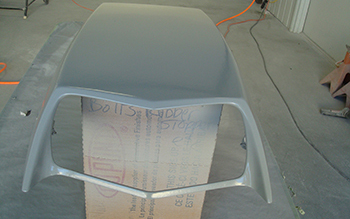
It was time to fiberglass the lid on all the seams where we cut it during fabrication.
Using Vett panel adhesive we attached the wire support to the cover and are now paper mocking for our mesh cover.
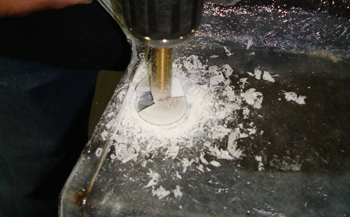
To make room for mounting screws of the mesh we counter sunk the fiberglass glass with a forister bit
As seen the forester bit makes a nice recess to allow bolt head clearance.
Luie chose elevator bolts with their large flat heads and will epoxy them in place.
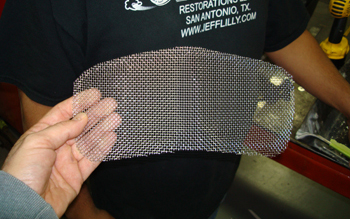
We bent the desired screen to fit with a diamond pattern.
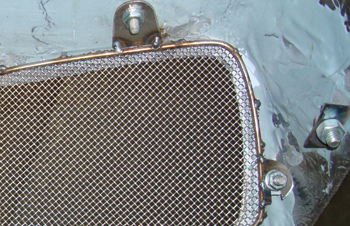
Luie tacked in a few mounting brackets to the mesh in place on the back side.
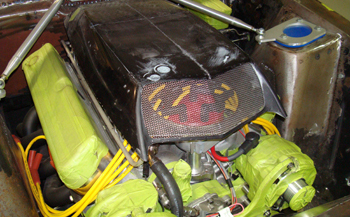
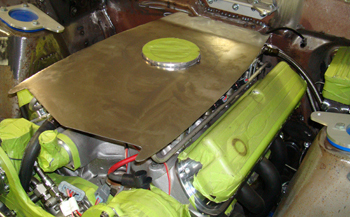
She is mounted and looks good, fits well and ready to body work, paint and finish out. We will finish it with gray wires and a black distributor cap to help hide those unsightly components.
Air Cleaner
Air Cleaner
Air Cleaner