Disassembly
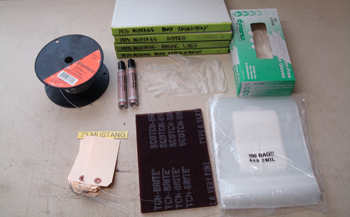
So you want to build a Muscle Car. Proper Organization during disassembly will make or break the project, so listen up as we take you through a system that has proven itself for many years. A few supplies needed will be baggies with a white marker box, scuff pads, tags, vinyl gloves, labled note books for overall inventory, parts replacement, sequence of disassembly, general notes and any other pertinent info you feel is needed.
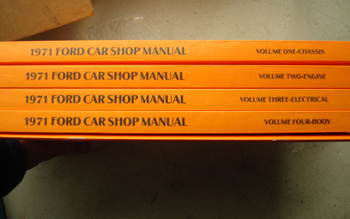
We can not state enough that shop manuals are very helpful and "WILL" save time which is money. The Creator of anything will know more about it in this case Ford Motor company.
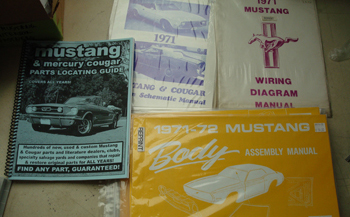
The Body Assembly manual is a good one if you can get it for your car. Including parts, electrical schematics etc. Penny wise nickel foolish. They will pay for themselves in time/money so invest in them.
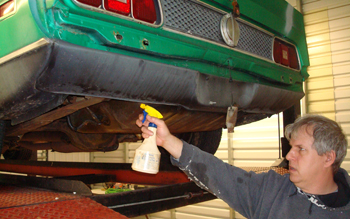
With 2/3rds of his life devoted to Muscle Car Restoration and many a disassembly under his belt Jack is a master at the art. Soaking down the bolts and fasteners a few days before starting is important. He has found that PB Blasters loosens rusted fasteners the best. Liberal soaking and again the next day will save much time. Nice parts are hard to find so you want to remove everything you can without snapping off any studs or breaking any rare parts.
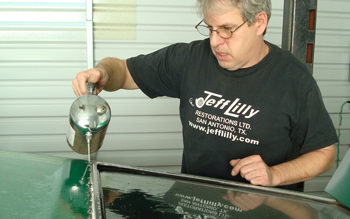
Jack uses wax and grease remover available from Auto Body supply stores to soak down all window moldings. The dirt over the years can act like a glue and this makes removal go easier and help eliminate tweaking the trim during removal. If at all possible I recommend reading the book "How to Restore Automotive Trim" for more insight as 90% of all damage on trim is because of improper removal.
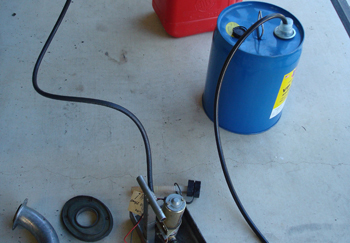
Before starting the disassembly where cut off tools may be needed and sparks could be flying, remove all the gas from the tank for safety. We use a fuel pump hooked to the fuel line before the carb and suck all fuel from the tank making it 95% empty and easier to remove.
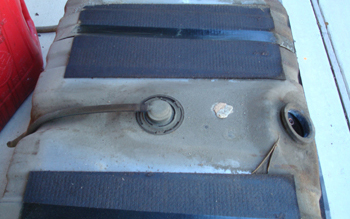
The tank gets removed and photographed then taken out of the shop.
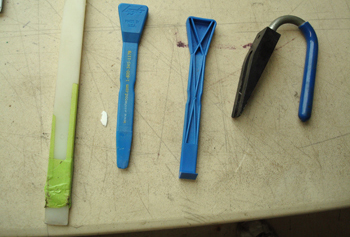
Removing trim requires proper tools, as seen these plastic pry bars are the hot ticket as they are more flexible then steel. You can use different size putty knifes but metal to metal can dent your trim much quicker so be cautious and pry gently. Notice the tape around the white nylon one, this can help reduce contact pressure when removing aluminum trim.
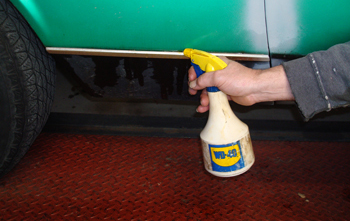
Soaking the side moldings as well allows them to slide off the clips and in some cases you are not able to get access to the clips until the fender is off. Your manual should show this but common sense will make the difference. The number one question is? Are these trim pieces held on by a snap on clip? A bolt on clip? Or a combination of both? 90 % of the time the factory was able to attach the trim after the body panels were put on so that they could line up the trim but there are exceptions. So more then likely there is access to this trim.
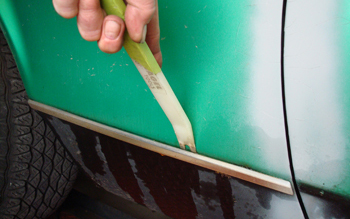
On this particular car a 71 Mach 1 the trim parts are the snap on style on most areas, If at all possible you want to pry where the clip is as this will keep from tweaking the trim.
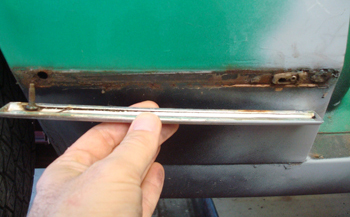
A perfect example are the qter panels by the doors, a snap on clip by the door and a bolt on toward the tire. Ford did not want to have to go behind and under the qter window so they made the stud come through the qter in to the wheel well with access from the tire side. On northern cars the salt will attack this stud making it hard to remove with out twisting it. It is often a better trade out to carefully cut the stud off from the back side with the tire removed for access to keep from damaging the molding "Aluminum" is soft compared to stainless trim and a twisting trim clip can tweak it.
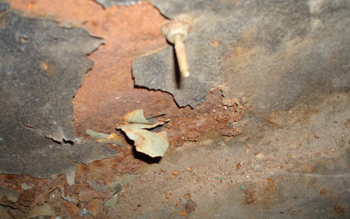
Snap on clips were used on the qter panel trim at the very rear of the car except for one long "bolt on" stud in the middle. If we would not of checked all the possibilities the trim could of been ruined. Ford did not have a better idea on this one, specifically the overall length.
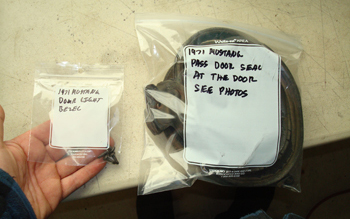
Get in the habit of bagging parts as soon as they come off and make notes in your books of a sequence or problem you had removing the part, Taking hundreds of photos just like you see us doing now is imperative. Most people think " I will be able to remember how this goes " Never take that attitude" because you are talking thousands of parts and no one can remember all that, months down the road.
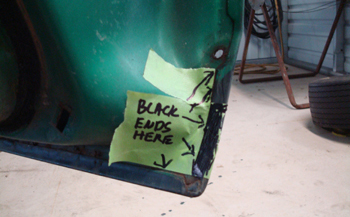
Photograph every detail including things like where paint ends and another color starts. Especially if you are going 100 % original.
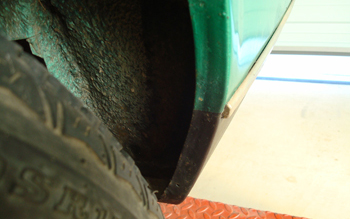
Same goes for wheel edges and anywhere two tone colors are applied.
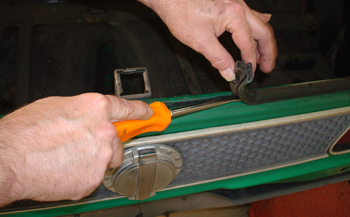
When removing trunk rubber a continuous strip was used in most cases, so try removing it intact to keep it as a reference.
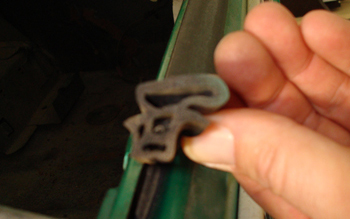
Photographing the way the trunk rubber was originally installed is important, as it could physically go in several different ways which will change the way your trunk fits and or seals. We always purchase two sets of trunk and door rubbers, one for the metal work and body sanding phase and one for final assembly as it will get dirty during fitting of body panels and building the car with no seals will not give you an accurate fit. If you wait to purchase a second set when the car is ready for final assembly the MFG. could change molds.
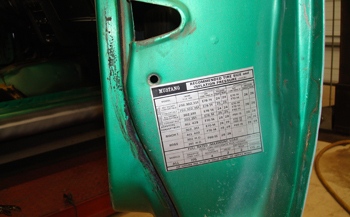
Photograph any decal placement to duplicate the factory. Regardless if it is crooked or straight when done depends on your preference as the assembly line was usually sloppy.
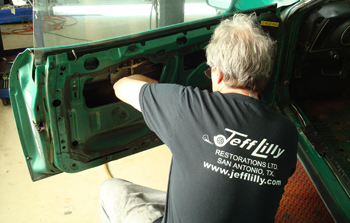
When removing the hardware items after rubber and trim Jack likes to start on the interior and work his way out. Then he reverses the procedure for final assembly as the last thing in is the interior when finished. This way you can get to things better and nothing gets in your way. Here Jack has pulled all the seats and is starting on the doors removing and making notes on the glass mechanisms. If the cars glass fit well before disassembly he will often pilot drill using a 1/8th drill bit the locations of the window cranks position, to get him in the hunt during final assembly.
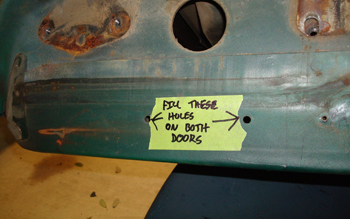
He also marks any holes that are not supposed to be there, including any components that were removed and are not going back on the car. This includes holes that were drilled by someone adding something through out the cars history and or any other unwanted holes needing welding.
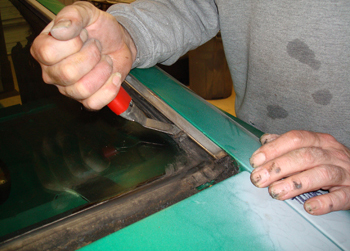
When removing the trim from the front and rear glass it is important that you catch the edge of the clip and not the glass especially on the rear glass on a fast back or rare car as the rear glass can be hard to find. We only build to the highest level so we usually hunt down NOS glass but if you are on a budget and the glass you have is in great shape with no scratches or power sander marks from some production body shop, then be careful. Most of the time the front windshield is available either NOS or repo for around $150 to $250 The side glass and rear are the hard ones to find.
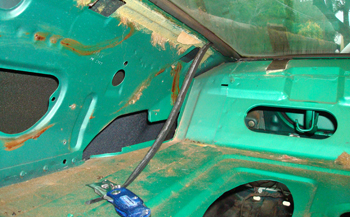
On cars that have rubber gaskets holding the front or rear glass in we cut the back side of the rubber with an exacto knife so we can simply push the glass out from inside then easily remove the border of rubber from the glass.
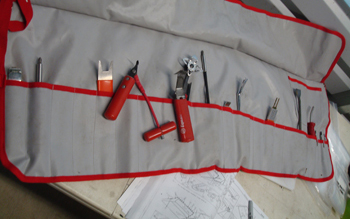
Equalizer has some nice glass tools for the professional but you can find suitable tools at your local auto parts store.
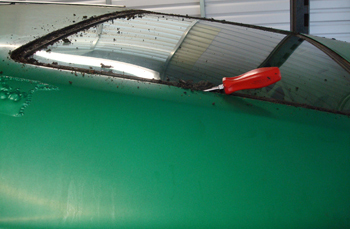
Often you will find a lot of dirt build up in the channel if the car sat out under a tree for years, carefully scraping this out first will help to remove the glass by pushing outward on the interior side.
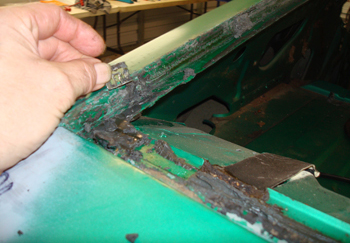
A close up shows the trim clips we were prying on in caption # 18
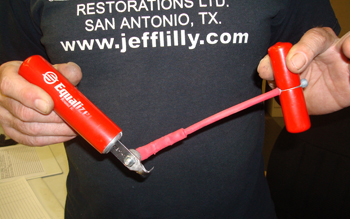
This is a cutter tool, the low cost method to cut butly wind shield materials. You can find them at auto parts or on-line.
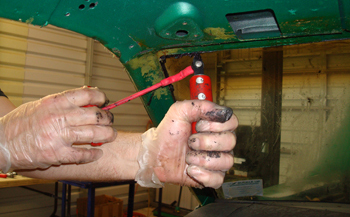
Some early Mustangs and other cars had gaskets in the front much like the rear glass we just removed, but most are stuck in with butly which is a sticky mess. As seen Jack is wearing vinyl gloves as he changes them out on a regular basis to keep his hands clean. This also allows him to keep the camera clean while taking pictures to show location before each part is removed. The butly needs to be sliced then after every foot he places a piece of plastic spreader 1/16th thick between the channel and the glass to keep it from re sticking.
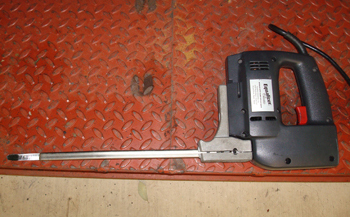
We also use this power blade cutter from Equalizer which is the cats meow.
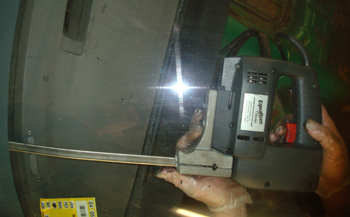
As seen it has long blades and you hold it up against the glass and it cuts the butly easily.
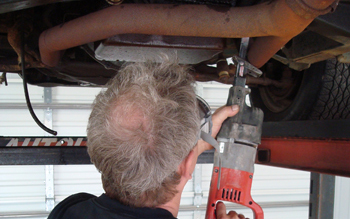
Parts that are not stock like this exhaust get cut off quickly and tossed out. Using a saw-zall makes short work of it. Of course if you have a survivor car and the original exhaust is on the car then be care full where you slice so you can keep it as a reference when purchasing and installing a new exhaust.

