

Build Tips
71 Stripe Application
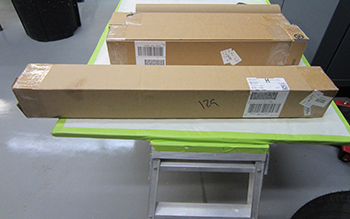
Stripe kits come packaged rolled up in a box. Like any product you buy always check the stripe for quality by inspecting it for straight and true lines with no waves in them. We have seen some wavy stripe kits show up that we rejected because they were not formed correctly on the vinyl.
Eric un-wraps the box and inspects the stripes. He was satisfied with them so he starts cutting out the sections. 3M vinyl is the best for decals but as mentioned you still have to check the stripe for straightness of the outer and inner lines just in case human or machine error was evident during the MFG process. Be sure and mark them specific to the right and left side of the vehicle.
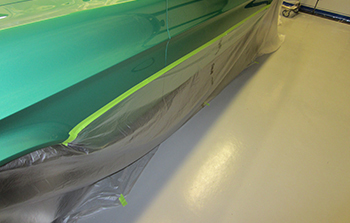
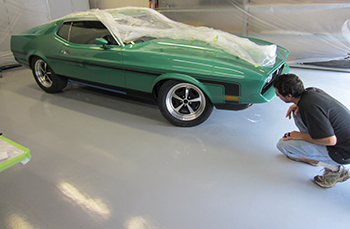
The next step is to prepare the body for installation. As seen plastic is taped below the stripe so that the application gel is kept off the moldings and lower sections. Be sure the paint is polished to your liking because any polishing from here on out will be greatly hindered up against the stripe.
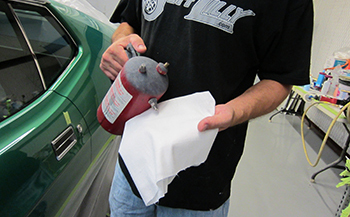
Next thing in line is to apply wax and grease remover to a clean cloth that is lint free.
Clean the area to be striped to remove any waxes or other contaminates. Obviously if the car is dirty it needs to be washed and or prepped correctly before installing any stripes.
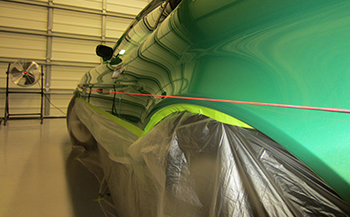
Eric ran a string line front to back to be used as a gauge when laying out the stripe and marking the body.
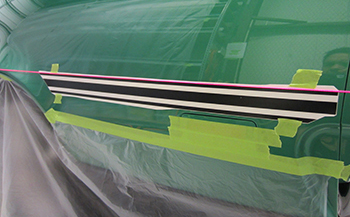
On the next step he lays out the stripe and tapes it in place matching the string in a horizontal line.
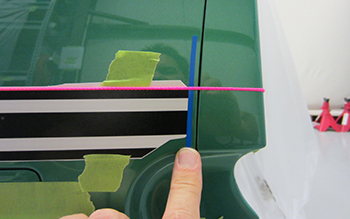
An important thing to consider is how the side marker edge lines up with the stripe including height and distance etc.
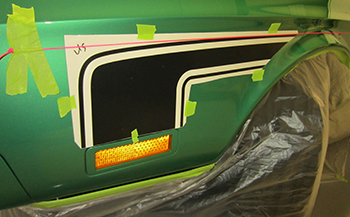
As seen on the front fender this section angles downward away from the string line as the stripe goes forward and down toward the front side marker.
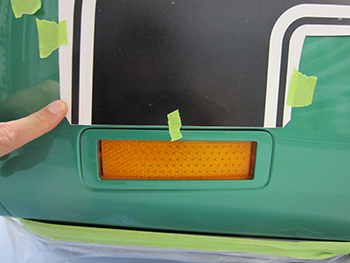
Adjusting the stripe down close to the edge of the side marker is desired because there is an additional bottom section that will be added below the marker to finish it off.
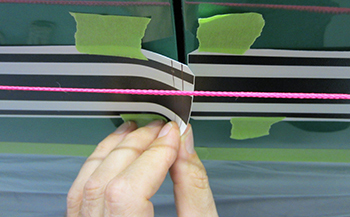
Where the door and qter meet you can see how the MFG has the qter stripe right on the edge but the door stripe is much longer. Personally I do not like them folded around the door or qter edge as it looks tacky.
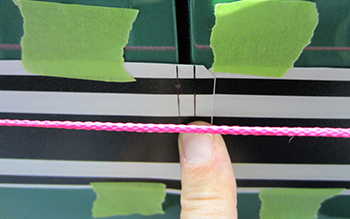
I like the stripe to be precision trimmed right to the body panel line so when the doors are open it looks clean. Eric AKA E.O. the big dog of detail has it dead-on as usual like all his work. A simple trim on the table before application and Voila looking good.
We even trim the ends so they will match the line on the qter extension. This way every line matches and looks symmetrical when you inspect it in its finished state.
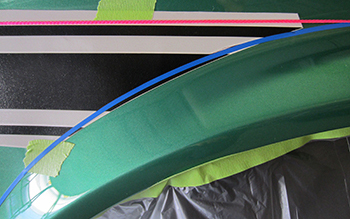
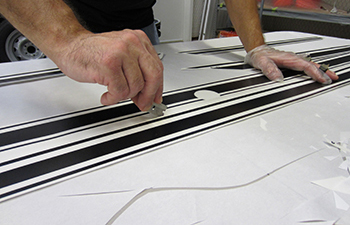
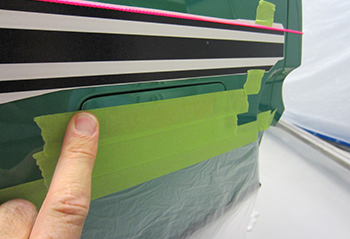
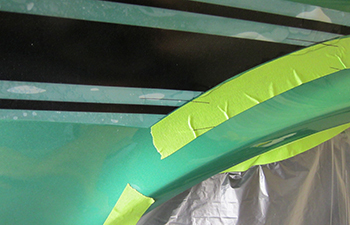
The stripe came with a " generic" convex shape to our fender flare but depending on how much body work or where the body was blocked during the primer stage this can change. As seen Eric taped off the stripe to a more suitable convex shape to match our particular fender for a smooth flow of the body line. Little details like this will make or break a project.
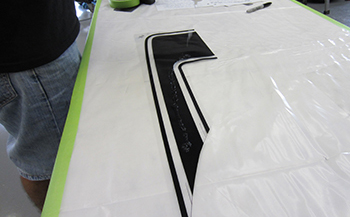
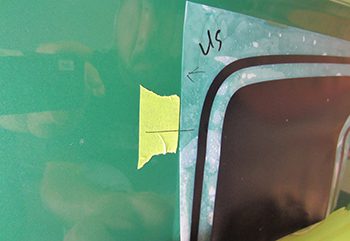
Once he has the convex shape the way he likes it he simply marks it using a fine tipped sharpie inside the tape line and then removes the blue marker tape. Once we remove the stripe and get back to the table he will razor cut dead on the line for a beautimus maximus stripe fit-ment. At this point in time he will attach some masking tape just outside the edges of the stripe around the perimeter and sharpie mark some reference lines to know where to place the decal when he is ready to adhere it permanently. Same thing with the stripes for the doors and qters.
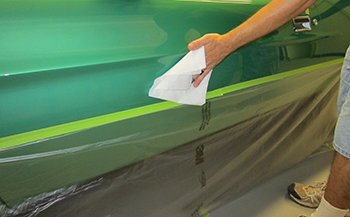
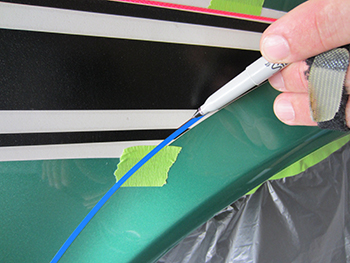
We've studied it, marked it and trimmed it to perfect the fit. Now it is time to remove the backing and get it ready for final install. Eric carefully pulls the white paper backing off the decal and we are ready to gel prep then stripe this pony.
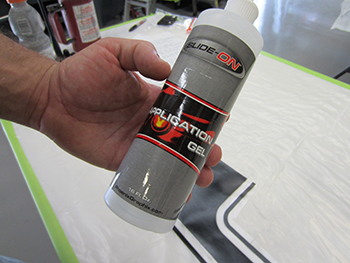
This applicator gel is pretty slick stuff and it makes it a snap.
Apply liberally and I mean liberally. Squirt it man!
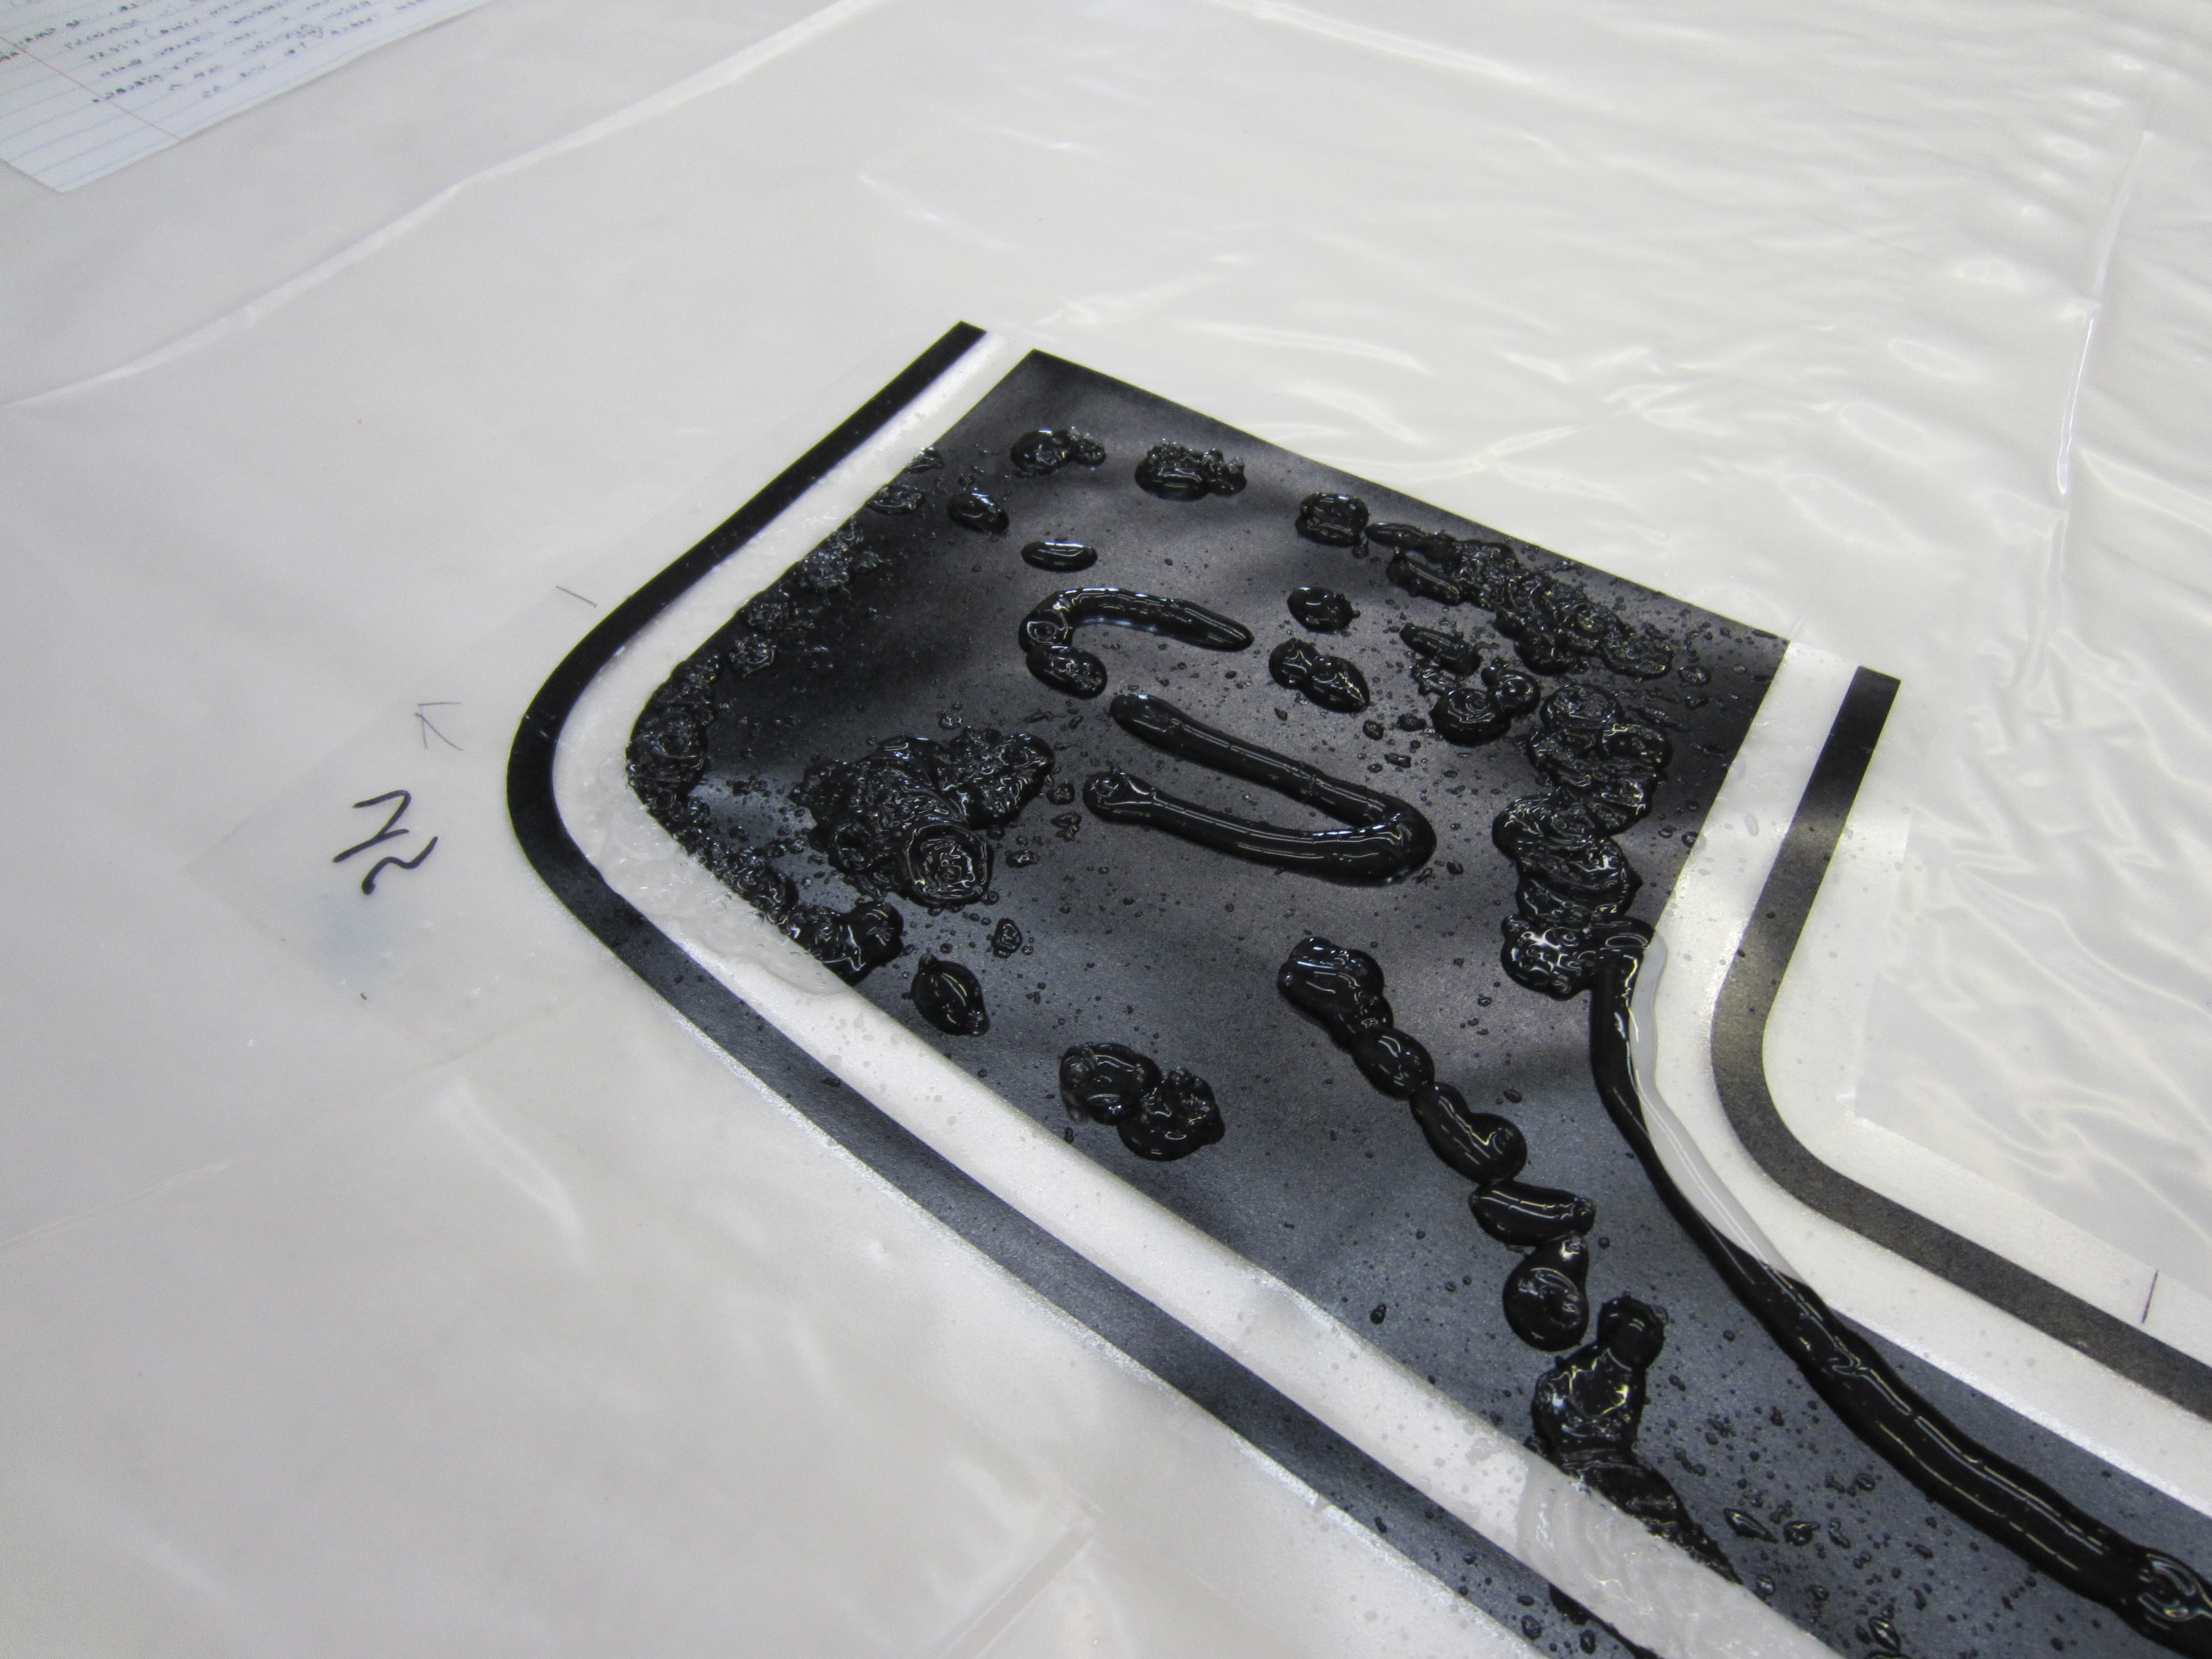
Heavy gel is squirted out, be sure there is plenty of material.
Using a clean finger Eric massages it around for an even coat. In general he wants no dry decal areas.
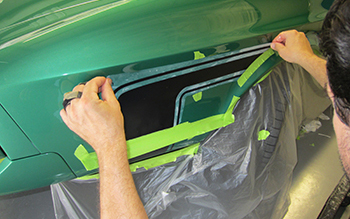
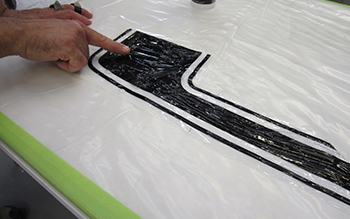
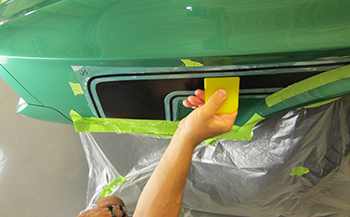
He carefully places it in position and starts the application.
As seen the side reference marks that he placed in step 15 are lined up so we have an exact fit.
The marks on the flare are also lined up.
He starts with a NEW flexible yellow spreader with a smooth edge to start working out any wrinkles. He gently pulls in the direction needed to stay on his marks while swiping from the center out.
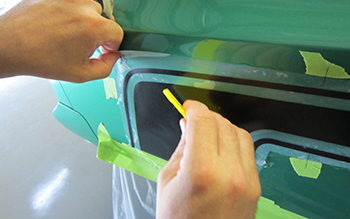
The gel works its way out bit by bit starting from the center up and then center down.
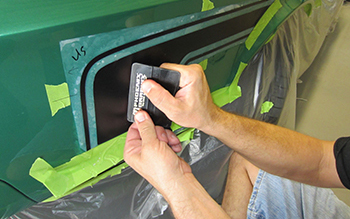
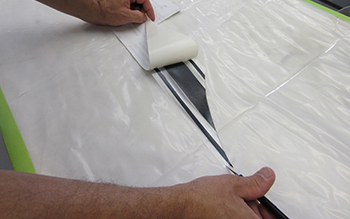
Finally he uses a flexible black spreader to finish off any tiny bubbles that may appear.
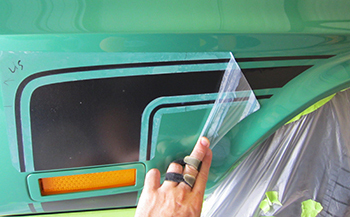
Once he is satisfied he slowly pulls the outer plastic away with a down-ward and away angle as the stripe starts to revel itself. If any of the decals edges or points try to lift away you did not squeegee enough. Pretty much like a snake removing it's skin to the point of Oh Yea, that's what I am talking about Dude Rancher.
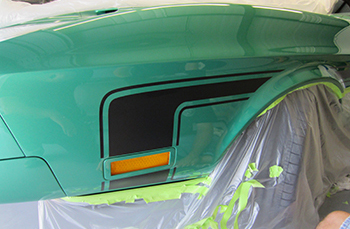
Once completed she looks super fine. AKA "Dead On"
Eric stands back and looks his work over. What a difference a stripe can make in the hands of the New Yorkster!