Camaro Rear Glass #1
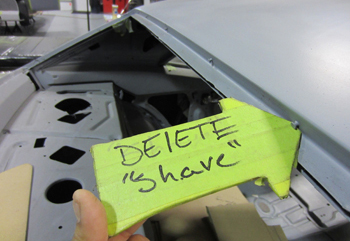
The back window glass will be tight gapped. We will be dropping the bottom section down 3.5 inches for a fastback looking finned roof line. This will get rid of the rounded back roof where the qter panel and roof meet. The first step is removing the molding clip studs so we have a way of determining initial glass fit.
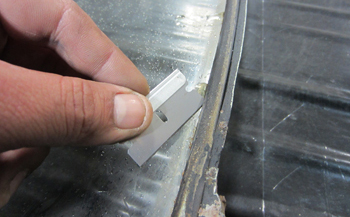
On the original back glass we start with removing all the silicone deposits so we can use it as our preliminary fit piece. After we make the initial fit determinations we will be using a new back glass covered with 4 mil plastic for protection during our fab work to be sure all is in order.

She is cleaned up and ready to do battle.
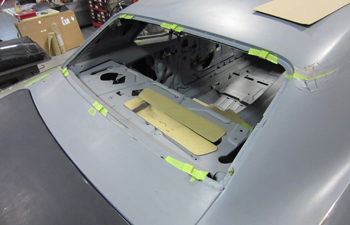
First off we installed some paint stick shims wrapped in tape including a stopper at the bottom on both sides to bring the gap at the top to 3/16ths .
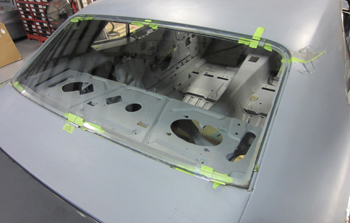
We placed the glass in and start to assess what it will take to get it done.
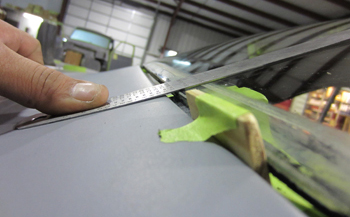
Level is what we are after to start.
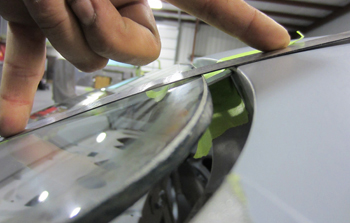
Same at the top. We are removing the old moldings that use to be a gap filler as they were UGLY with a capital U. Original style trim is not in keeping with the look we are after on this car so it all has to go.
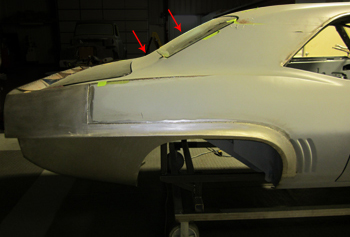
As seen in the arrows the flush glass is an improvement, however the glass has a bubble or high spot in the middle and it ruins the flow of the roof line not to mention the rounded area from the roof to qter and especially between the trunk lid and bottom of the glass of which I can not live with. It has a stop sign affect and does not flow at all. Next time you stand next to a 69 Camaro with decent paint look this area over then scrutinize, and you will understand why this is a necessary change for a custom car.
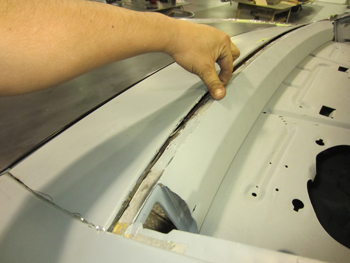
We start by laying out some cut lines on the rear deck to get the look we are after then he cut the back panel to allow our changes to take place.
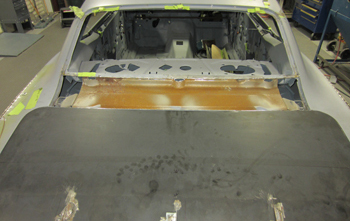
Rear deck removed now we have some room.
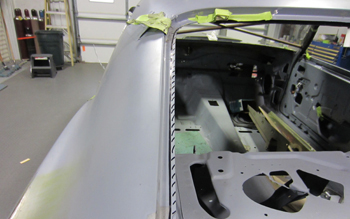
As seen on the sharpie marked area we have to cut the flange where the old sealant was to have room to lower the glass at the correct angle for the best look.
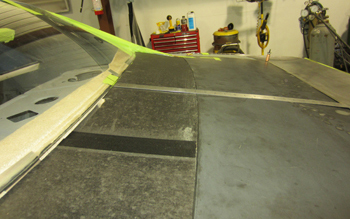
We need to determine where the starting point will be to get the bottom of the glass edge to flow in to the rear deck at the best angle. As seen a flexible stainless straight edge lays in a relaxed position where we will start. Note the black painted chip board used for the rear deck simulation.
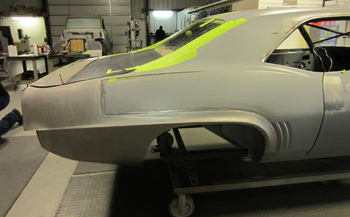
Rear window dropped down 3.5 inches allows the roof to transition nicely and slightly lengthens the edge of the outer roof pillars for a bit of a fastback look. Overall this makes the back end lower, longer and sleeker looking. Sorry stock Camaro lovers but no more short stubby looking qter panels on this one.
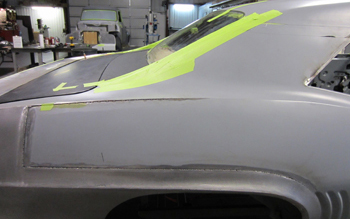
A close up shows how nice the glass now flows off the roof and qter then blends in to the rear deck with ease.
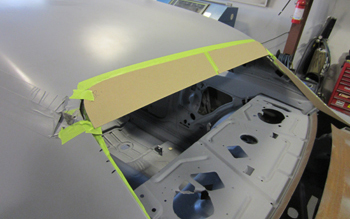
Bob, traced a mock up of the glass then laid it on the roof opening so we can start the process.

The original Camaro roof line also curves inward at the bottom. Not sure why G.M. did this as it looks dorky but we will trim it for a straight roof line for the best flow. Beauty first.
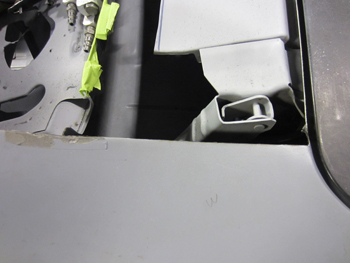
Trimmed away we can make it nice now.
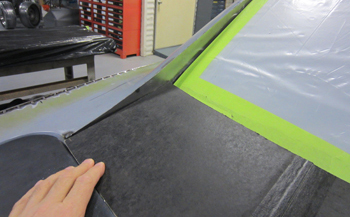
As seen Bob inserted some steel in the roof along with the glass in position and the mock up rear deck panel, she has a slight fastback looking inner roof rail now.

Just below the red arrows is where the culprit of bad flow exists. We will add a piece of metal in here to transition the roof smoothly in to the top of the qter so she can claim her rightful name. Dead On.

As seen now the roof line flows in a straight line compared to the crooked G. M. style.

Bob welded in some wire on the roof at the very top so the glass would have a nice consistent gap but he will also add over 1/2 inch on both sides to get the 3/6th gap we are after.
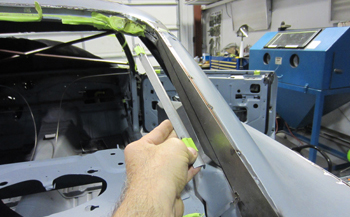
Next in line are the new glass channels to be fabricated. This is where the sealant is supported to adhere the glass in place. With a level glass fit this has to be Dead On. Our desire is a total of 3/8th spacing between the glass and the channel to allow a 3/16th urethane bead. Once pushed down a total seal will take place and the glass will be level all the way around. We will paint a black band approximately 5/8 wide around perimeter of the glass so the urethane bead will be undetected.
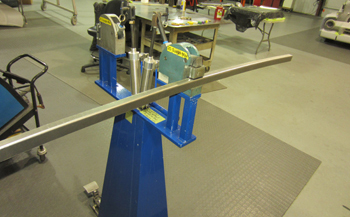
Bob is ready to shrink some 90 degree 20 gauge metal bent previously in to shape.
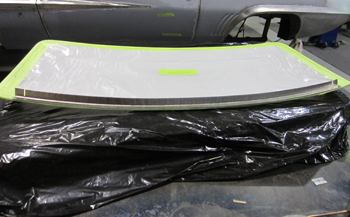
As seen it fits our new glass exact.
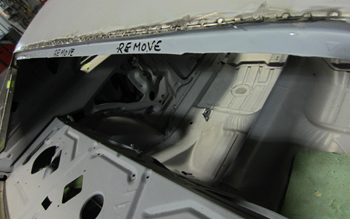
He marks off to remove the old flanges which are way to far away requiring too much urethane.
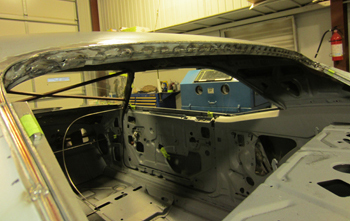
Bob welds up the cut line where the old flange was sliced away then he ground smooth and is ready to add the new flanges.
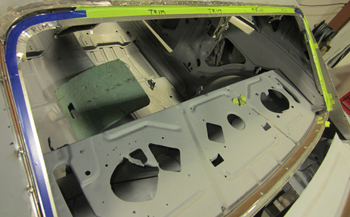
As seen he has the new flange in place and using self tapping screws on the under side he mounts it to check fit. He also taped it off where he can trim it back to 1/2 inch away from the body. It was left big during the shrinking process so the tool could grab enough metal to do its job.
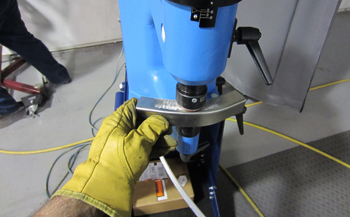
He does the corners in the Eckold Kraft Former.
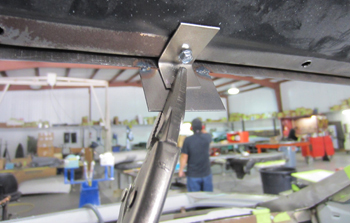
This is how he holds up the channel on the back side interior so he can adjust it if need be.
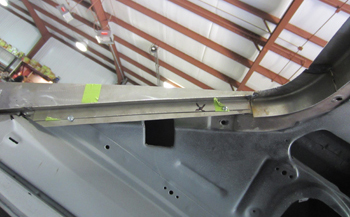
Self tap screws hold it in place on the bottom side outer qters.
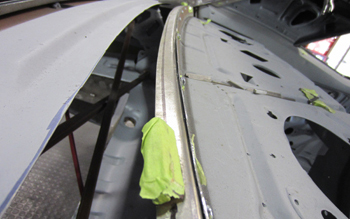
same thing on the bottom a new flange was made and attached with adjustability.
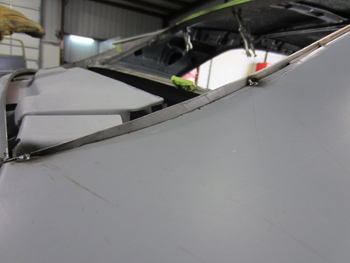
In order to clear everything the side roof steel is added and tacked in place. This shows how much change to the old roof. Just a touch but a major looking difference.
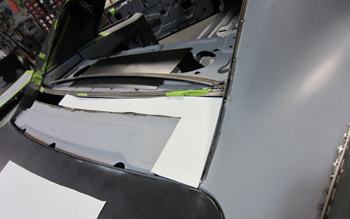
Bob makes a mock up for the inside deck filler pieces to strengthen what was cut out.
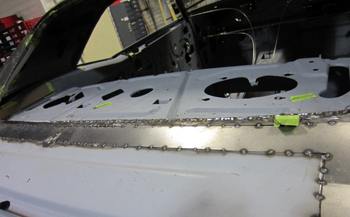
Tacked in place she will be plenty strong enough to support the new rear glass once fully welded.
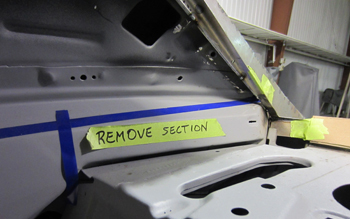
Inside interior section needs modified to assist flow and we will fab some trim pieces to the bottom of the rear glass also.
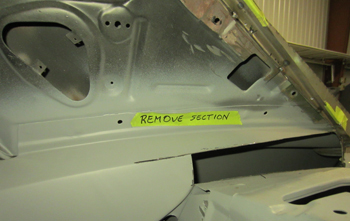
This old flange was used to hold the trim section in place. Once removed we can drop it down where needed.
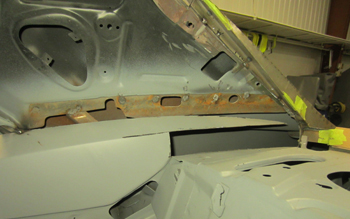
As seen we dropped it down to allow it to flow down quicker in to our lower glass section.
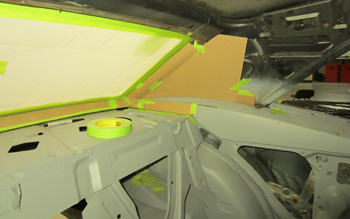
Bob ran some mock up board to show what we are going to do. Everything has to flow and fit exact for Dead On to be proud of its name.

