

Build Tips
69 Camaro Seat Foam #2
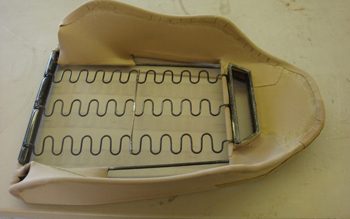
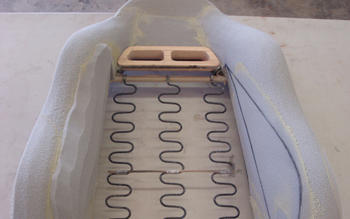
We have the wire work pretty much where we want it so now it is time to give it " The Look " we are after. The first step is to wrap the wires with some polyester material to give us the support we need when attaching the foam to the bolsters.
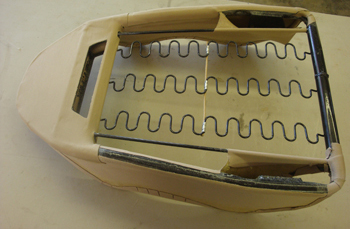
Flipped over you can see the back side is supported as well around the head-rest area. At this point we already know what we want as far as comfort and looks so the wire work is " close enough " to support the foam work we will do. If we want to make any alterations it will be to the foam and not the wire from here on out.
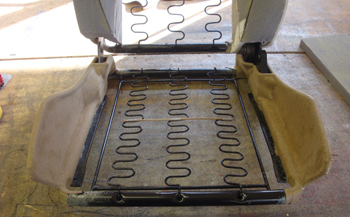
Bottom bolsters show the support as well as they will get the most pressure from the occupant compared to the upper back section.
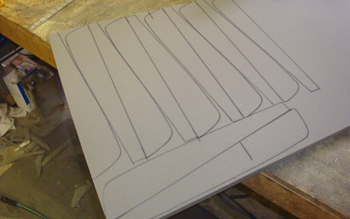
Jan traces out the side bolsters on some of our select foam for the Dead On custom seats.
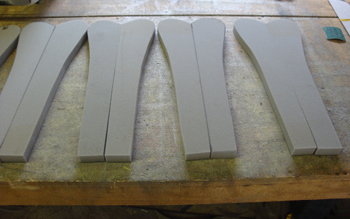
Exact matches are what we are after for consistency to both seats.
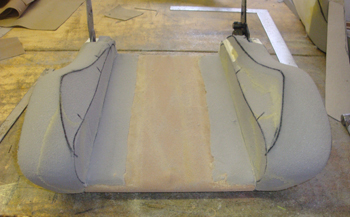
Glued down we are are starting to see the ultimate look come together.
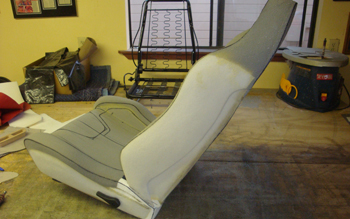
Side angle shows a flow like no other seat in the world. Smooth is the only word I can use to define.
A bit more shaving of the foam to blend in the sections and we will be on our way to a one off seat that takes the cake.

A few ideas for the outer cover that we are tooling around with is seen in the sharpie marked lines.
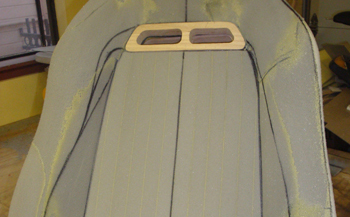
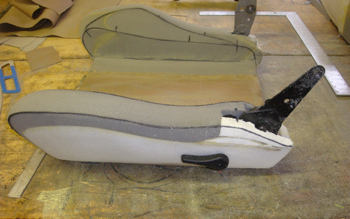
Harness loops mocked up in hard wood will be machined in billet aluminum for durability and sturdy installation.
Side angle looks good but some tweaking is needed. Symmetrical looking parts are the best looking so that is what I am after.
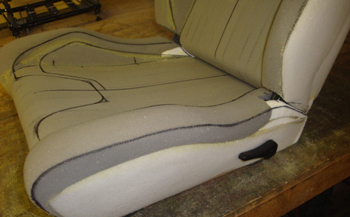
Close up of the bottom shows her coming around nicely.
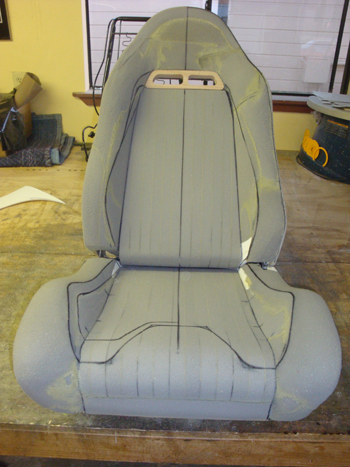
Overall I am pleased with the first foam work and with a few inches removed here and a few inches added there she will be ready for her outer cover. Time to place it in the car and check our fit to the door panel and console mock ups. She looks comfortable in a Voluptuous sort of way.