

Build Tips
Camaro Roof Section #3
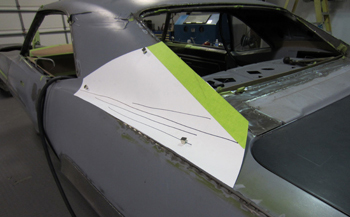
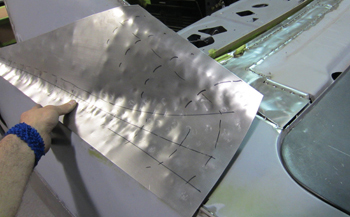
Sam lays out some poster board to decide on how it should flow. If you look at the Custom Metal Change Photos we explain how the roof to qters use to flow in a circular concave motion which kept the roof from flowing down and out of the qter panel. Personally I never thought this looked right so I chose to change the whole style.
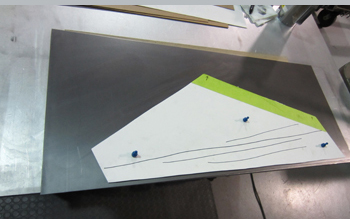
Laid out on some 18 gauge it is time to change the look of this 69 roof forever, only better.
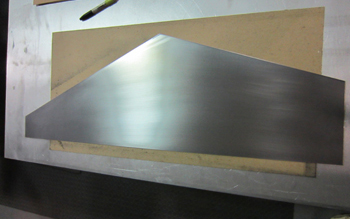
Metal is cut and ready to tweak it in to submission.
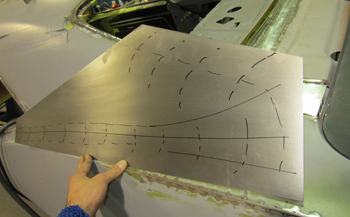
Sam marks it up to have a reference during the working of the metal. This shows Him where he wants the concave and convex shapes.
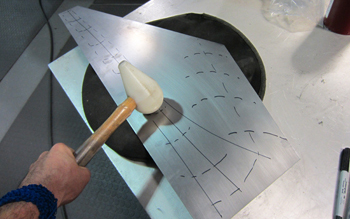
Starting off on the shot bag He forms it in to submission using steel shot and a hard plastic shaping mallet.
A whack here and a whack there and it comes around in the hands of Sam, much like Michael Angelo did during his stint with the Sistine Chapel, it takes an artists focus to see it in to the panel before and during to achieve the results.
They always look rough in the beginning, but this is what it takes.
Magic takes place on the Eckold deep throat shrinker as He takes it to the next level.
Looking much better.
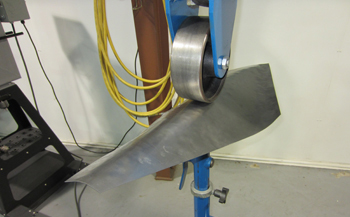
A bit of wheeling to start leveling out the surface.
It is coming around. The two hardest parts of custom bodied metal work is 1. The design, as it has to flow and look " right" with the changes. 2. The actual matching of the the left and right sides to be exact duplicates.
Fit tweak, fit tweak.
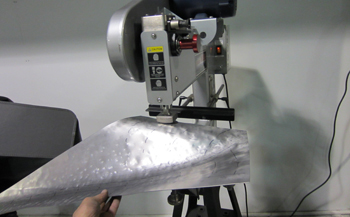
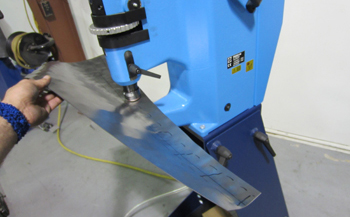
The Pull max comes out to play, this is where metal meets its match. The bruiser.
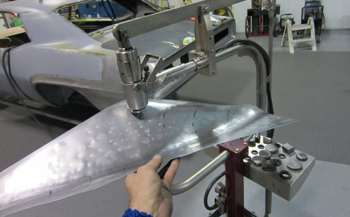
The planishing hammer smooths out all the wrinkles and slightly stretches the panel for a more subtle fit.
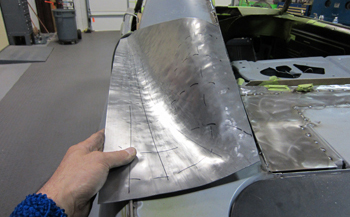
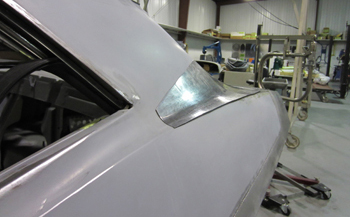
It is looking much better.
Sam has it dialed in.
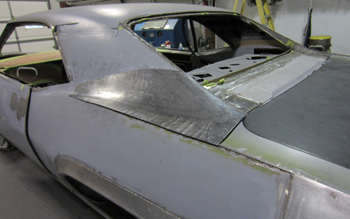
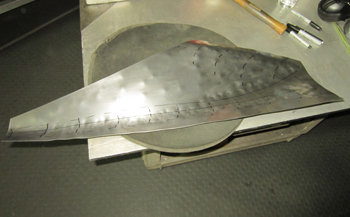
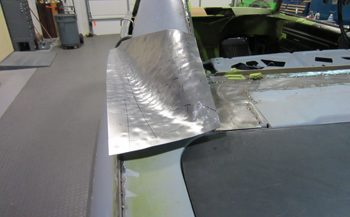
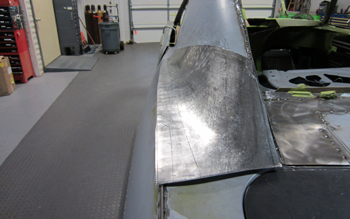
The longer roof line with more pitch is much more attractive then the rounded original. In my humble opinion of course.
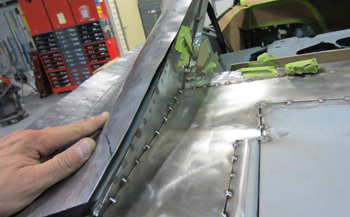
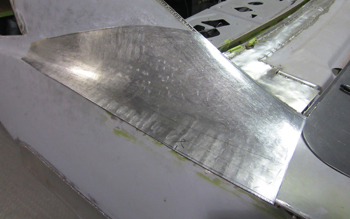
As seen it flows back and to the rear deck panel smoothly.
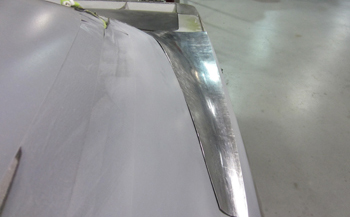
Top view shows it really good, no more rounded bubble roof.
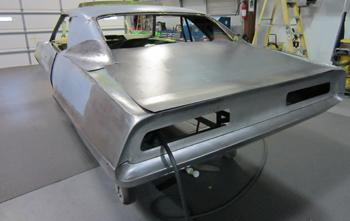
The rear deck is pre fitted to allow us to see the whole transition.