

Build Tips
Camaro Rear Deck #4
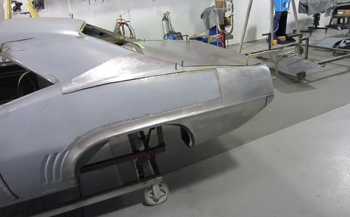
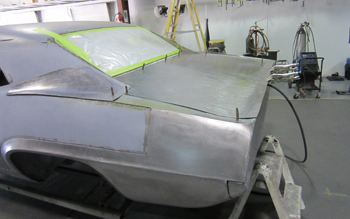
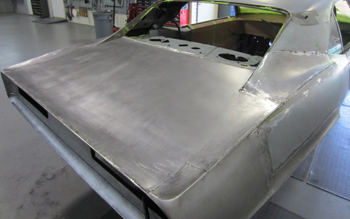
OK we have the roof to qter panel section pretty much done but we are waiting to weld them in after the rear deck is finished so we can combine the two. Sam wheeled a slight concave shape in to the panel to start forming the spoiler and to let the panel lay down some what flat.
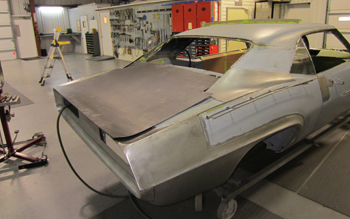
Clamped in place and analyzing it to see where we want to go.
All the angles have to be considered in order to make it look its very best.
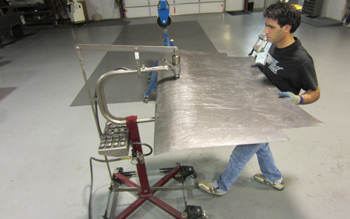
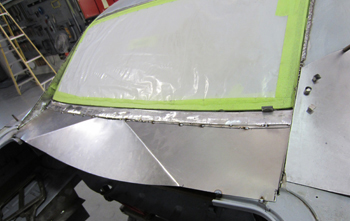
Sam, takes it to the planisher for some subtle work. Although this is a large panel it has pretty simple shapes so all that is needed is the planisher and a bit of wheeling.
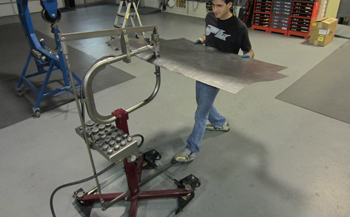
Time for a bit of English wheeling to get everything shaped to the exact specs. A roll here and a roll there and it is close.
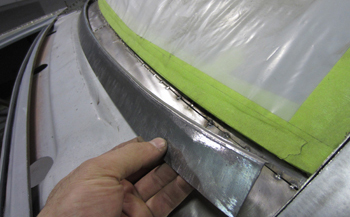
The bottom edge channel next to the glass needs to be added before going any further. It is a simple piece that has a 3/4 inch lip by 4 inches bent in the brake to a 90 degree section. Then it was shrunk to make the contour.
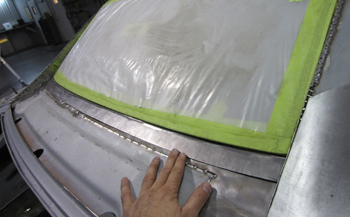
Sam fits it against the glass and likes what He has for a 3/16 gap.
Tacked in place and ready to be welded in solid.
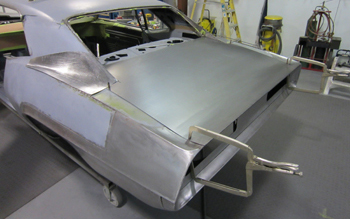
Next the rear deck panel goes on and is ready to trim out.
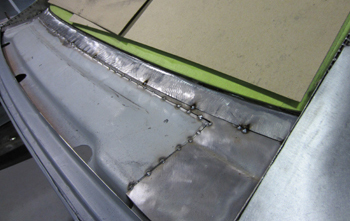
Sam added a reinforcement to strengthen the rear deck sub structure as the original trunk lid channel system was remove.
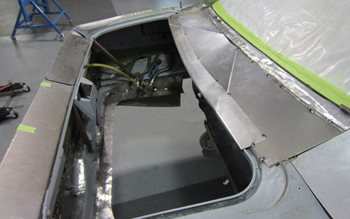
In addition another outer channel was added to reinforce it completely.

We Zinc Chromate primed it to eliminate rust under the outer panels.
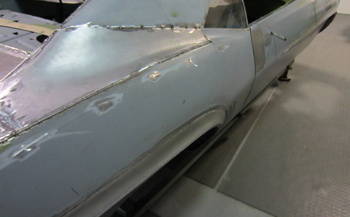
Sam started by tacking the lower roof to qter sections in place.

Next in line was scribing the rear deck then trimming and welding it in place.
Marked off for our gas tank cap.